It seems somewhere along the way I’ve lost my passion/time for updating this blog. I personally blame getting the bike as now I have yet another exciting way to spend rather limited amounts of available time, but it’s probably largely thanks to the massive renovations we undertook in 2020-2021 which has such sucked up any spare time.
When we brought our house in 2014, the roof had been flagged as a likely problem and due a replacement. Naturally we had zero money after buying the house, so managed to bodge the roof along for a few more years with some improper use of silicone sealants and managed to squeeze out another 6 years of life, but in 2019 it got to the stage where it was clear it wasn’t going to be possible to bodge any more and would need the long overdue full replacement as we were starting to experience leaks that could no longer be patched around.
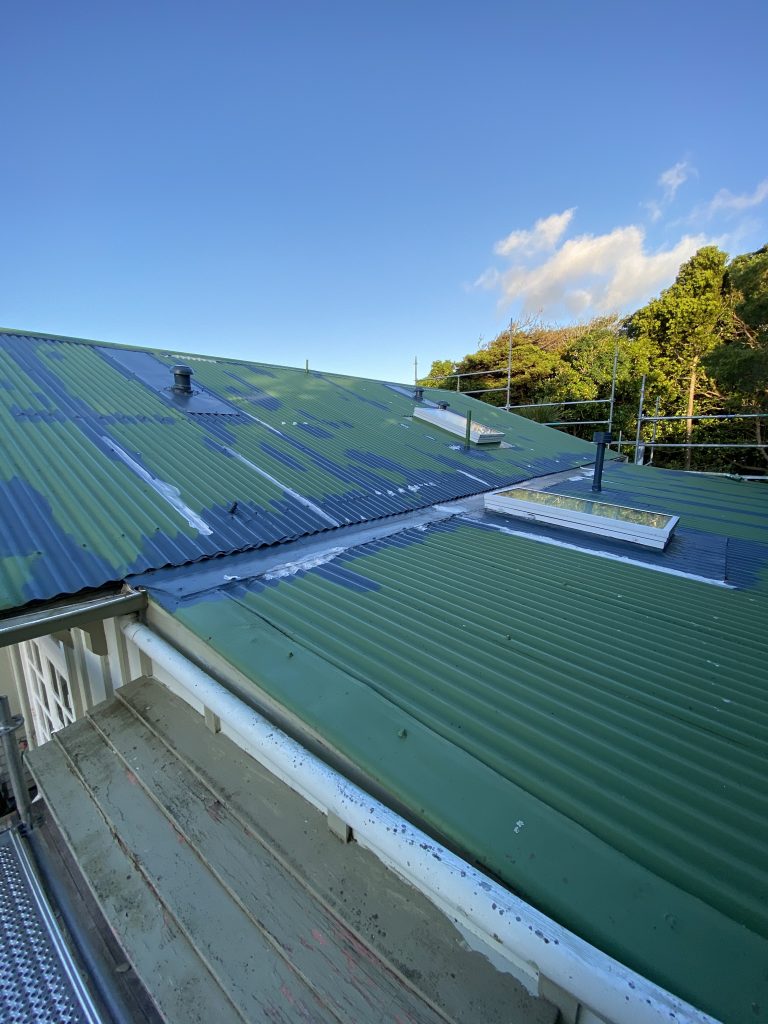
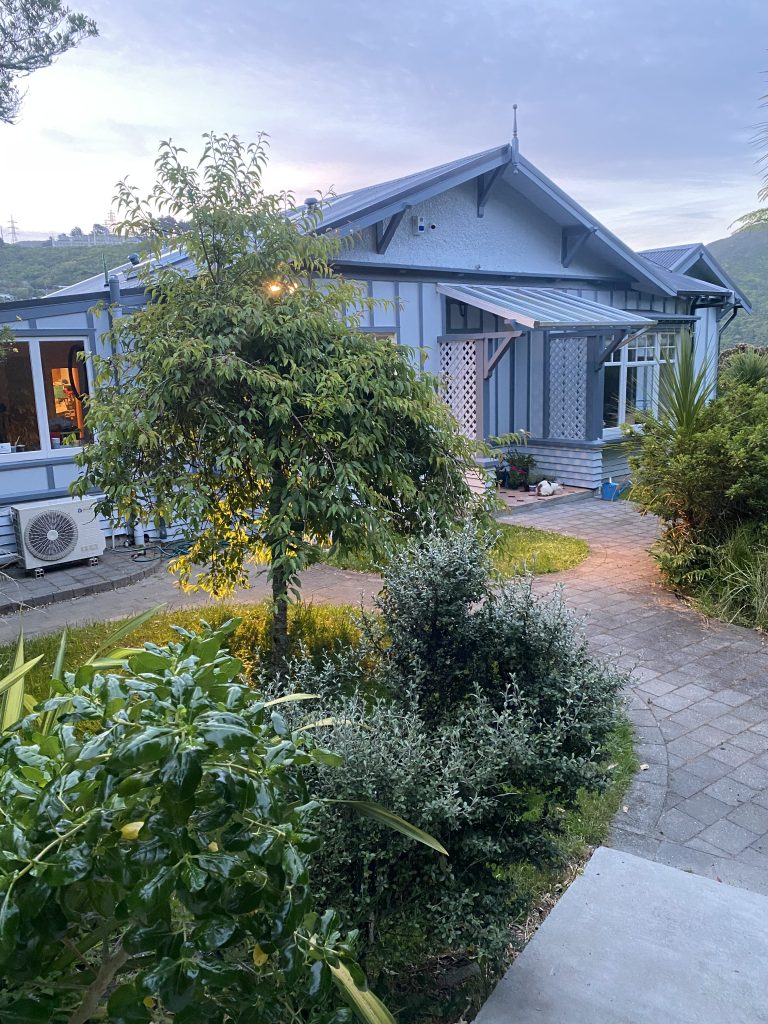
So we bit the bullet in late 2020 and kicked off a replacement. Given we’d need scaffolding for this project, we decided we’d roll it into part of a wider renovation/upgrade project and do some other big ticket items on the house at the same time and wrap it into a small loan extension on the current mortgage whilst rates were sub 2.5%.
Before the roofing work started, we made the choice to remove the natural gas connection from the house. Ripping it out had multiple benefits:
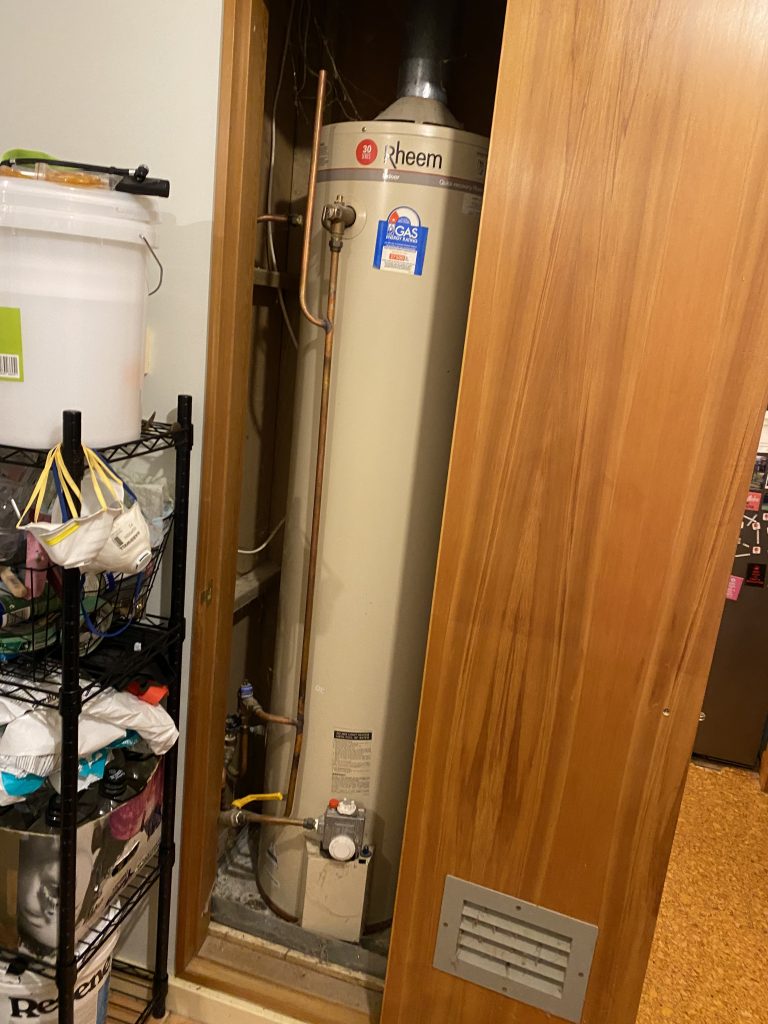
- Firstly we needed to remove it before the new roof went on as the old gas cylinder hot water had a flu that went up and through the roof, and we didn’t want to cut a hole in the new roof for an old system that was due replacement. So it needed to come out as the first step.
- Secondly all our gas appliances dated back to the 90s and all were end of life with various quirks and features. We had an old unflued gas heater that we’d never used for health reasons, the old hot water cylinder and very fickle part broken gas stovetop.
- Finally for added incentive, the gas lines company were starting to be jerks and pressuring us to move the gas meter on the street due to new health and safety rules preventing them from checking the meter where they had originally installed it. There was some disagreement between them and us about who’s problem that was, but we were looking at many thousands of potential costs to rectify if we lost that argument.
We had no love for gas for cooking, it’s expensive to keep with line charges and is also a fossil fuel and having pipes full of explody gas in an earthquake zone has never filled us with confidence. So we were more than happy to rip it out and replace.
The first big challenge was that our old 170l gas cylinder was located inside the house. The hotwater cylinder installer really really wanted to install the new one on the outside of the house which would be very easy, but IMHO would have looked visually terrible given the layout of our property and not really having a hidden utility space where something big and ugly like that could be located.
To fix this, I ended up demolishing the entire cupboard that existed around the old hot water cylinder, providing a space for the new cylinder to go in and then rebuilding a new cupboard around the installed cylinder.
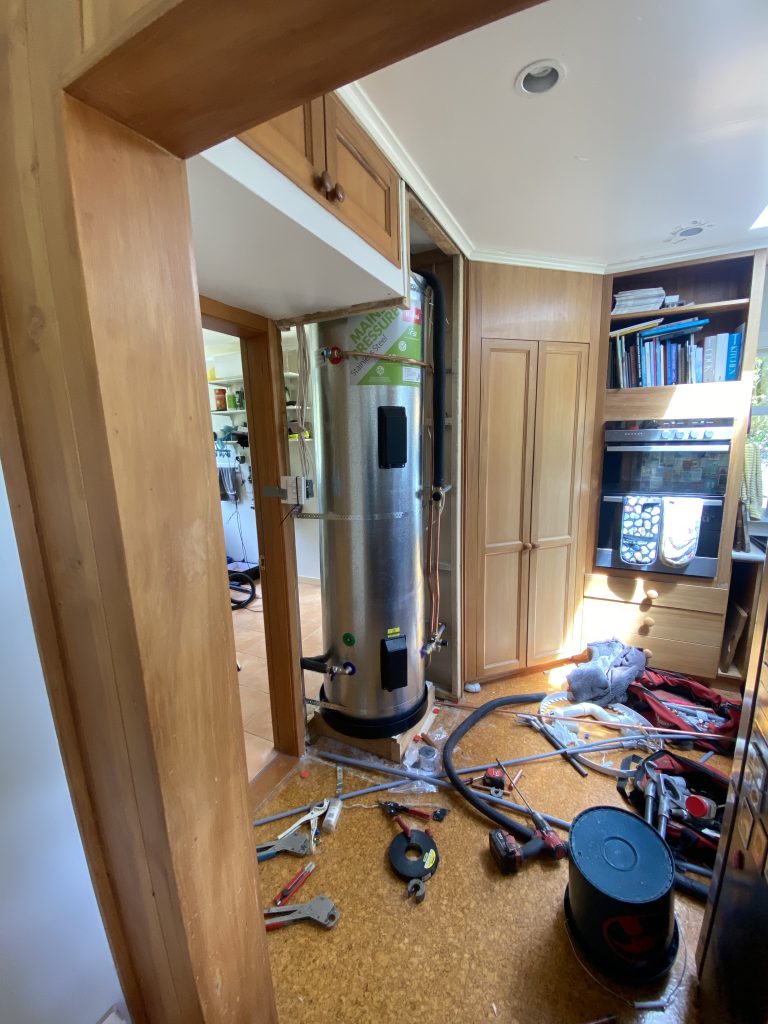
An electrical cylinder can never get more than 100% of theoretical efficiency using electrical resistive heating. So given my love for heat pumps, we paired this new cylinder with a heat pump hot water system to give us a lower running cost solution with potential efficiencies around 300%.
Essentially there’s a small outdoor heat pump unit (like you would have with a typical mini-split system). This pulls heat in from the environment and turns it into hot water. Unfortunately the technology still requires a sizeable cylinder to act as a reservoir hence why we still have a standard 300l cylinder inside, but I hope that at some point they evolve the technology to the point where it can run tankless and be a drop-in replacement for an instantaneous gas boiler.
We looked at some different brands/options. Some brands required their own special cylinders, this seemed to be the models which pumped refrigerant from the outside unit to a special coil inside an interior tank. Instead, we went for a Reclaim which pumps cold water directly to the outside unit, then pumps back hot water in/out of the “solar hot water” ports on most off-the-shelf cylinders. Should the cylinder or heat pump ever need replacing, there are a number of options that we could swap either out for, and not be tied to a single vendor.
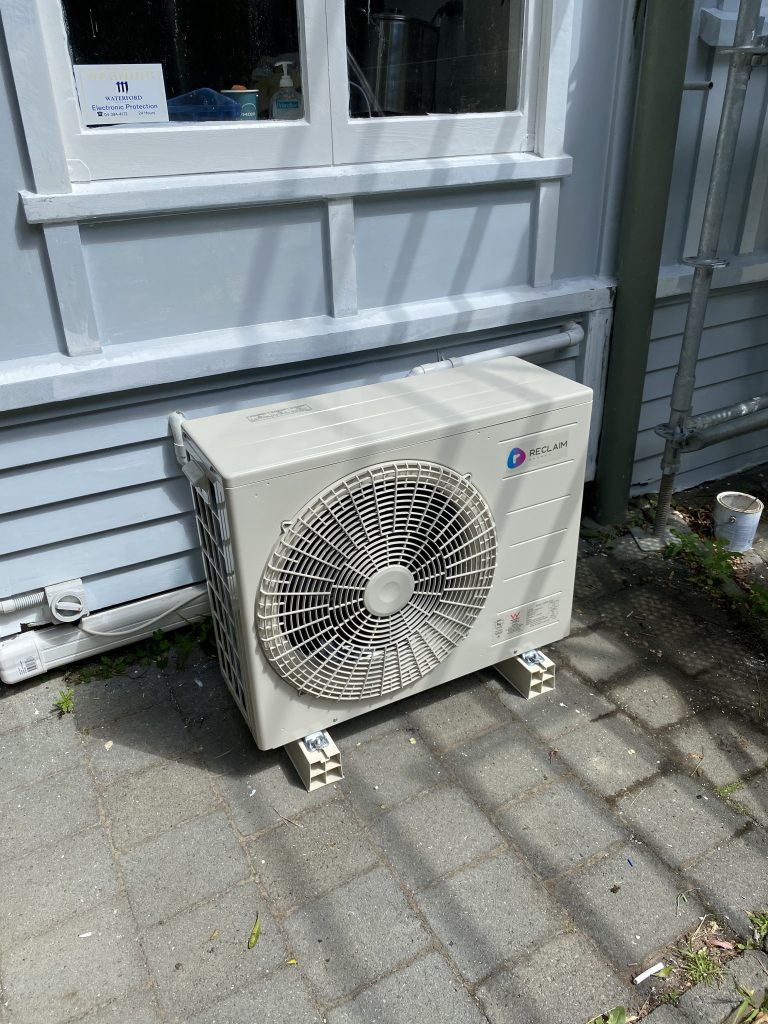
We also kept the ability to be able to failover to the element inside the hotwater cylinder. The electrical circuit has a bypass switch to flip between either the heat pump, or the cylinder’s built in element if a fault ever occurred with the external heat pump.
So far this solution has been working really well, power bills are low and the reclaim unit is very quiet outside. In fact, with the move from gas to electric, our household energy bill decreased on average, despite electricity generally being quite expensive here in NZ.
We then had the scaffolding put up. We were going to need scaffolding edge protection for the roofing work, so decided we’d use the opportunity to also get the house painted which meant scaffolding and walkways around the house.
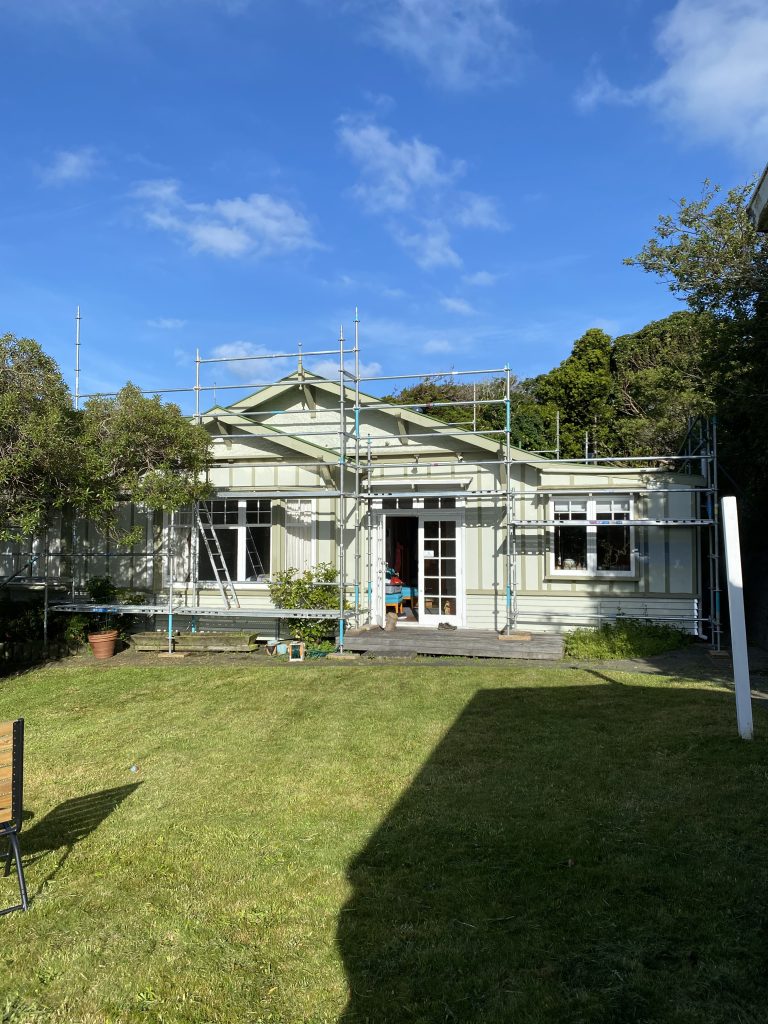
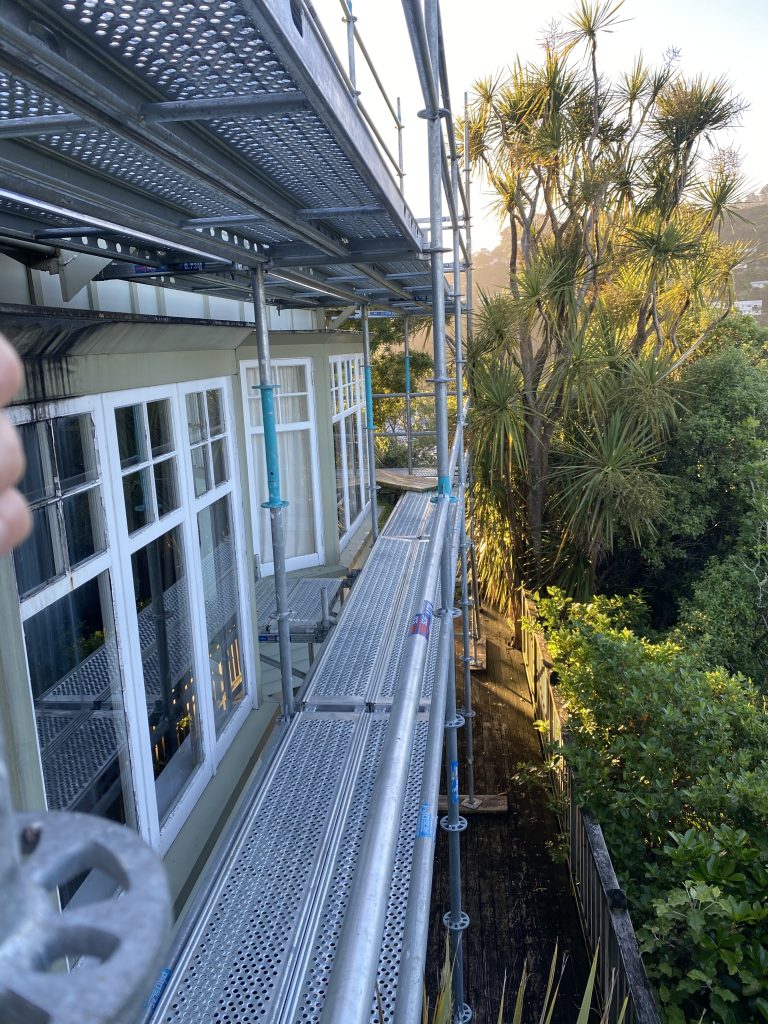
Due to some poor organisation with the roofers, the project was supposed to be finished before xmas but ran over into the new year which lead to the frustration of paying extra rent on the scaffold over the holiday period, but it did give a good opportunity for me to use the break to fix up various carpentry issues before the painters came and started.
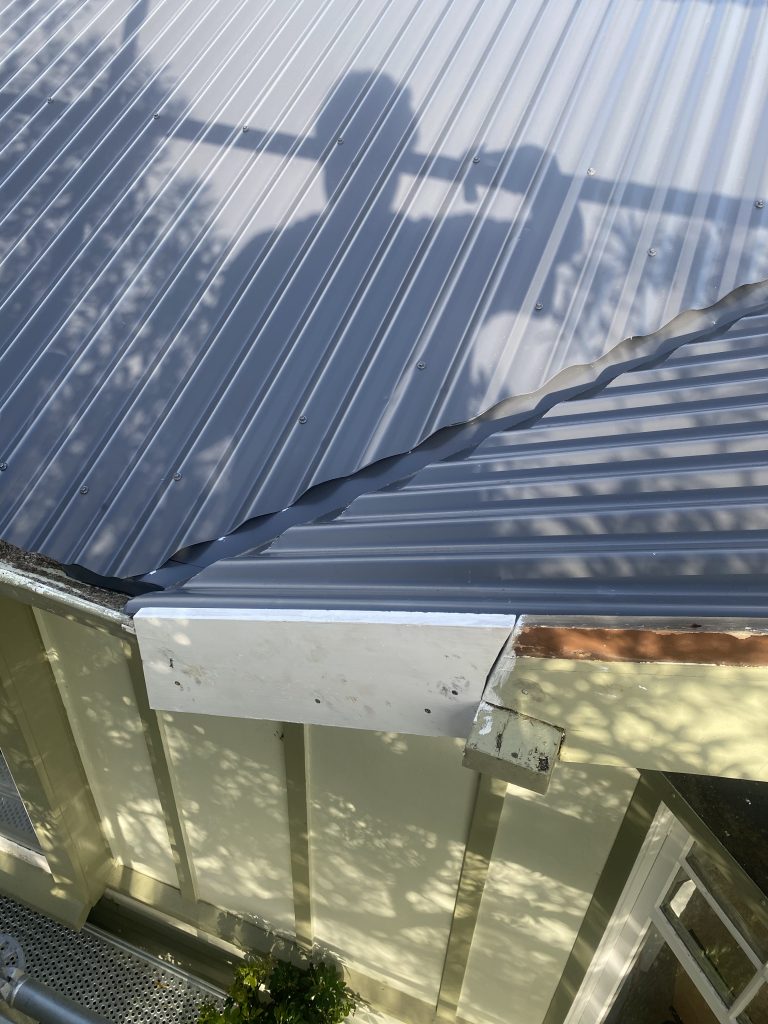
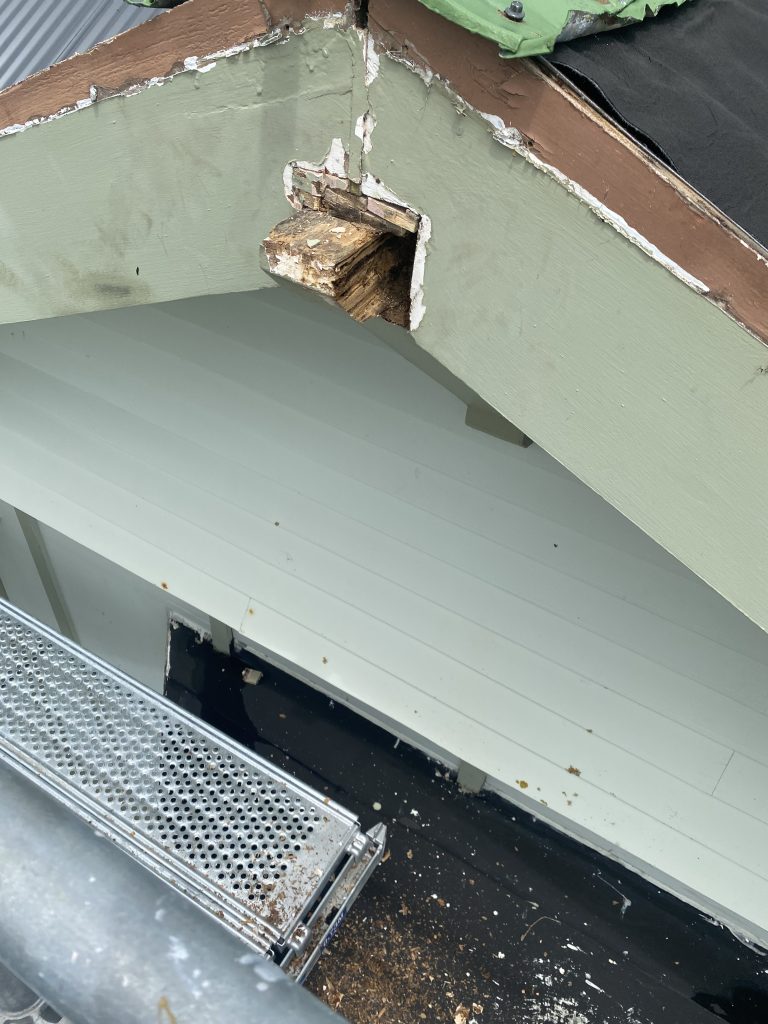
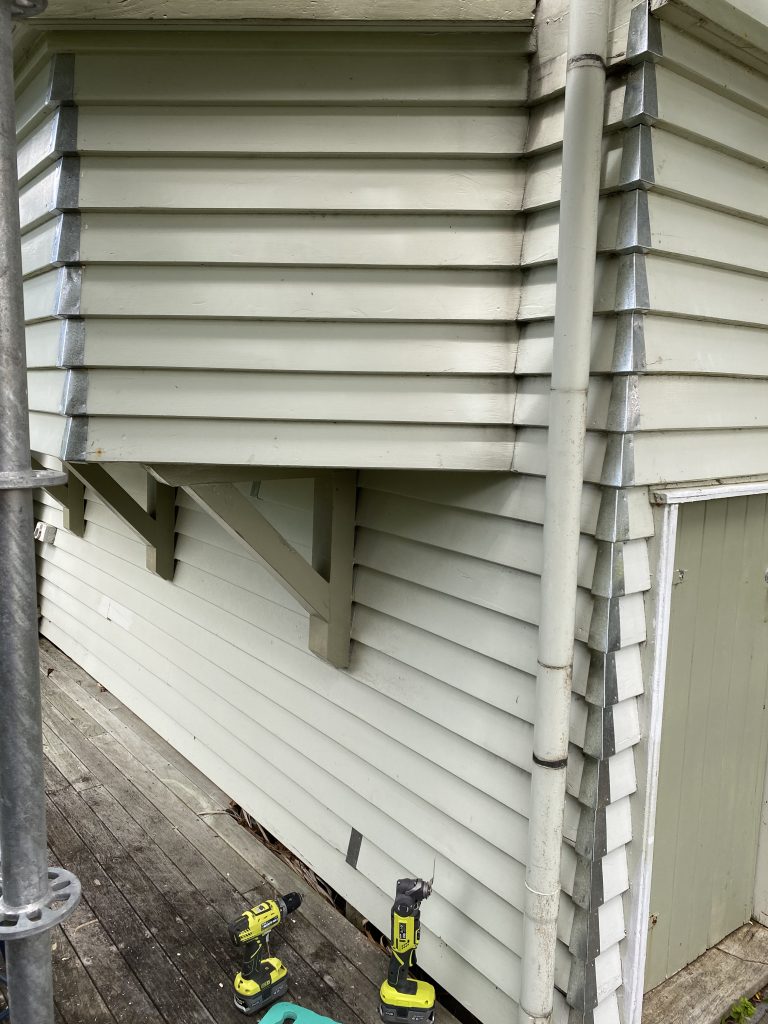
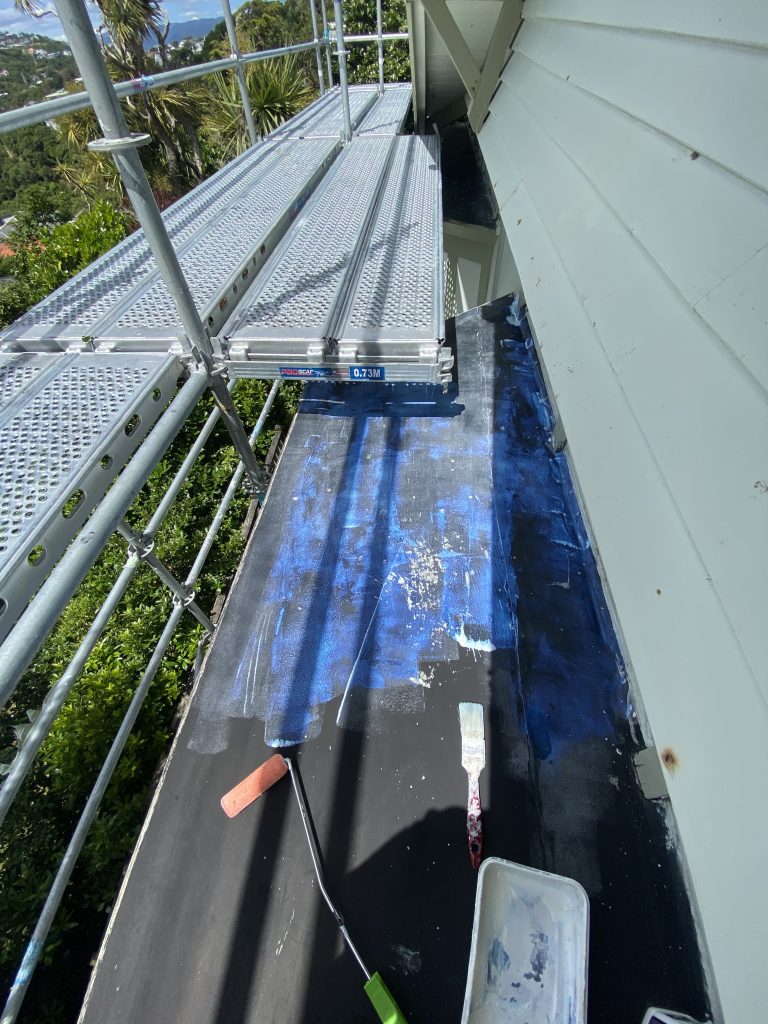
Whilst it took much more time, unexpected water ingress and stress than it should have taken, the end result of the re-roof is excellent. Our roof line is particularly complex and we have plenty of gullys and also a large butynol area in the middle that needed a full replacement.
I found our contractor super tough to deal with due to poor project management and comms but they sure did know how to build a roof. Checked everything against the NZ metal roofing spec and it all looks like they’ve done everything perfectly to code. Crazily enough, replacing an entire roof in NZ? No building consent required! So the home owner really is reliant on trusting the contractor to do the job properly and/or being capable of researching and validating themselves.
Most our entire roof is sarked (covered in timber) which made it easy to get around and work on it. And we had some other good luck, all the timber surface was still in excellent condition and didn’t need any work – with the exception of the butynol section that had been installed with ply that was too thin and so we had it upgraded to the proper standard.
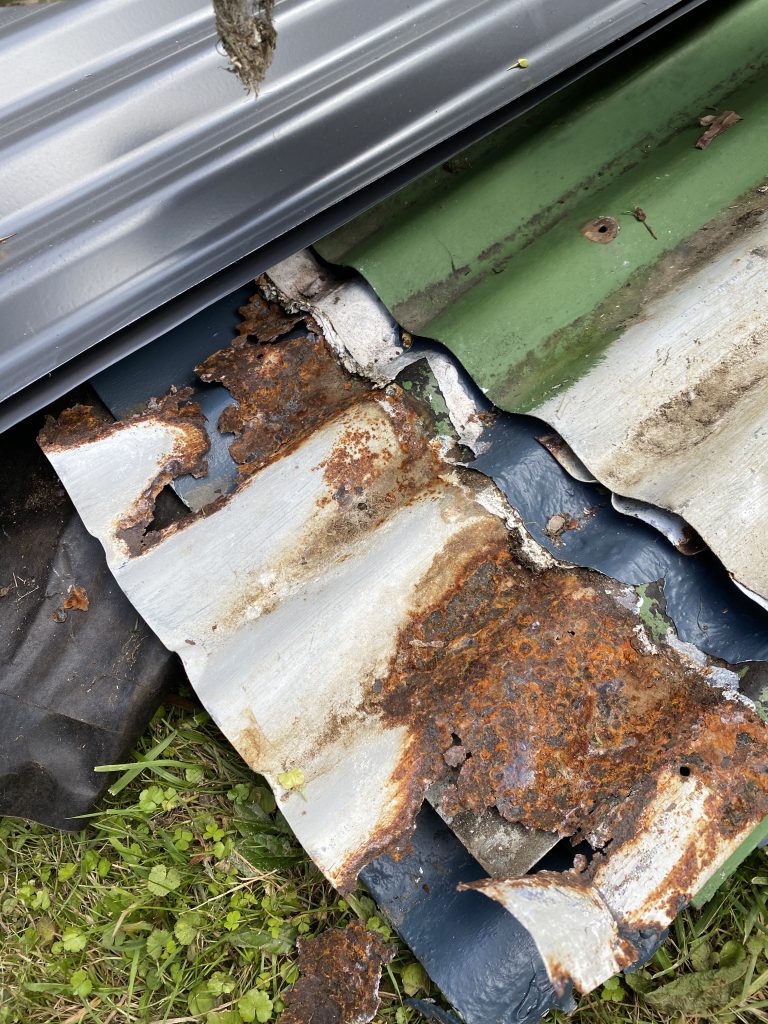
It looks like a lot of our roof was still original, with the roofers pulling off heaps of horsehair underlay that has probably been there for close to 100 years. The steel sheets were super thick as well – in many ways the sheets themselves were fine, the issue was with rust around all the nail points and where the sheets lap/join. Over the decades water had gotten in and caused some serious corrosion in points.
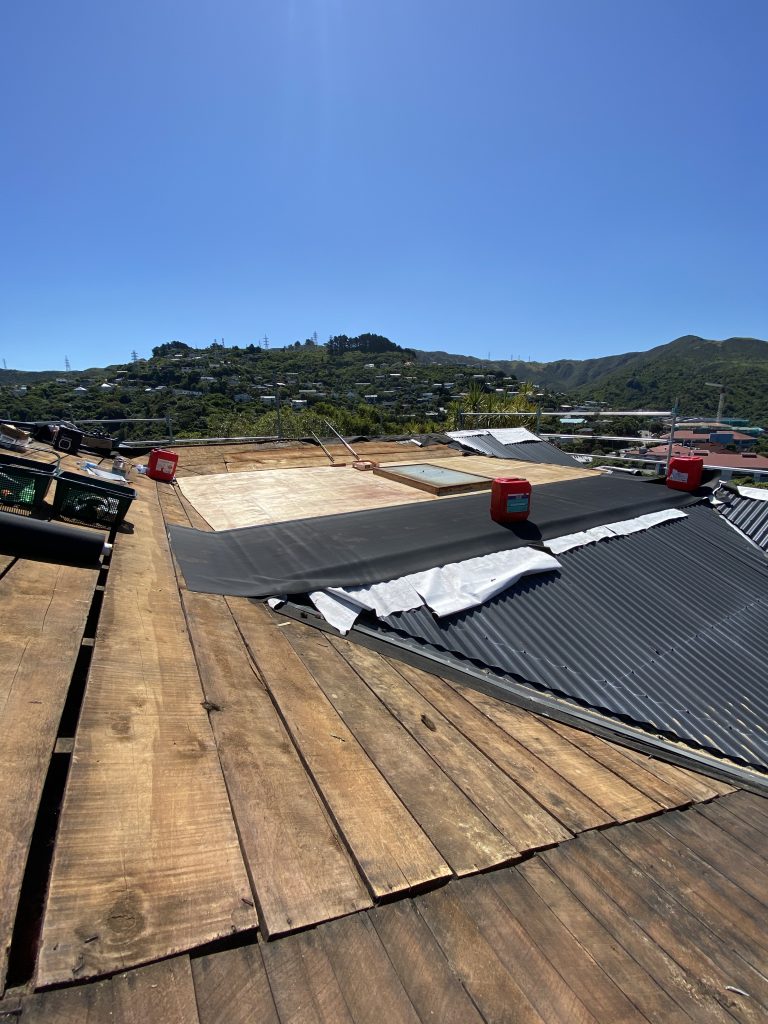
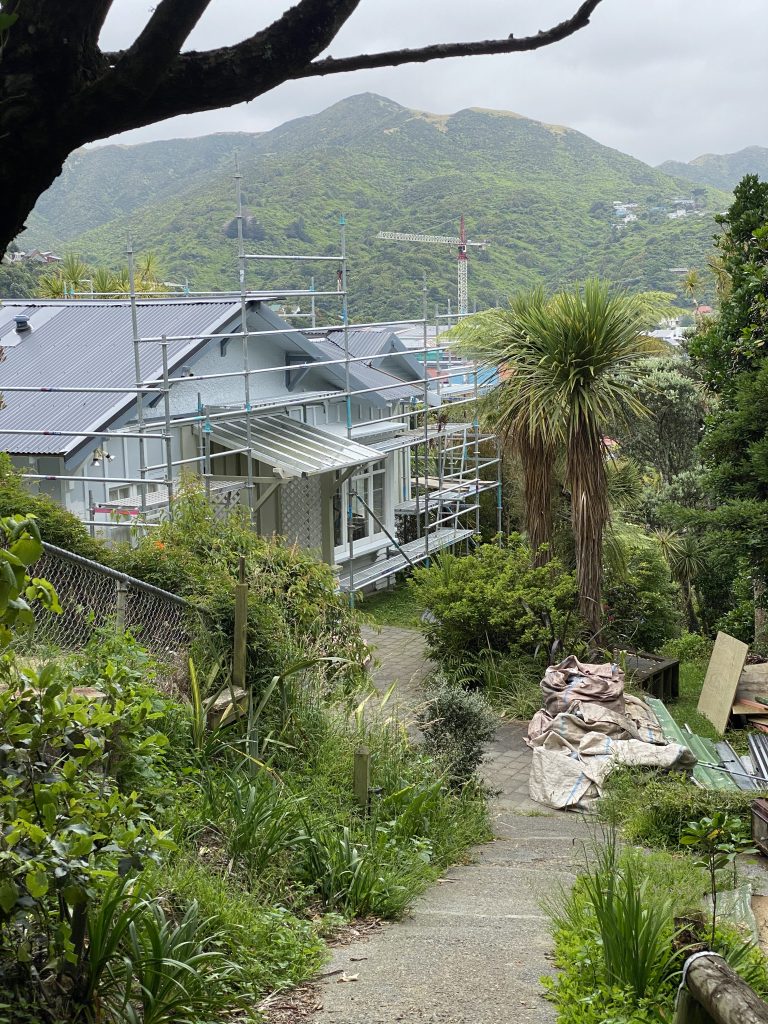
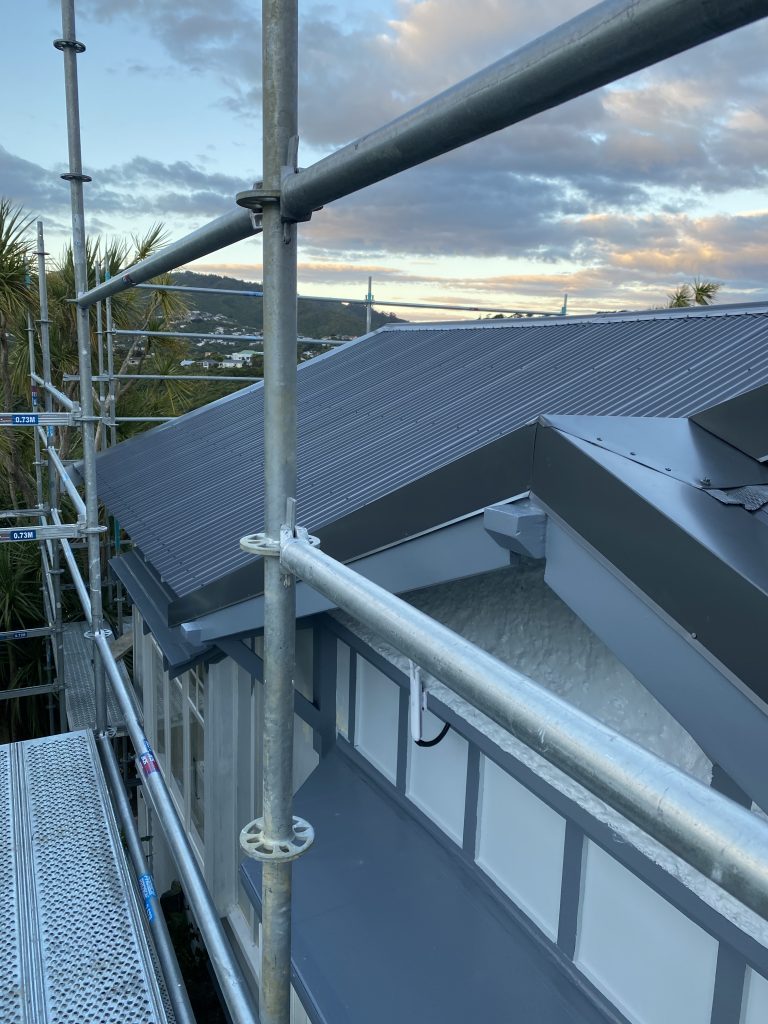
The new roof is all done in pre-painted steel so there’s no painting needed for the first 15 years of the roof. It actually looked so sharp I felt bad that I was intending to keep and re-paint the beat up old gutters, so I ripped them all down before the painters arrived and then installed new ones myself at the very end of the project.
I ended up using Marley Stormcloud spouting which conveniently comes in a range of pre-coloured options that matched our roof and wall colours. There’s also a heap of good materials from Marley on how to install it, with the house being fully scaffolded I was able to do it with some help from mum in the course of a weekend.
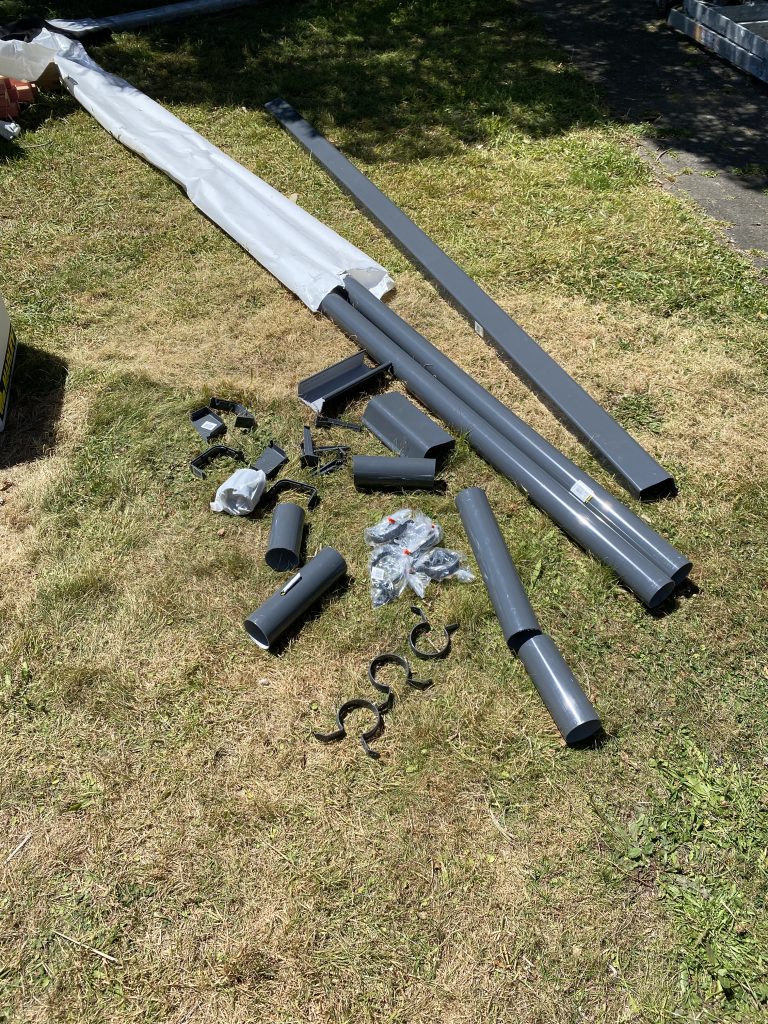
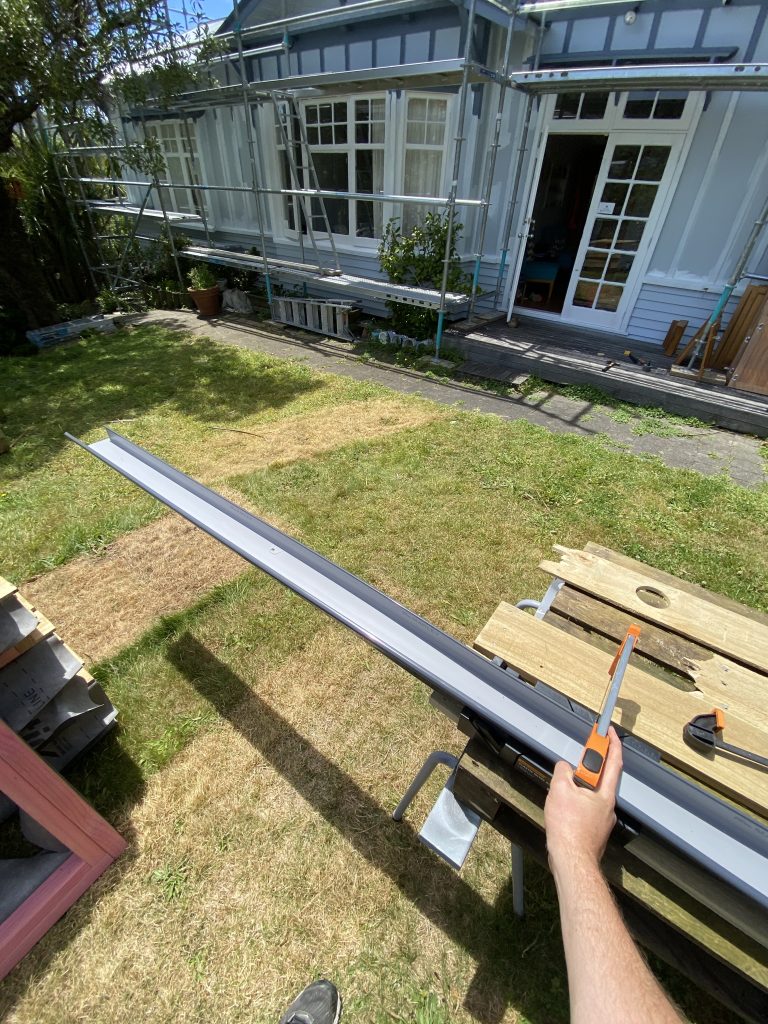
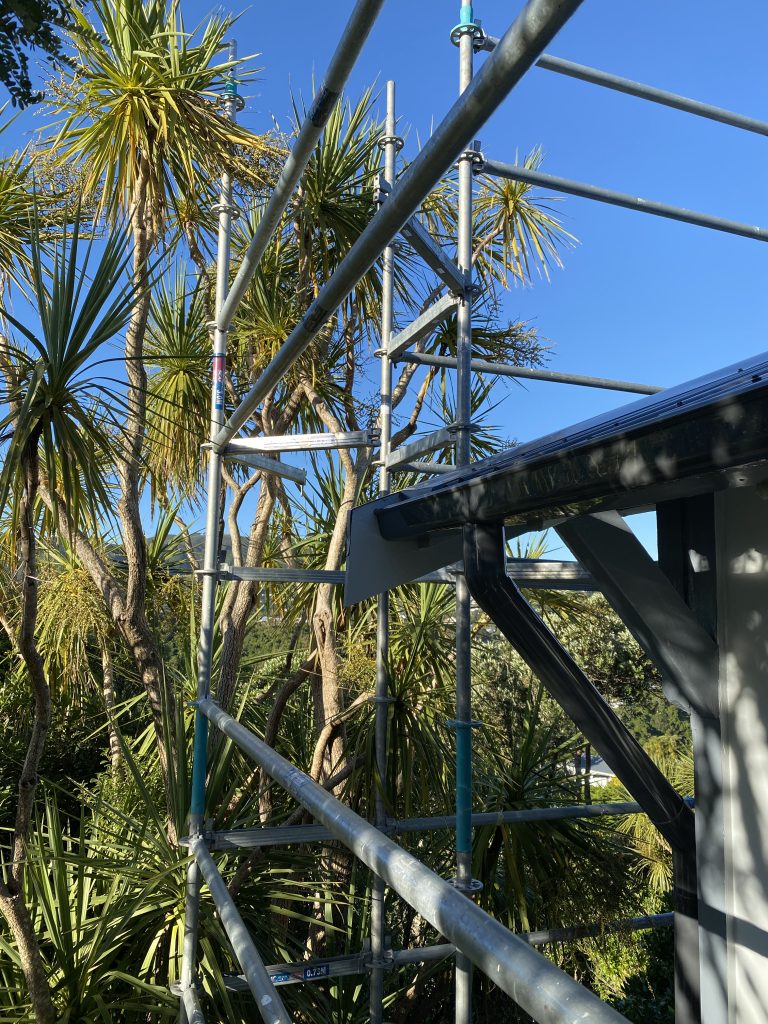
And like the roof, the spouting being pre-painted saves massively on the labour and hassle and looks far sharper than anything I could achieve with retrospective painting.
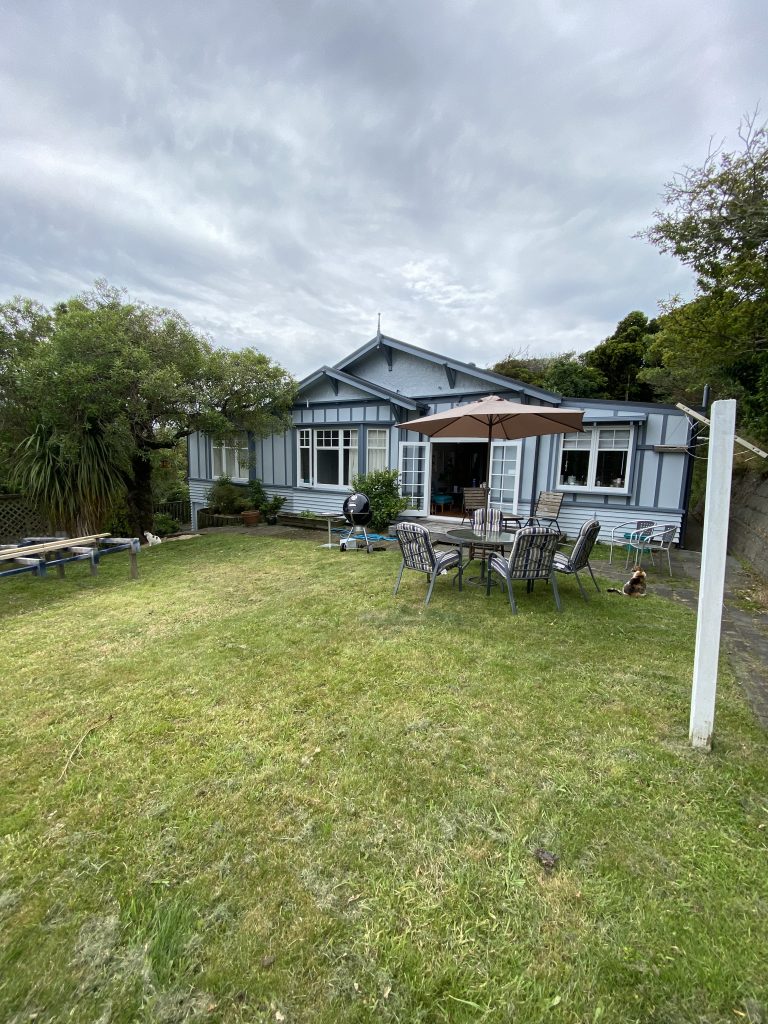
Speaking of painting labour – the amount of work that our painting contractor put in was incredible. The cost of painting a whole house in NZ is eye watering but at least I could see where my money was going with this crew, there was so much prep work fixing joins, rust spots, sanding, etc before the actual painting started. Took a crew of 2-3 people about 2 weeks to do the whole house. I used Graham’s Painters in Wellington and was really happy with them.
With the roof, gutters and paint being done, naturally I decided to squeeze in a few more projects for the summer.
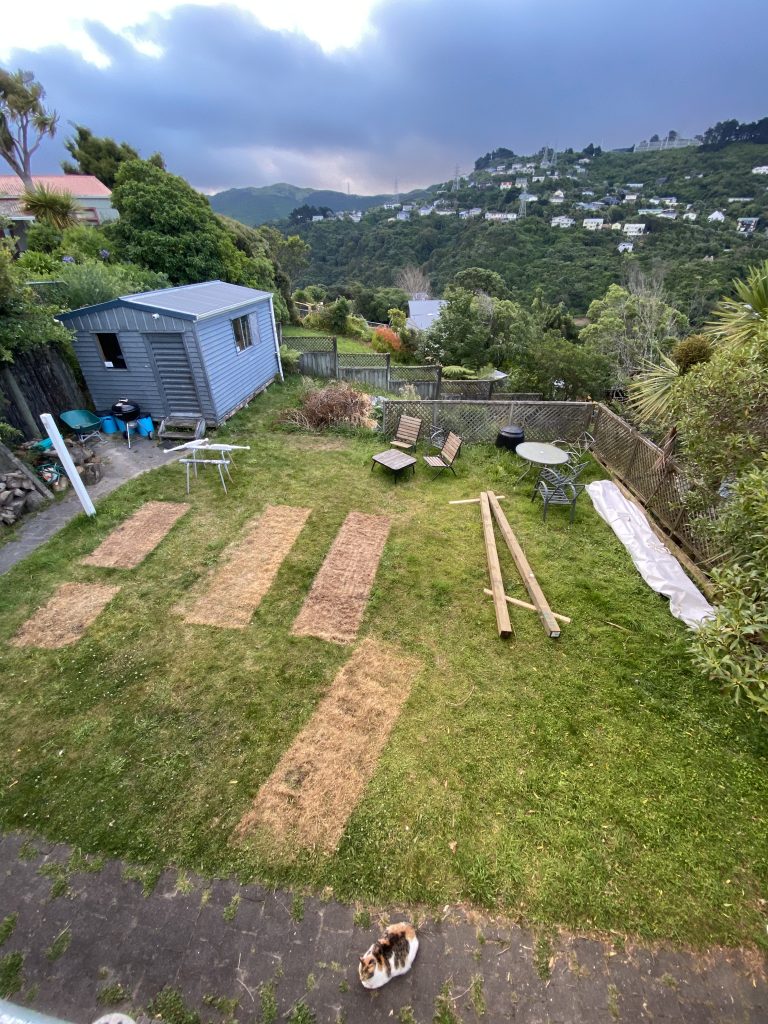
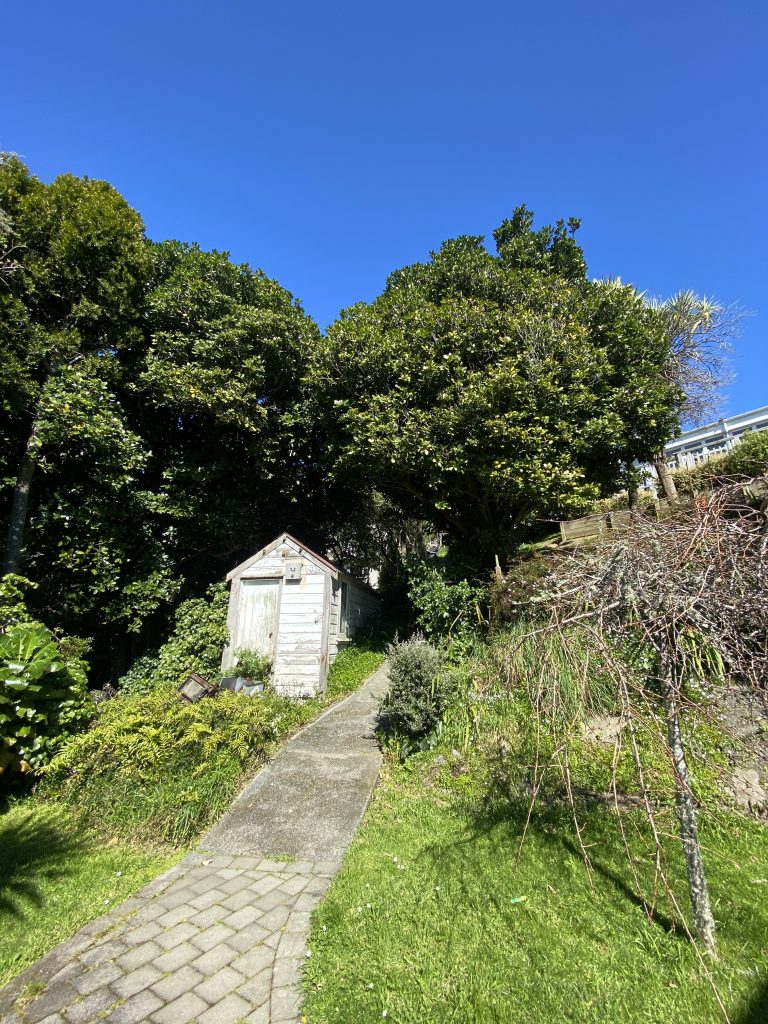
Lisa, having got tired of having now 3 different bikes inside the house, gave me an ultimatum that I needed to fix the old shed before I could buy any more bikes. Having looked at it in detail the verdict was that the old wash house / front shed was too far gone to simply repair and I brought a new made-to-order kitset shed that matched the original’s dimensions exactly to replace it. The team at Sanders Cabins & Sheds was able to alter the dimensions of their off-the-shelf product slightly and position the window/doors at the specific spots I wanted which was excellent.
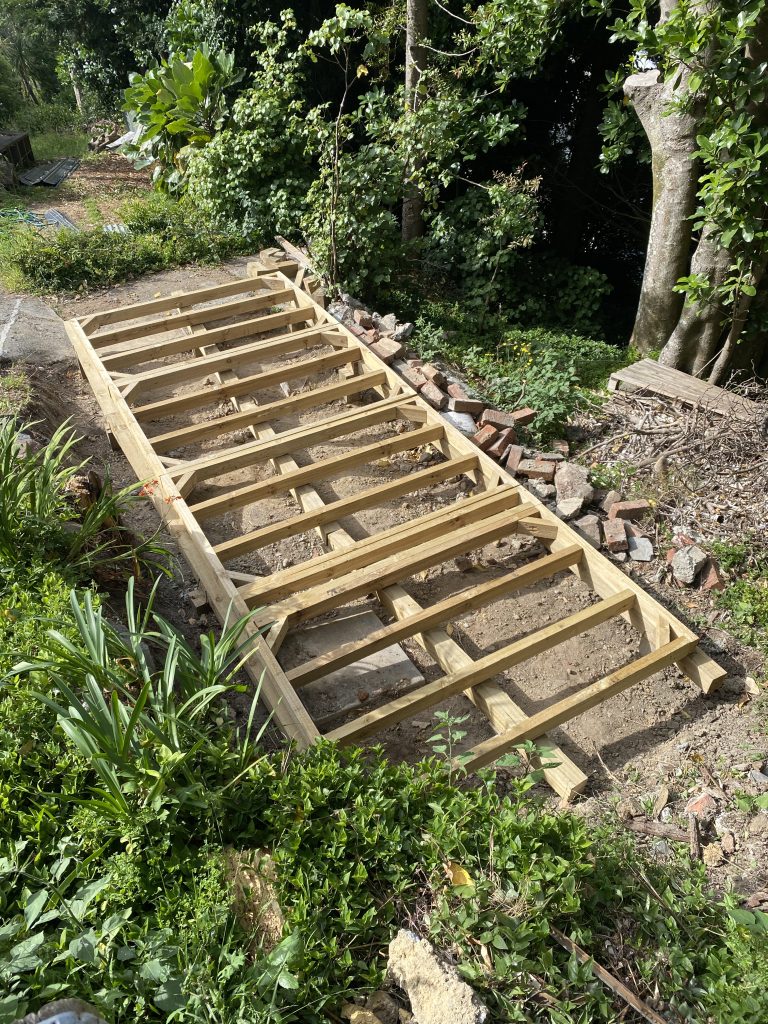
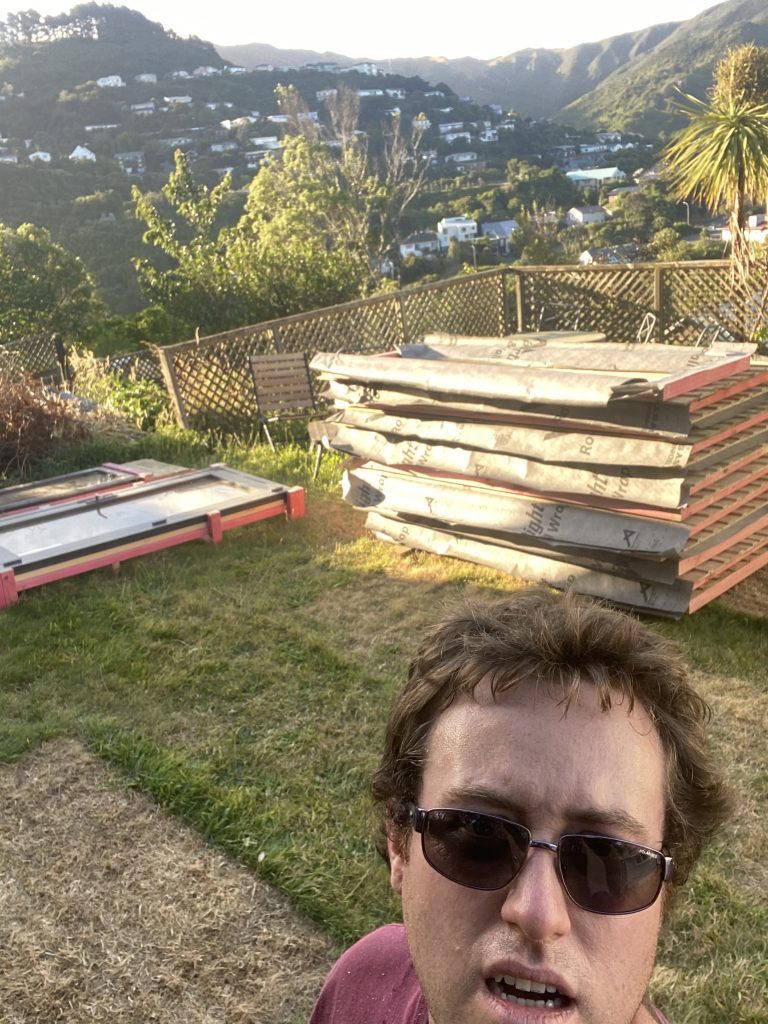
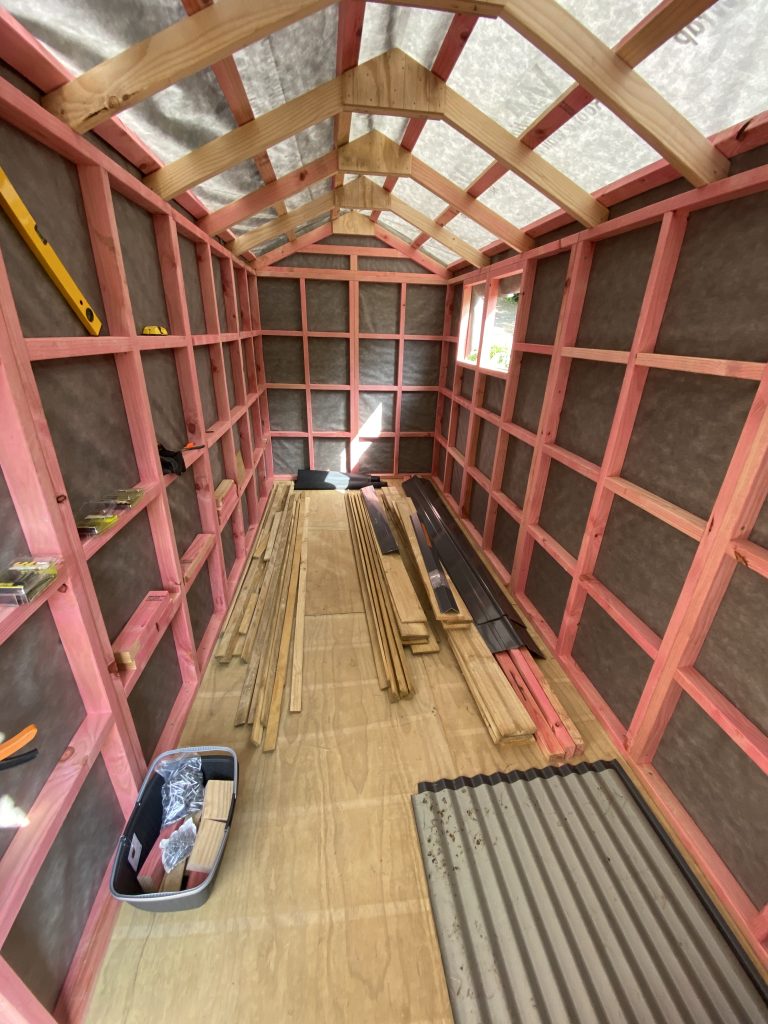
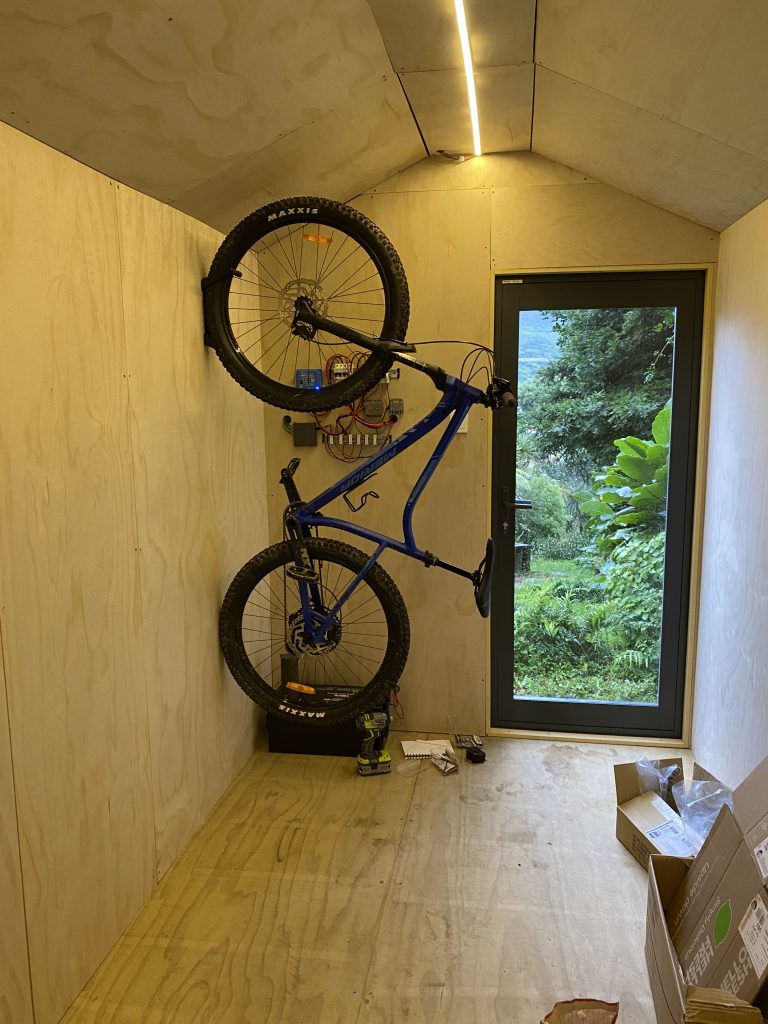
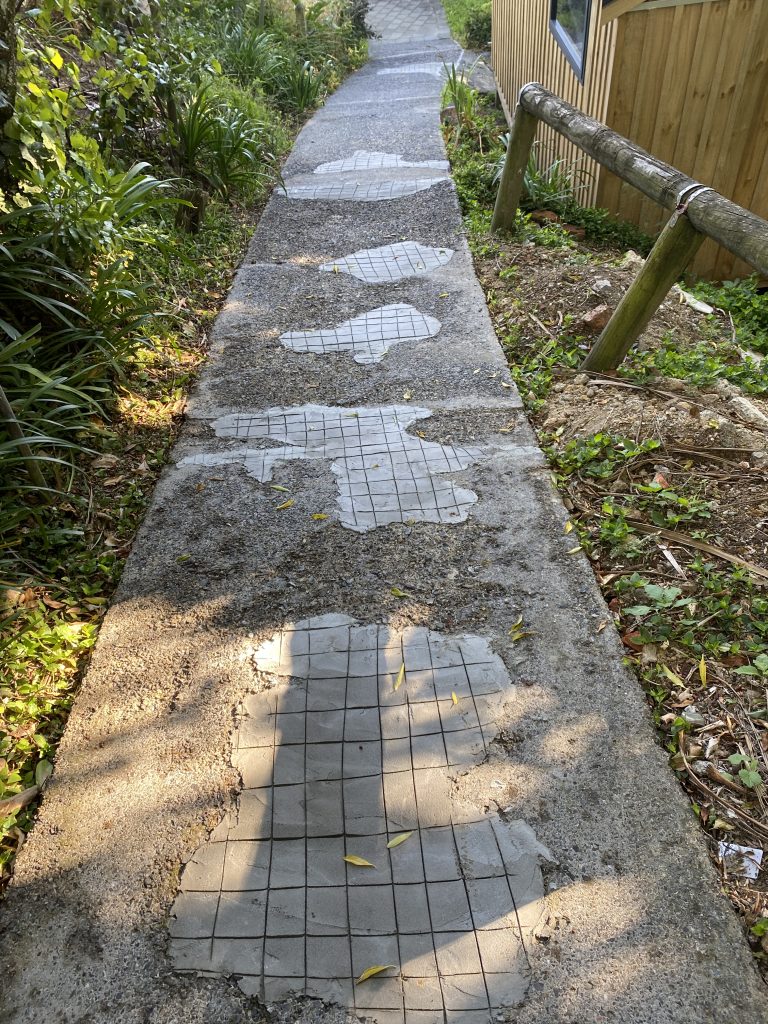
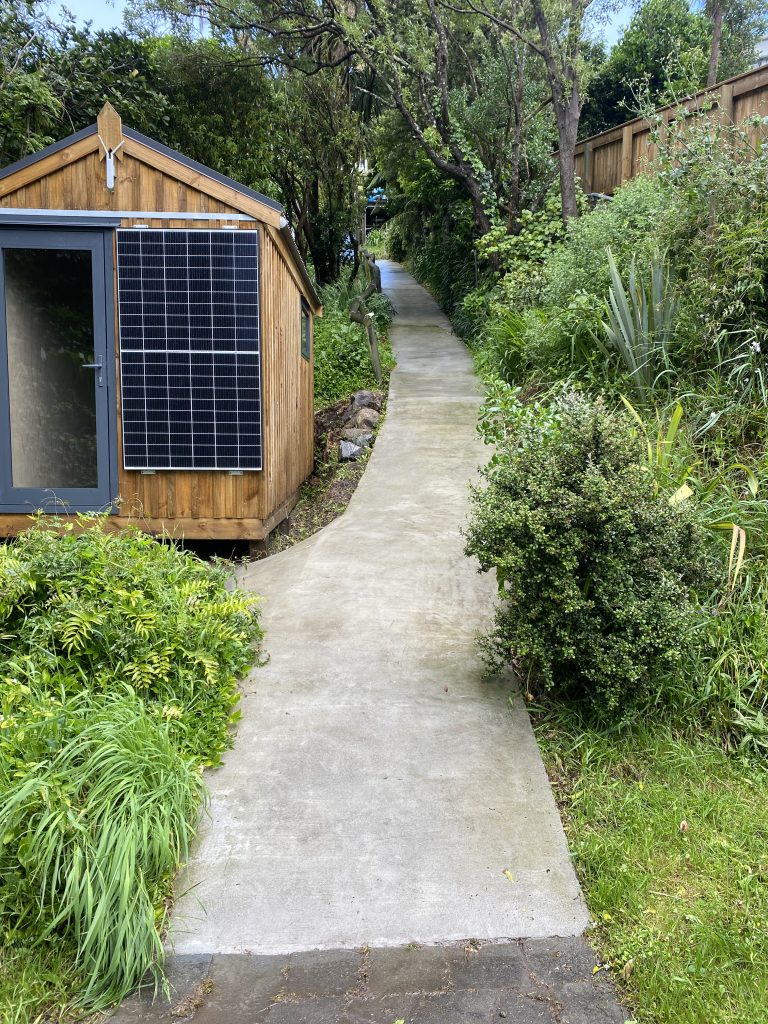
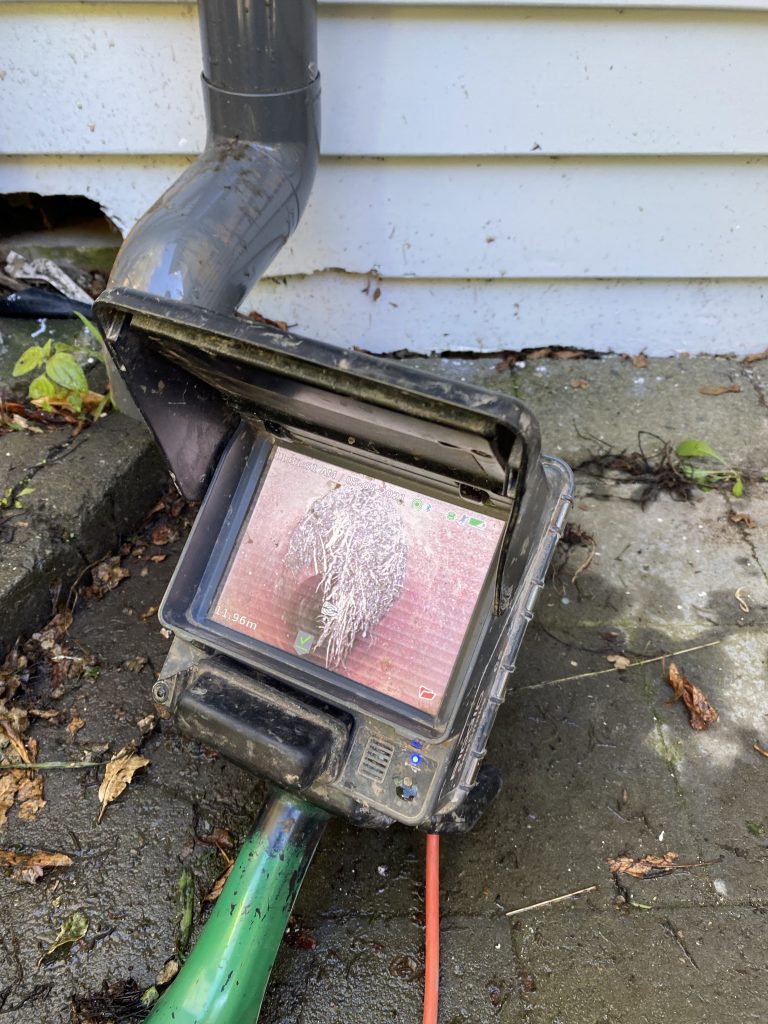
With the shed done, what else? Well we had a slight side quest to dig up and fix a segment of the sewer pipe. Like most activities that involve me digging, it took about 2 days of effort to get down 1.5 meters to where the pipe was located, but that sure bet the thousands it would cost to remotely re-surface the pipe.
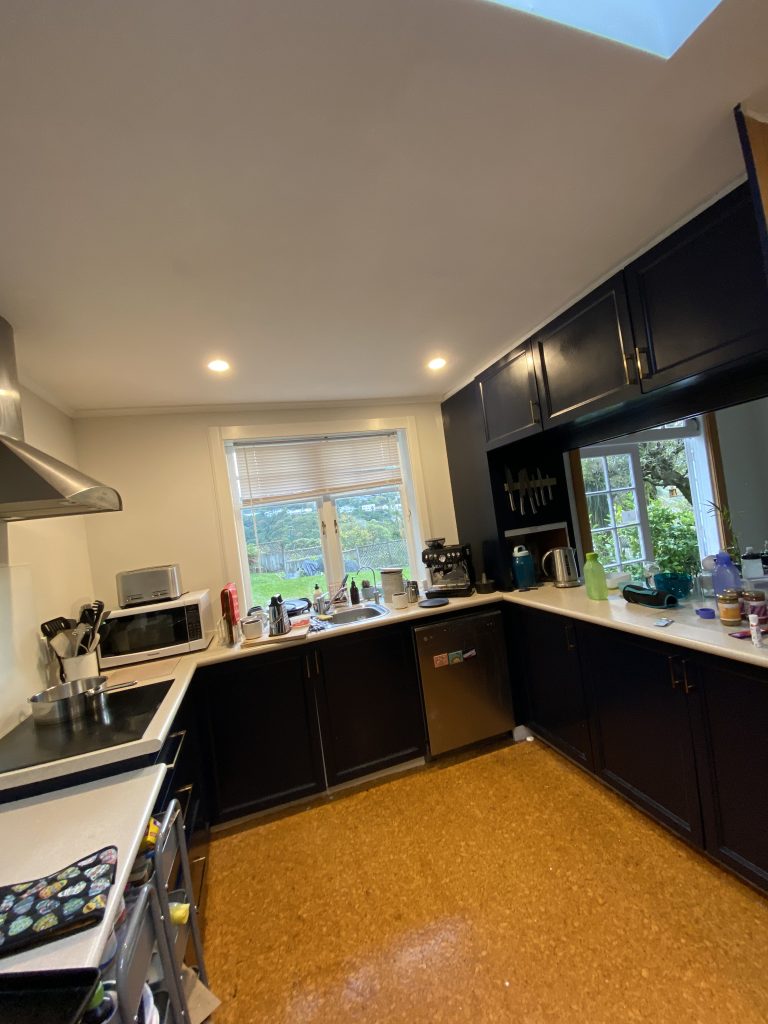
And I had to learn how to plaster to fix the previous massive missing section of the kitchen roof that was damaged by the old roof leaking. Oh and you might notice that the kitchen has changed colour, that’s thanks to Lisa pulling off all the doors and painting them as well as fitting new handles.
We managed to complete the full set of projects (roof, scaffold, paint, path, shed, hot water, cooktop etc) for a bit under $100k NZD, but this was possible only by doing a bunch of stuff myself like the gutters, plastering, shed, digging and house carpentry. I had estimated that we’d run about 20% over budget with unexpected costs and that ended up being almost perfectly accurate. Stuff like higher than expected electrical costs, the decision to replace the gutters, other miscellaneous materials, etc.
Being smart about sequence of work events and shopping around for trades also helped massively. For more than one of the trades we received quotes that were twice as high as the ones we eventually selected. Sometimes you get what you pay for, but sometimes people are just taking the piss. Worth shopping around for these big ticket items.
My favourite was the painter who came to quote and turned up in a huff because he couldn’t park right outside the house (he just parked his ute on the yellow lines anyway like a classic tradie), proceeded to diss the house as “needing a lot of work” infront of me and then quoting twice as high as another firm. For some strange reason he didn’t get the job.
Finally, having finished up the bulk of this project I treated myself to a new car and made sure to get out a heap to make up for the prior summer being consumed entirely by the renovation chaos.
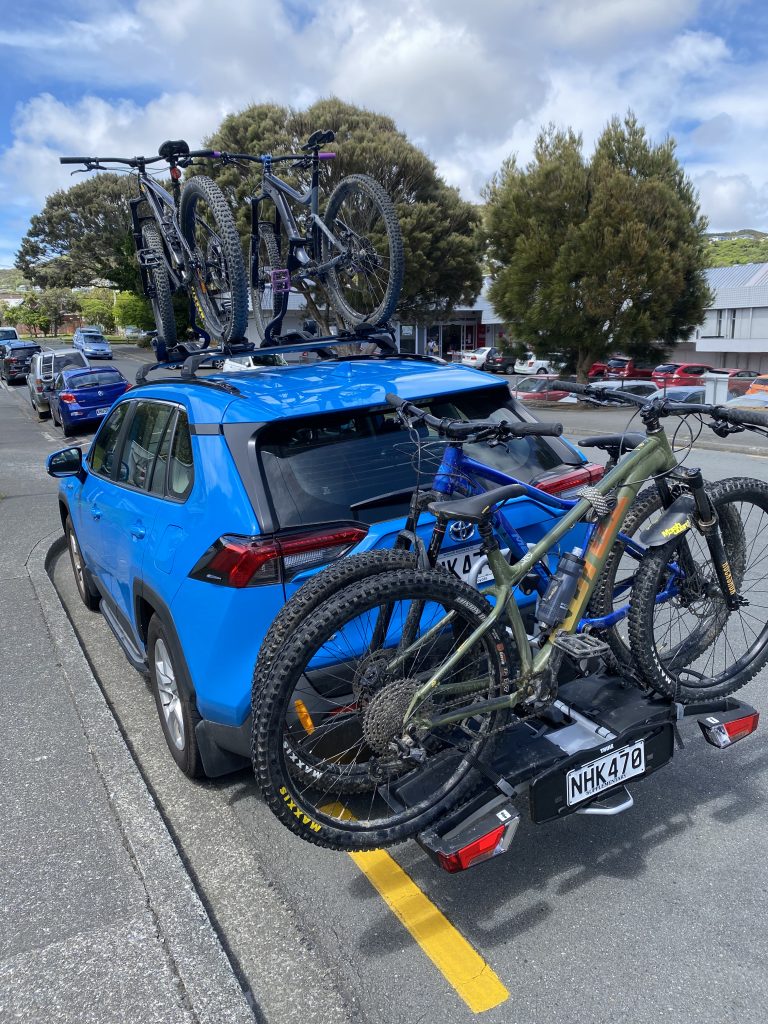
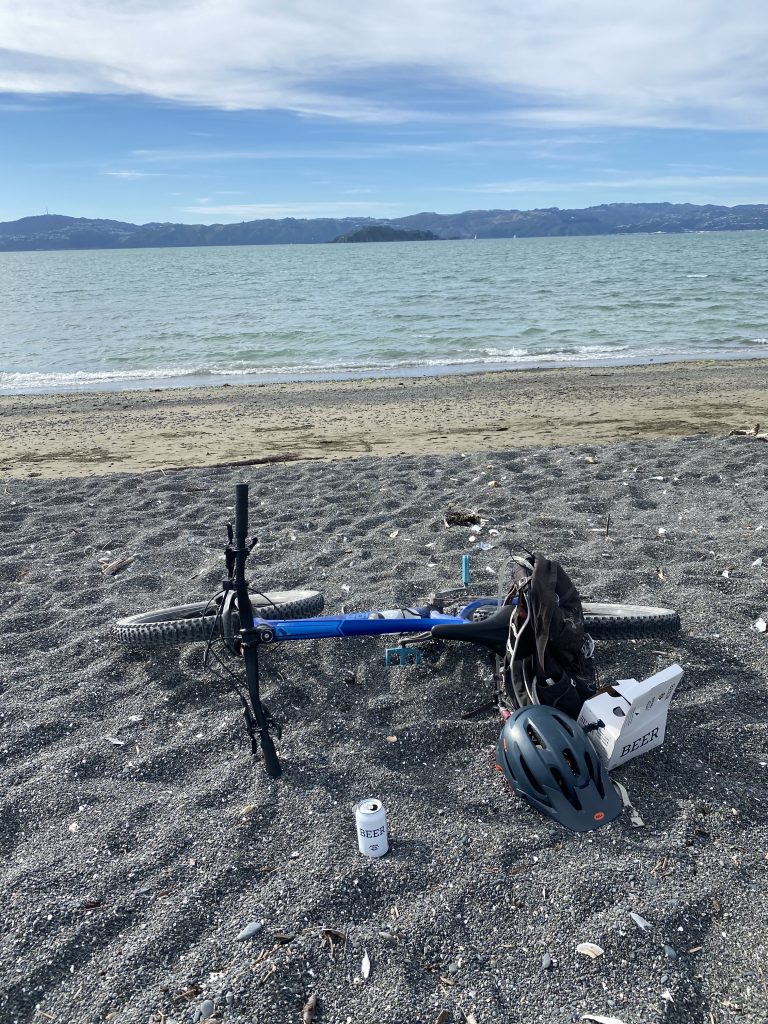

Aside from it’s bike carrying capabilities and gas thriftiness, one of the big aspects of buying the RAV4 2021 Hybrid was getting something with AWD for handling the mountains in winter – and then promptly only managed to spend 1 day up the mountain thanks to COVID-19 lockdowns. But I’m ready for 2022 season!

Where does this leave the house? In a pretty good state now. There’s always something more of course, I have some interior work to finish off and it’s looking increasingly likely that we’ll need to do a bathroom replacement in the next few years due to everything starting to reach end of life in there, but all critical stuff is sorted for now and we’ve gone through 2 winters now without water coming through the roof anymore which is nice.
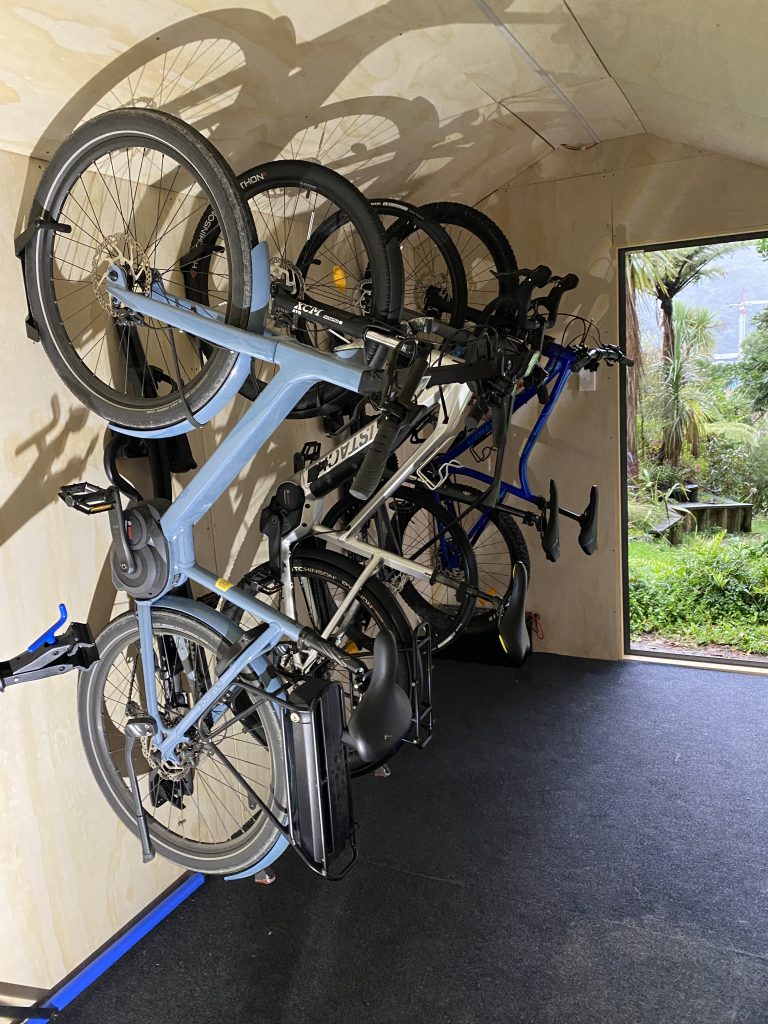
And I got my bike shed at last! Which has been wonderful, finally cleaned all the junk out of the laundry and have a proper space for bike tools, parts and of course the bikes themselves.
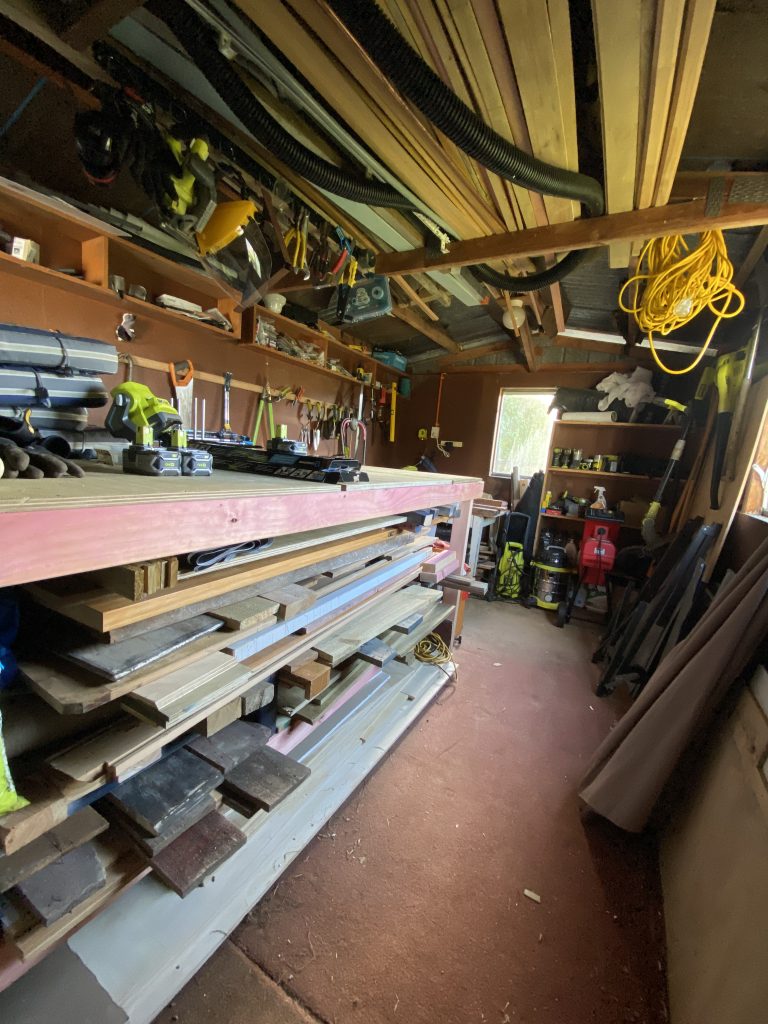
I’ve even cleaned up the older tool shed so it’s actually possible to navigate and find things in there, so that makes two quite usable spaces which is really handy given we have a smallish house at around 140m2.
Ugh god do you ever NOT update this stupid blog? Every decade I come by and there’s a new post. Calm down or something.
Don’t listen to Tim, I like your blog! Good work.?