One of the essential upgrades for the house has been the installation of computer network data cabling throughout the house. Whilst some helpful individual went to the effort of installing phone jacks in almost every room, an analogue phone line in every room isn’t that useful to me in 2014, so I decided to get the place upgraded with something a little more modern.
A few people have asked me why I didn’t go entirely WiFi instead – granted it’s a valid question given that most devices now come with WiFi and no wired ethernet (curses Apple Macbooks), but I figured there’s still some good reasons to install cables through the house:
- WiFi still needs some copper cables to backhaul data and even if mesh networking evolved to be good enough to eliminate the backhaul link requirements, there’s no wireless power yet, so POE is damn handy.
- With ports in every room, I can always plug in more APs in any room to get better coverage. Could be very handy if new tech like WiGig takes off, which may require an access point in each room due to poor performance through walls.
- The current WiFi tech is acceptable for transferring current HD video content over the network, but it’s not going to handle ultra-high-def content like 4K footage very well.
- The Cat6 cabling I’ve installed should be capable of up to 10Gbit speeds. It’s going to take us a while to get 10Gbit with wireless.
Only time will tell if I was as foolish as those who installed coaxial cabling for their 10mbit networks before they got bitten by the uptake of Cat5, but I suspect it should be useful for another 10-20 years at least. After that, who knows….
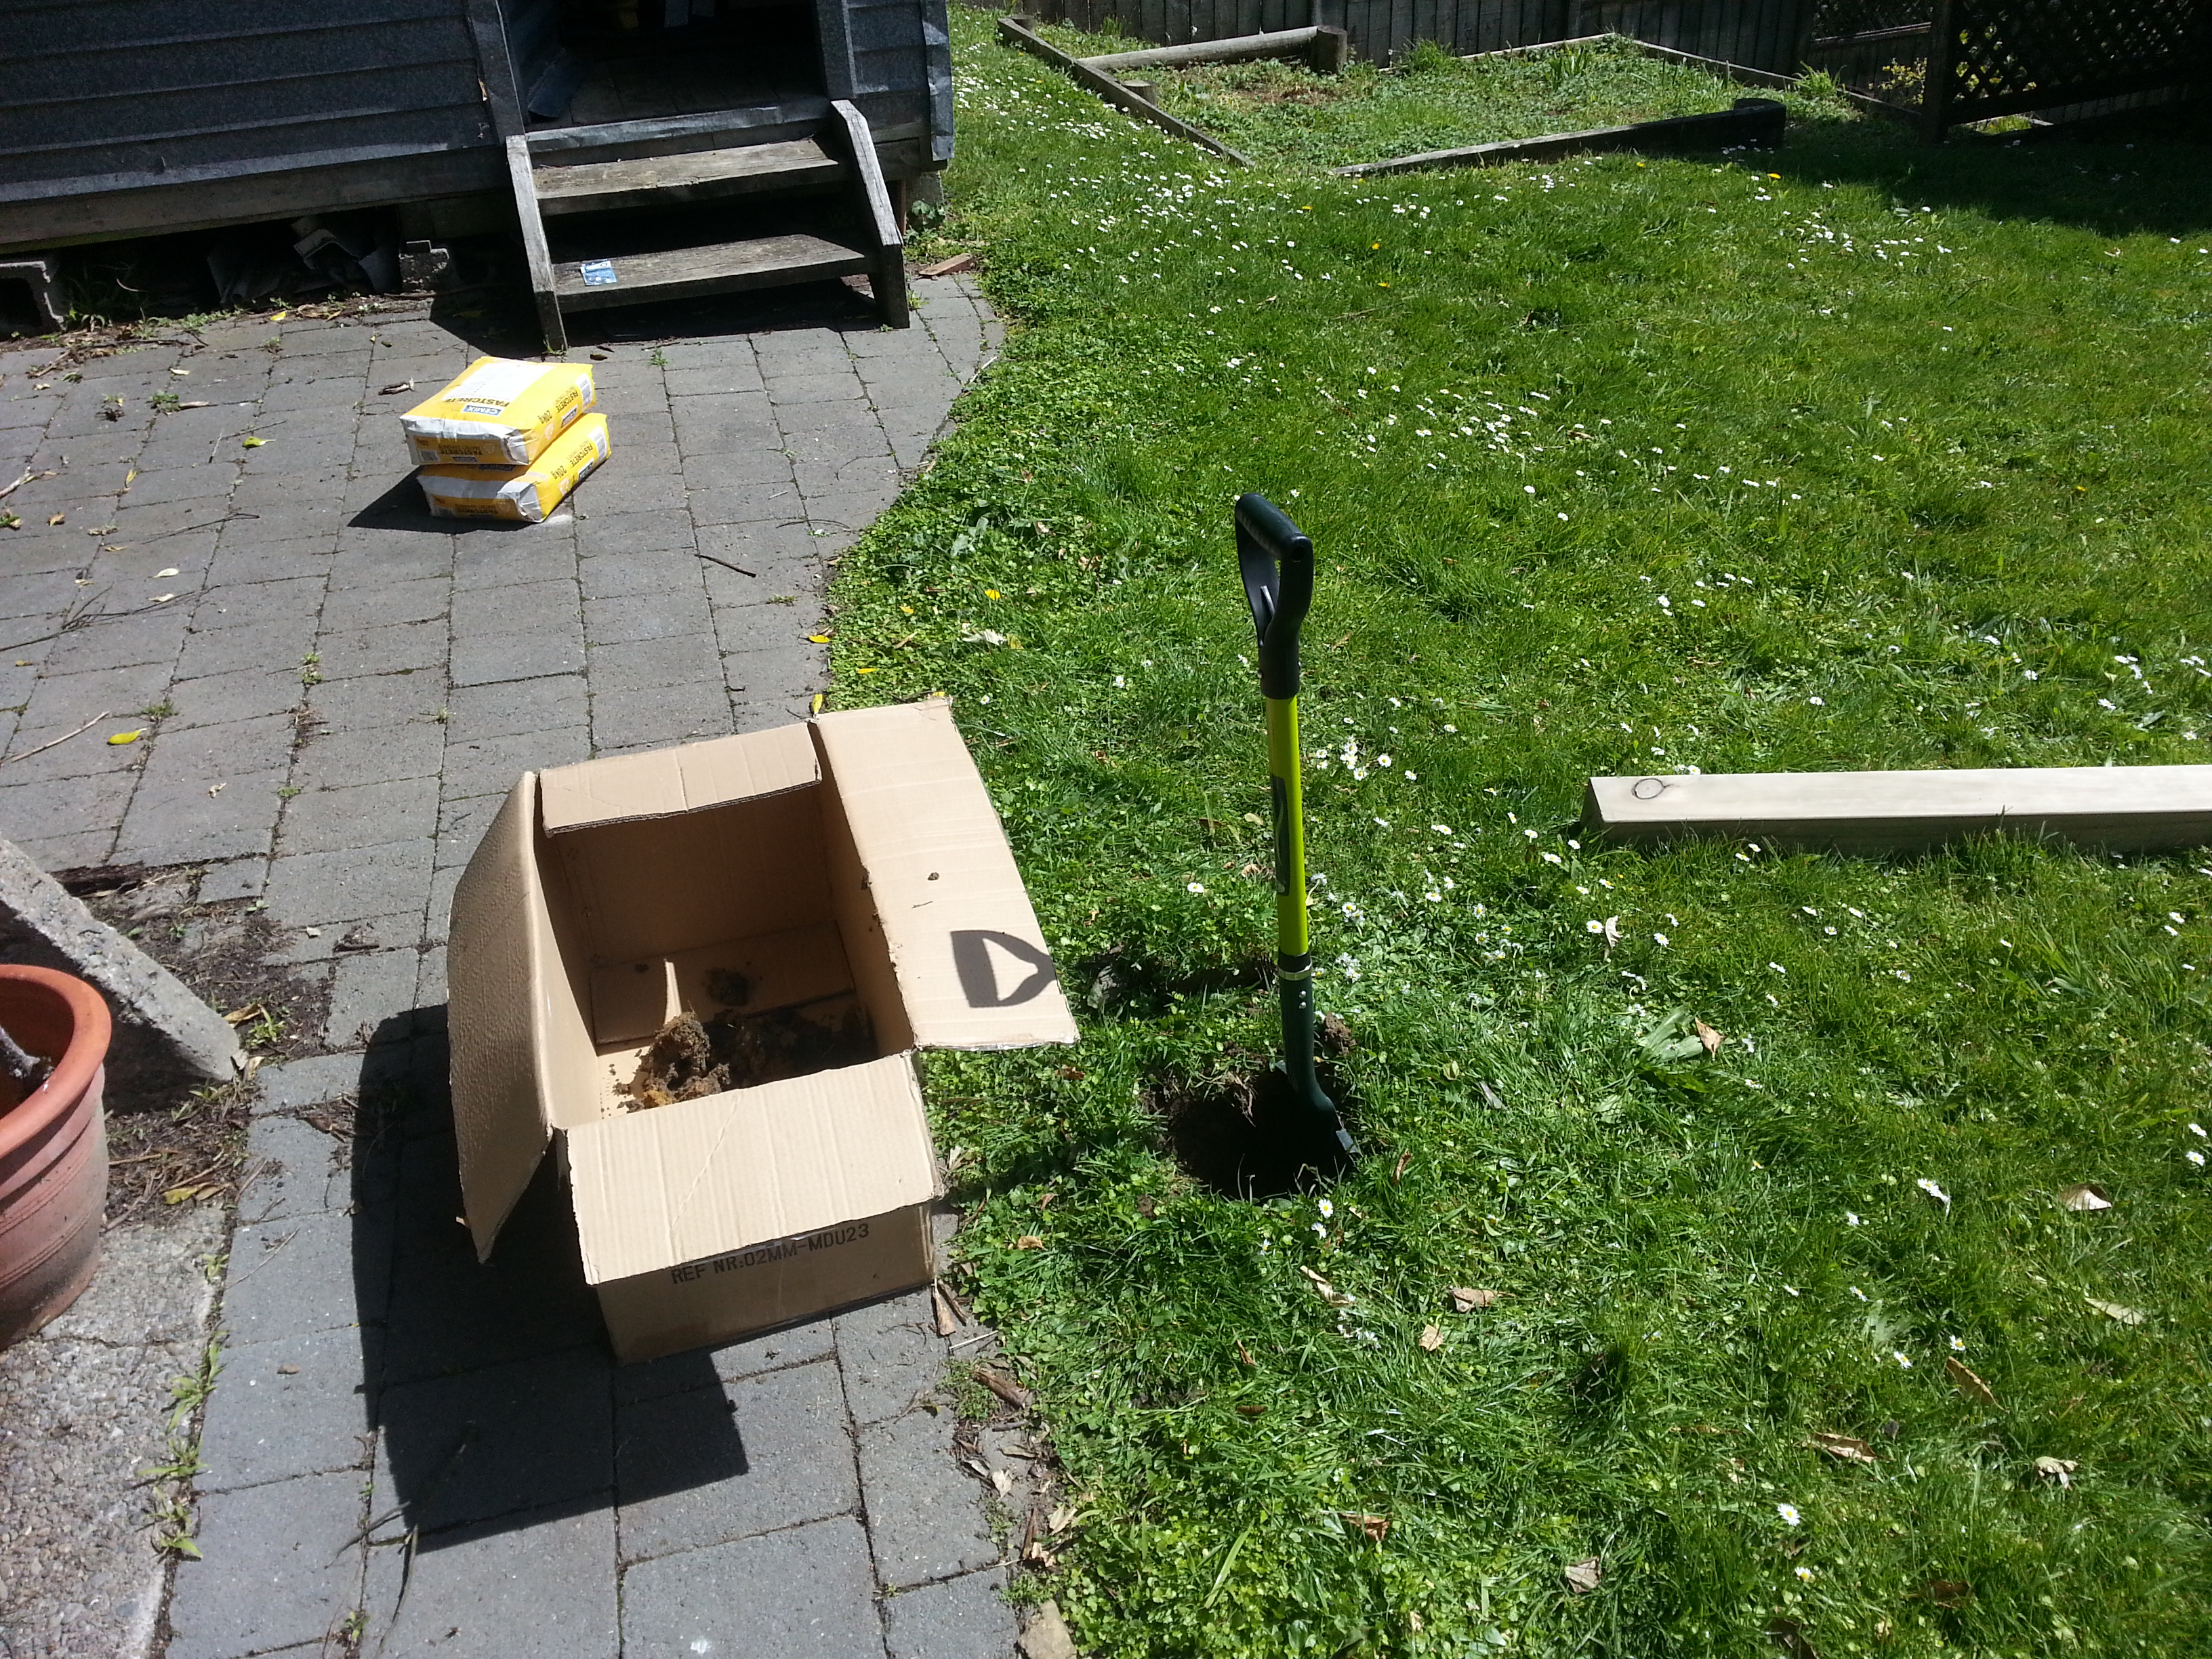
Since I’m putting the cabling into existing clad rooms, I lack the convenience of a newly built or renovated property where I can simply run cables at my leisure and put the plasterboard up afterwards. On the plus side, unlike a modern house, mine has a number of gaps from items like old brick chimneys that have been removed and a number of walls that lack the conventional 2×4 horizontal studs, which offers some places where cables can be dropped from ceiling to floor uninterrupted.
With this in mind, I gathered my tools, geared up with confidence, and set off on my cabling adventure.
“Trust me, I know what I’m doing”
Only one problem – one quick look up into the attic quickly confirmed for me that “yes, I do certainly dislike heights” and “yes, I also really do dislike confined spaces that are dark and smell funny”.
To overcome these problems, I recruited the services of the future-father-in-law who has a lot of experience running TV antenna cabling, so is pretty comfortable moving around in an attic and drilling holes into walls. Thankfully he agreed to assist me (thanks Neville!!) with climbing up and around the attic which allowed me to move to the next step – getting the cables in.
3.5 metre ceilings mean you need to get comfortable with working at the top of a ladder
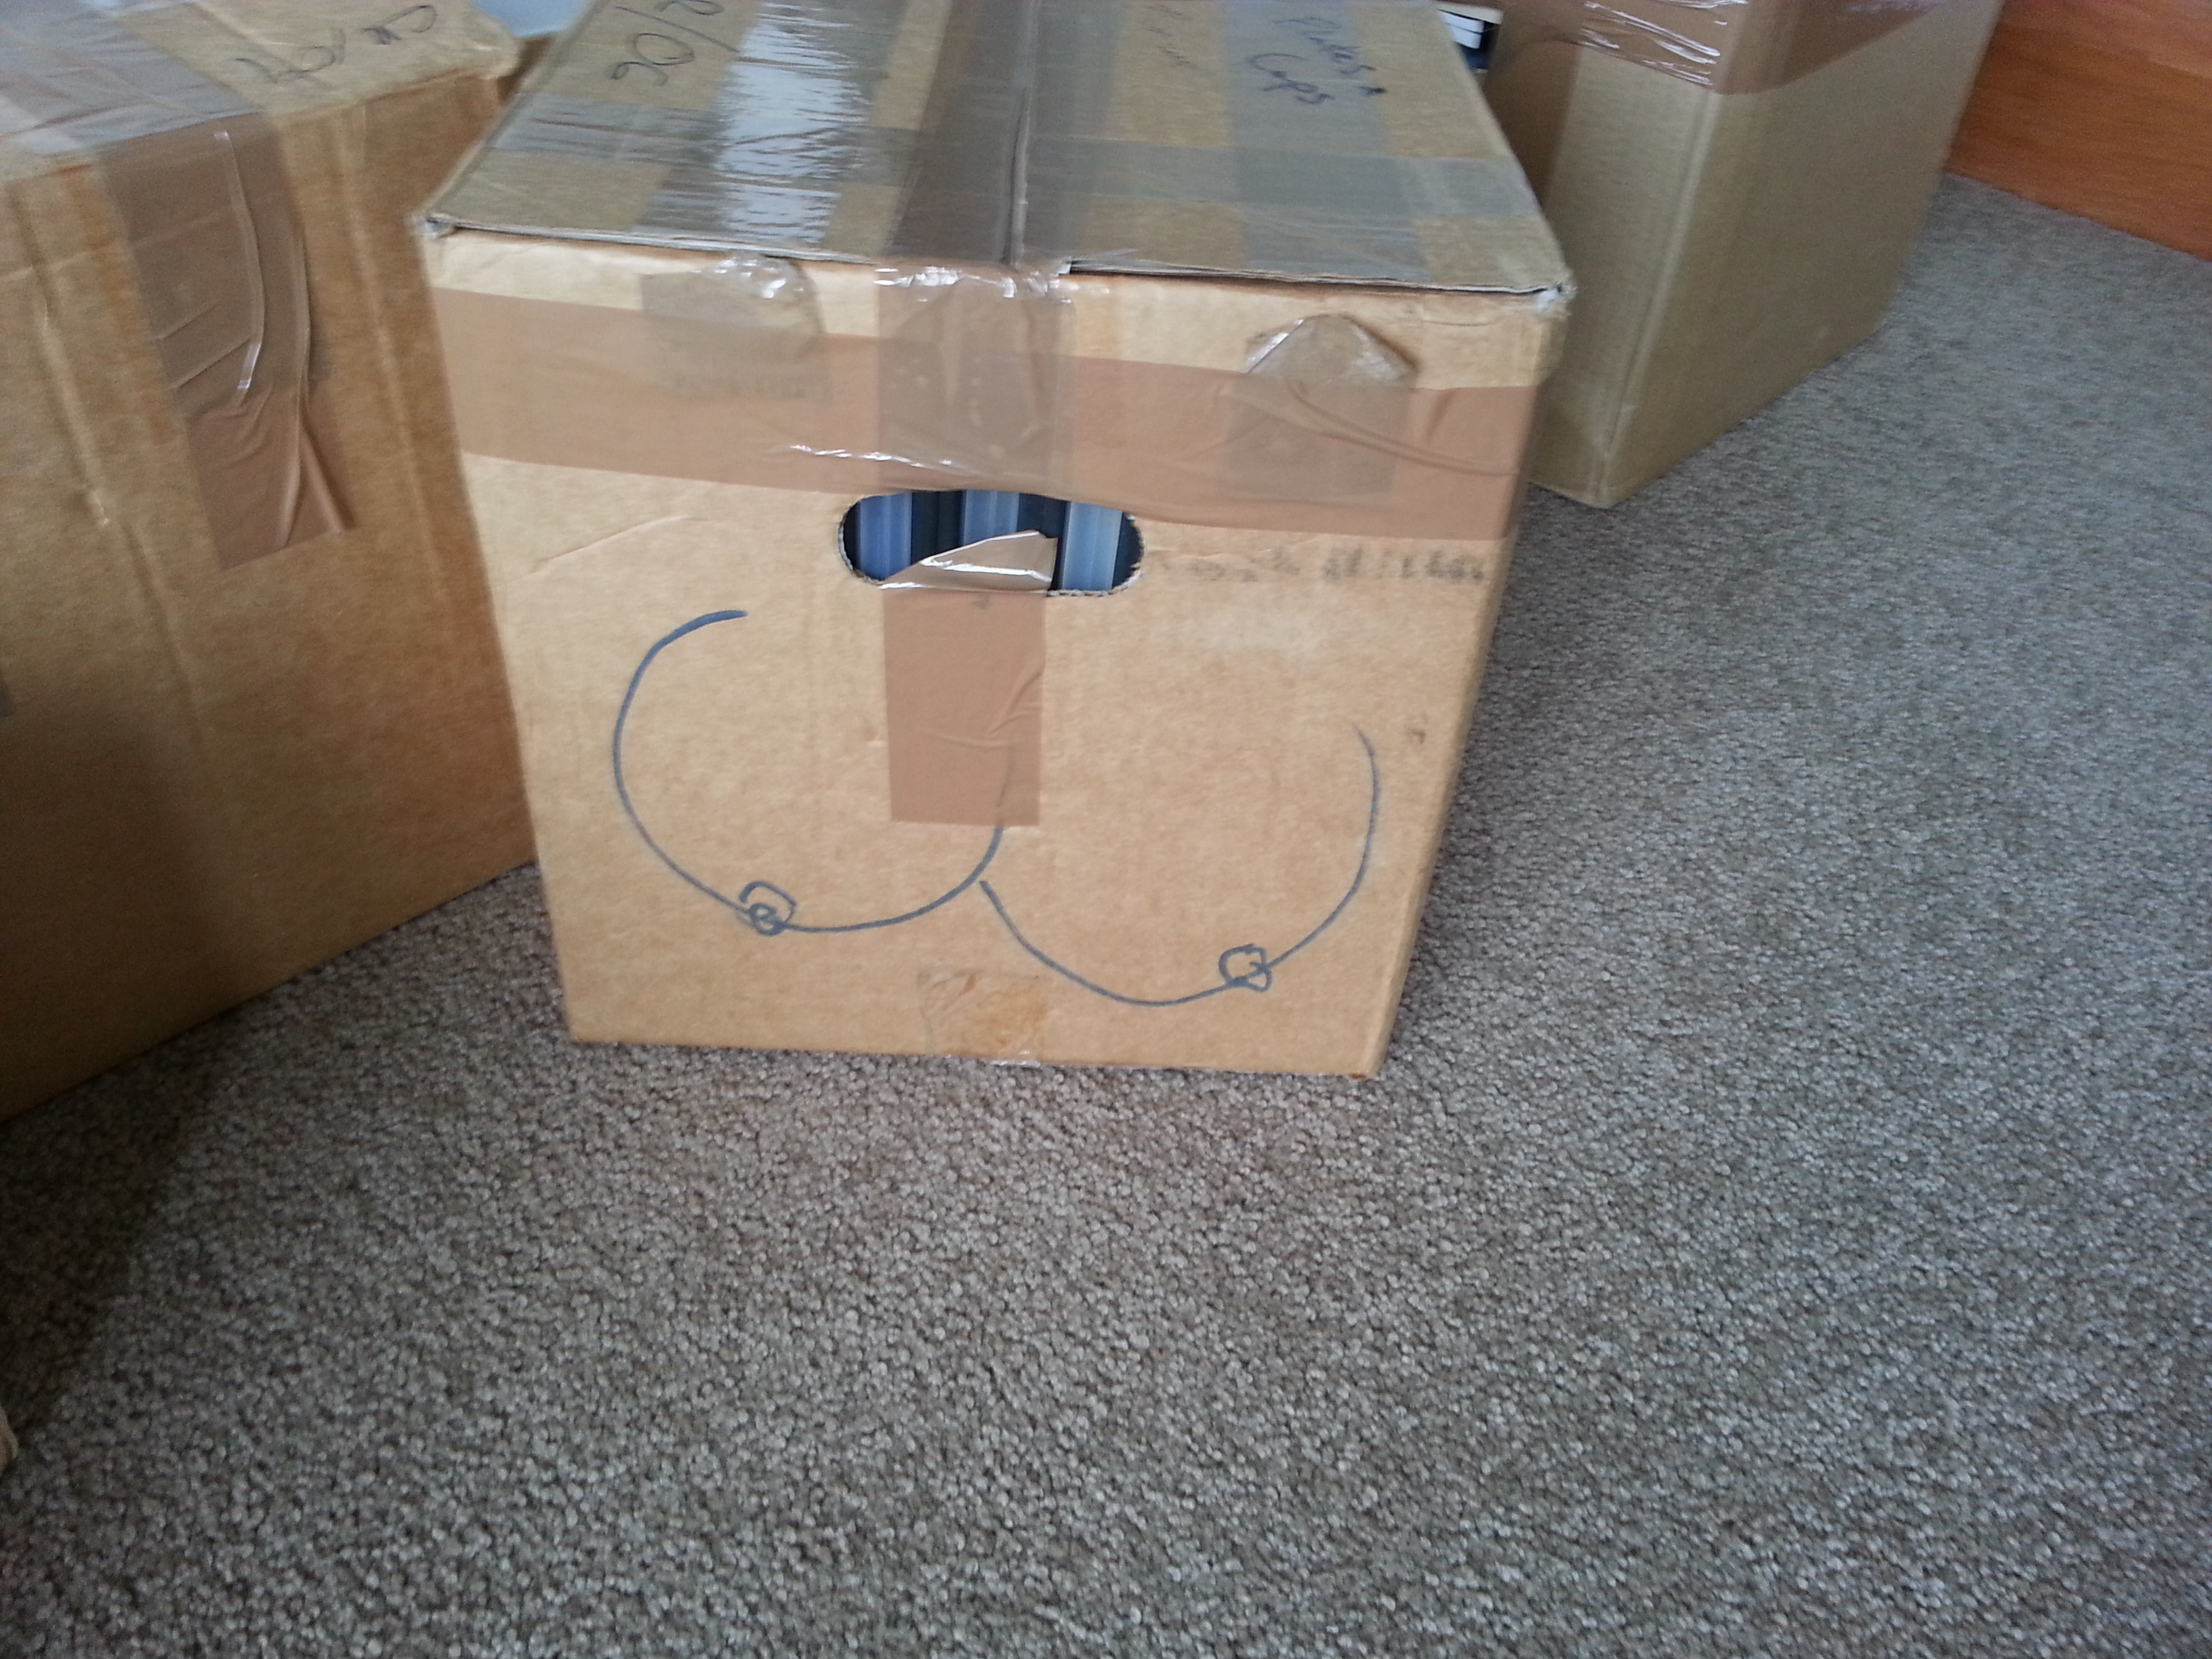
I decided that I wanted 4x cables into the lounge, 4x into the back bedroom/office, and then 2x into the other 3 bedrooms. I pondered just putting 4x everywhere, but had a whole bunch of 2x plates and I figure the bedrooms aren’t likely to host a small server farm any time soon. Again, one of those things where I might be cursing myself in the future, or might not ever be an issue.
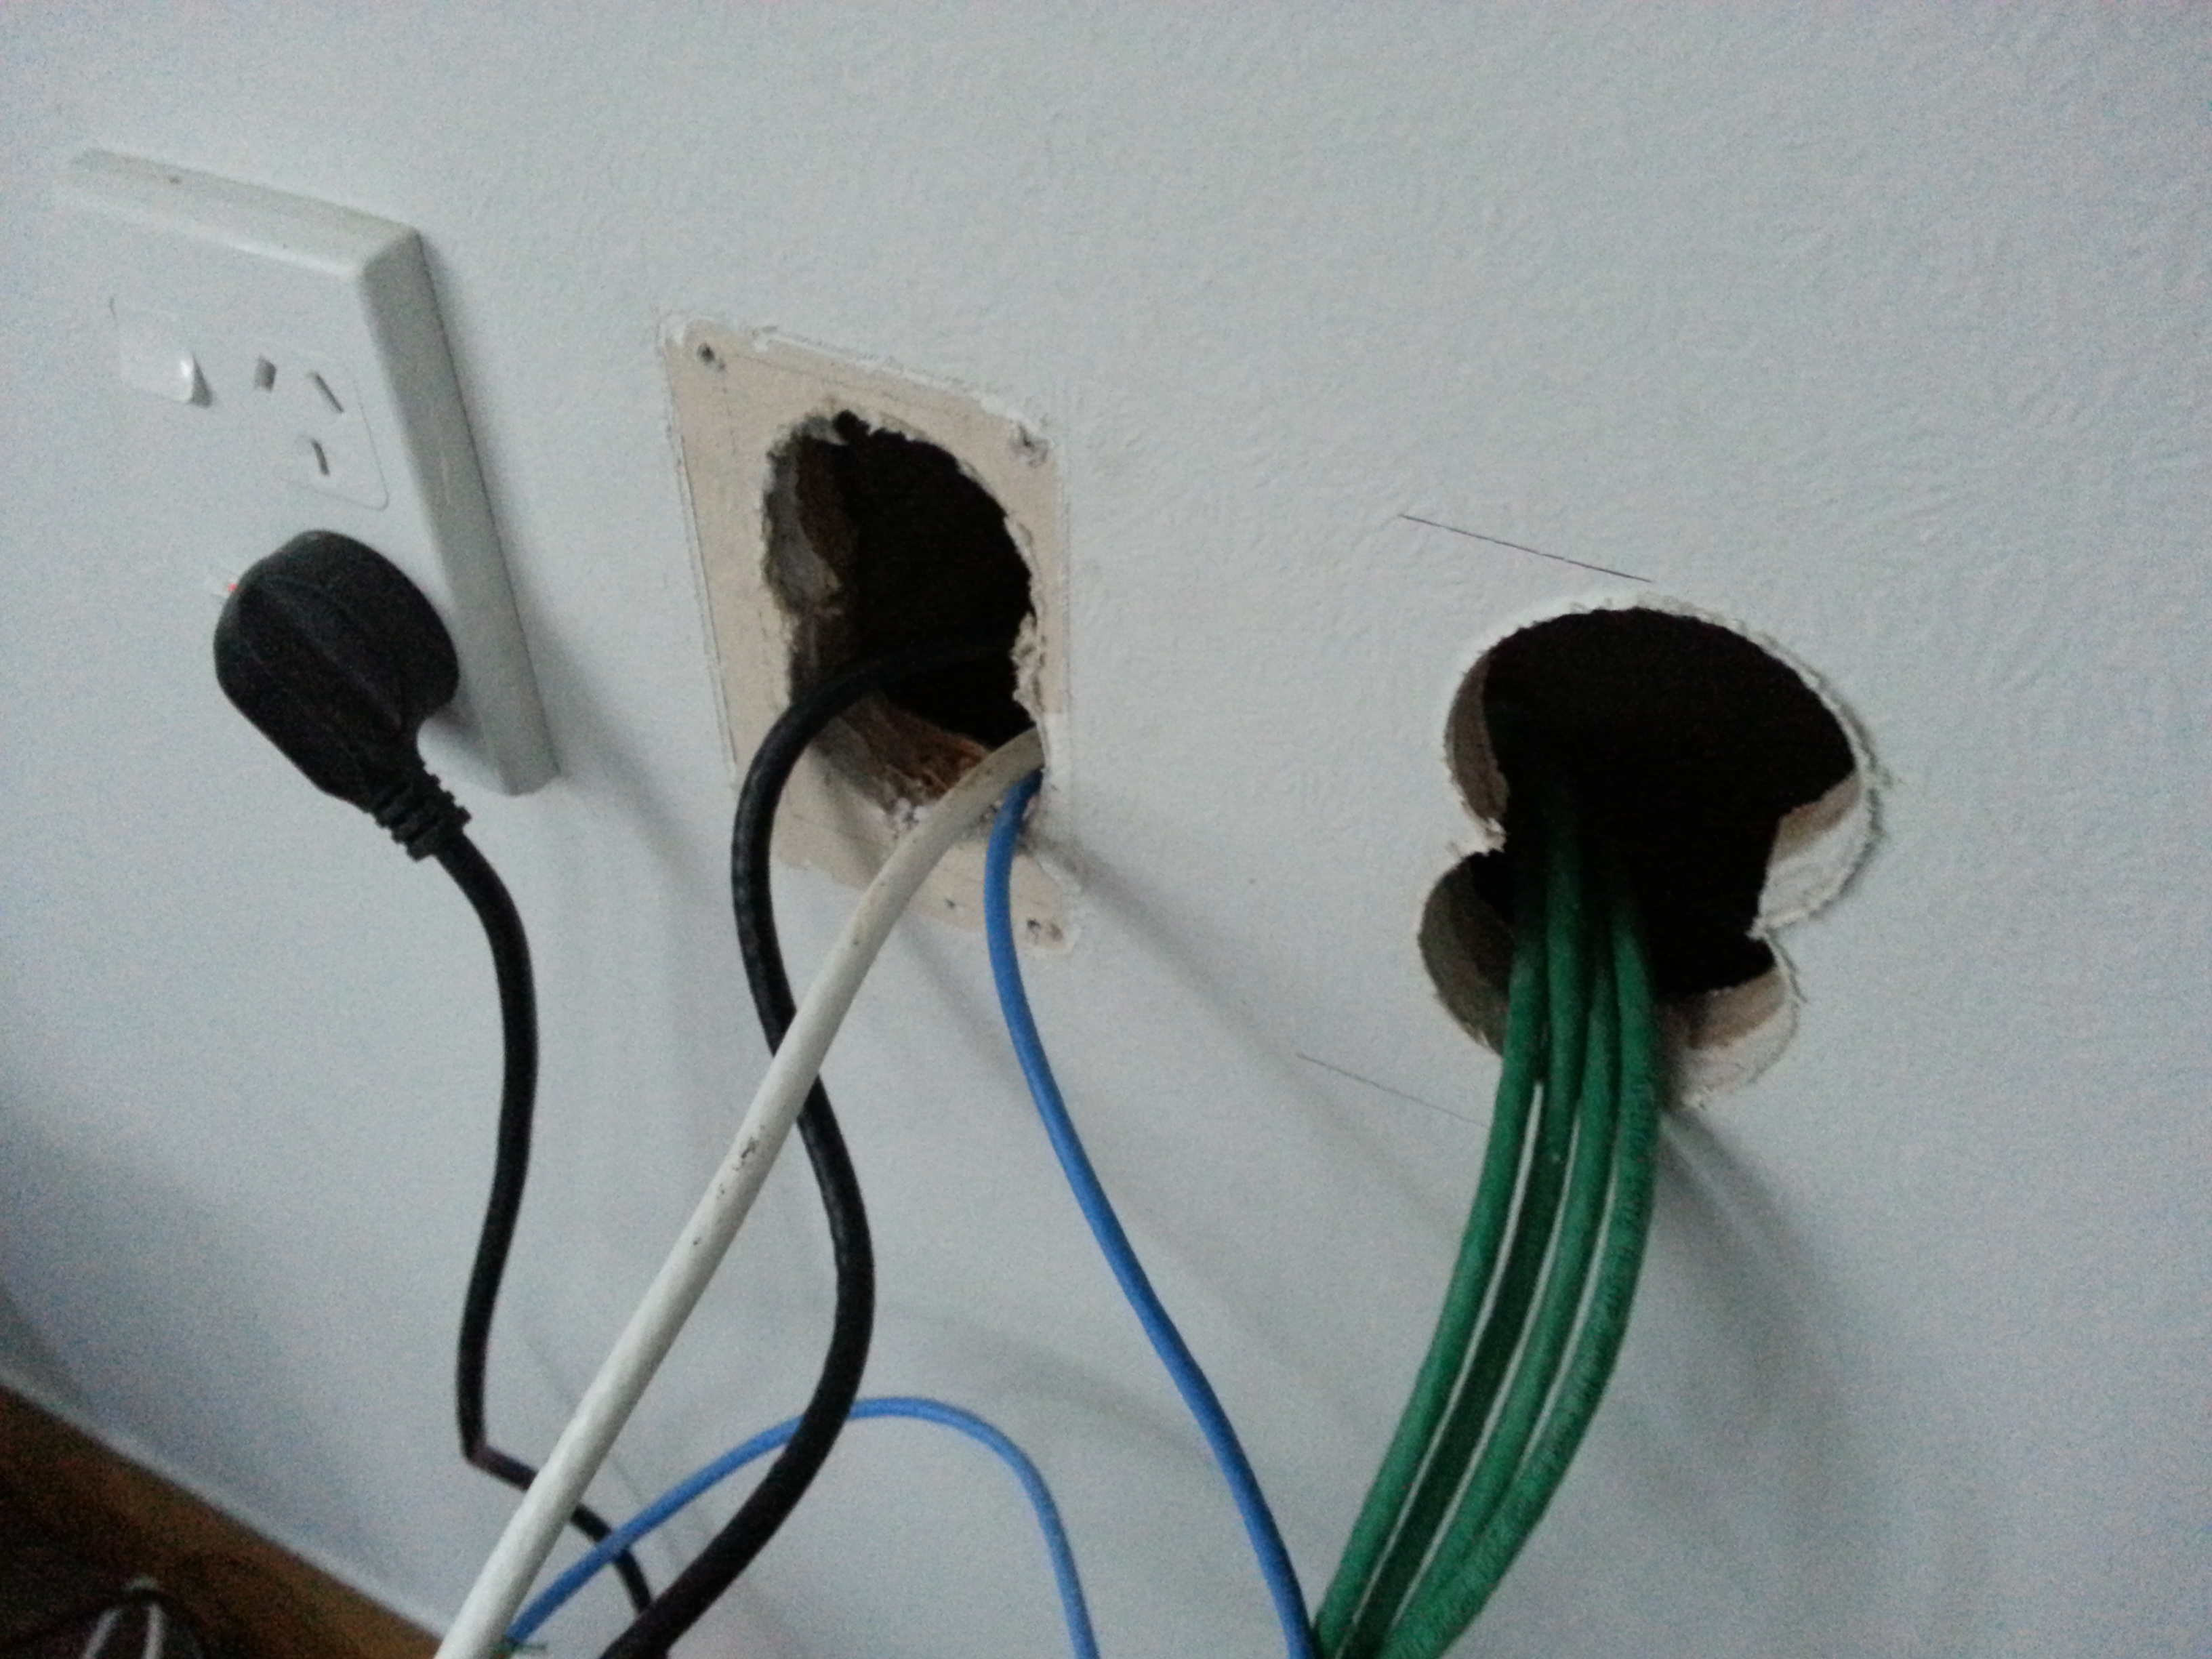
The small bedroom was the easiest, being in part of the original house, there was no studs from floor to roof, so we could simply drop the cables right down and cut a hole at the bottom for the ports. Easy!
The older walls never needed studs, since the walls are lined in about 10mm of solid sarking timber made from native hardwood Rimu, these timber planks hold the building together tight and eliminate the need for the more modern practice of horizontal studs in the walls. The upside of this sarking is that the place is solid and you can put weight baring screws into almost any part of the wall, and screw the faceplates for power and data directly into the wall without needing flushboxes. The downside is that the hole saw takes some effort to cut through this hardwood native timber and it also means that WiFi penetration betweens the rooms isn’t as great. Infact when I had the WiFi access point in a cupboard before it got properly installed, I struggled to maintain connections to some locations due to the thick walls.
If you look carefully, can see the thickness of the walls with the plasterboard + sarking.
The back rooms – bedroom, office and lounge were a bit more challenging. Due to structural blockages like support beams and horizontal studs in the younger office and bedroom renovation, it wasn’t simply a case of dropping the cable down from the roof to each room.Instead we ran the cables through the roof and then down all together in a single bunch thought the space that was once occupied by the brick chimney, to get the cables down from the roof to under the house. Once under, we were able to run them to the required rooms and pop the cables back up into the rooms by drilling a hole into the middle of each wall from under the house.

Cloud Pipes!
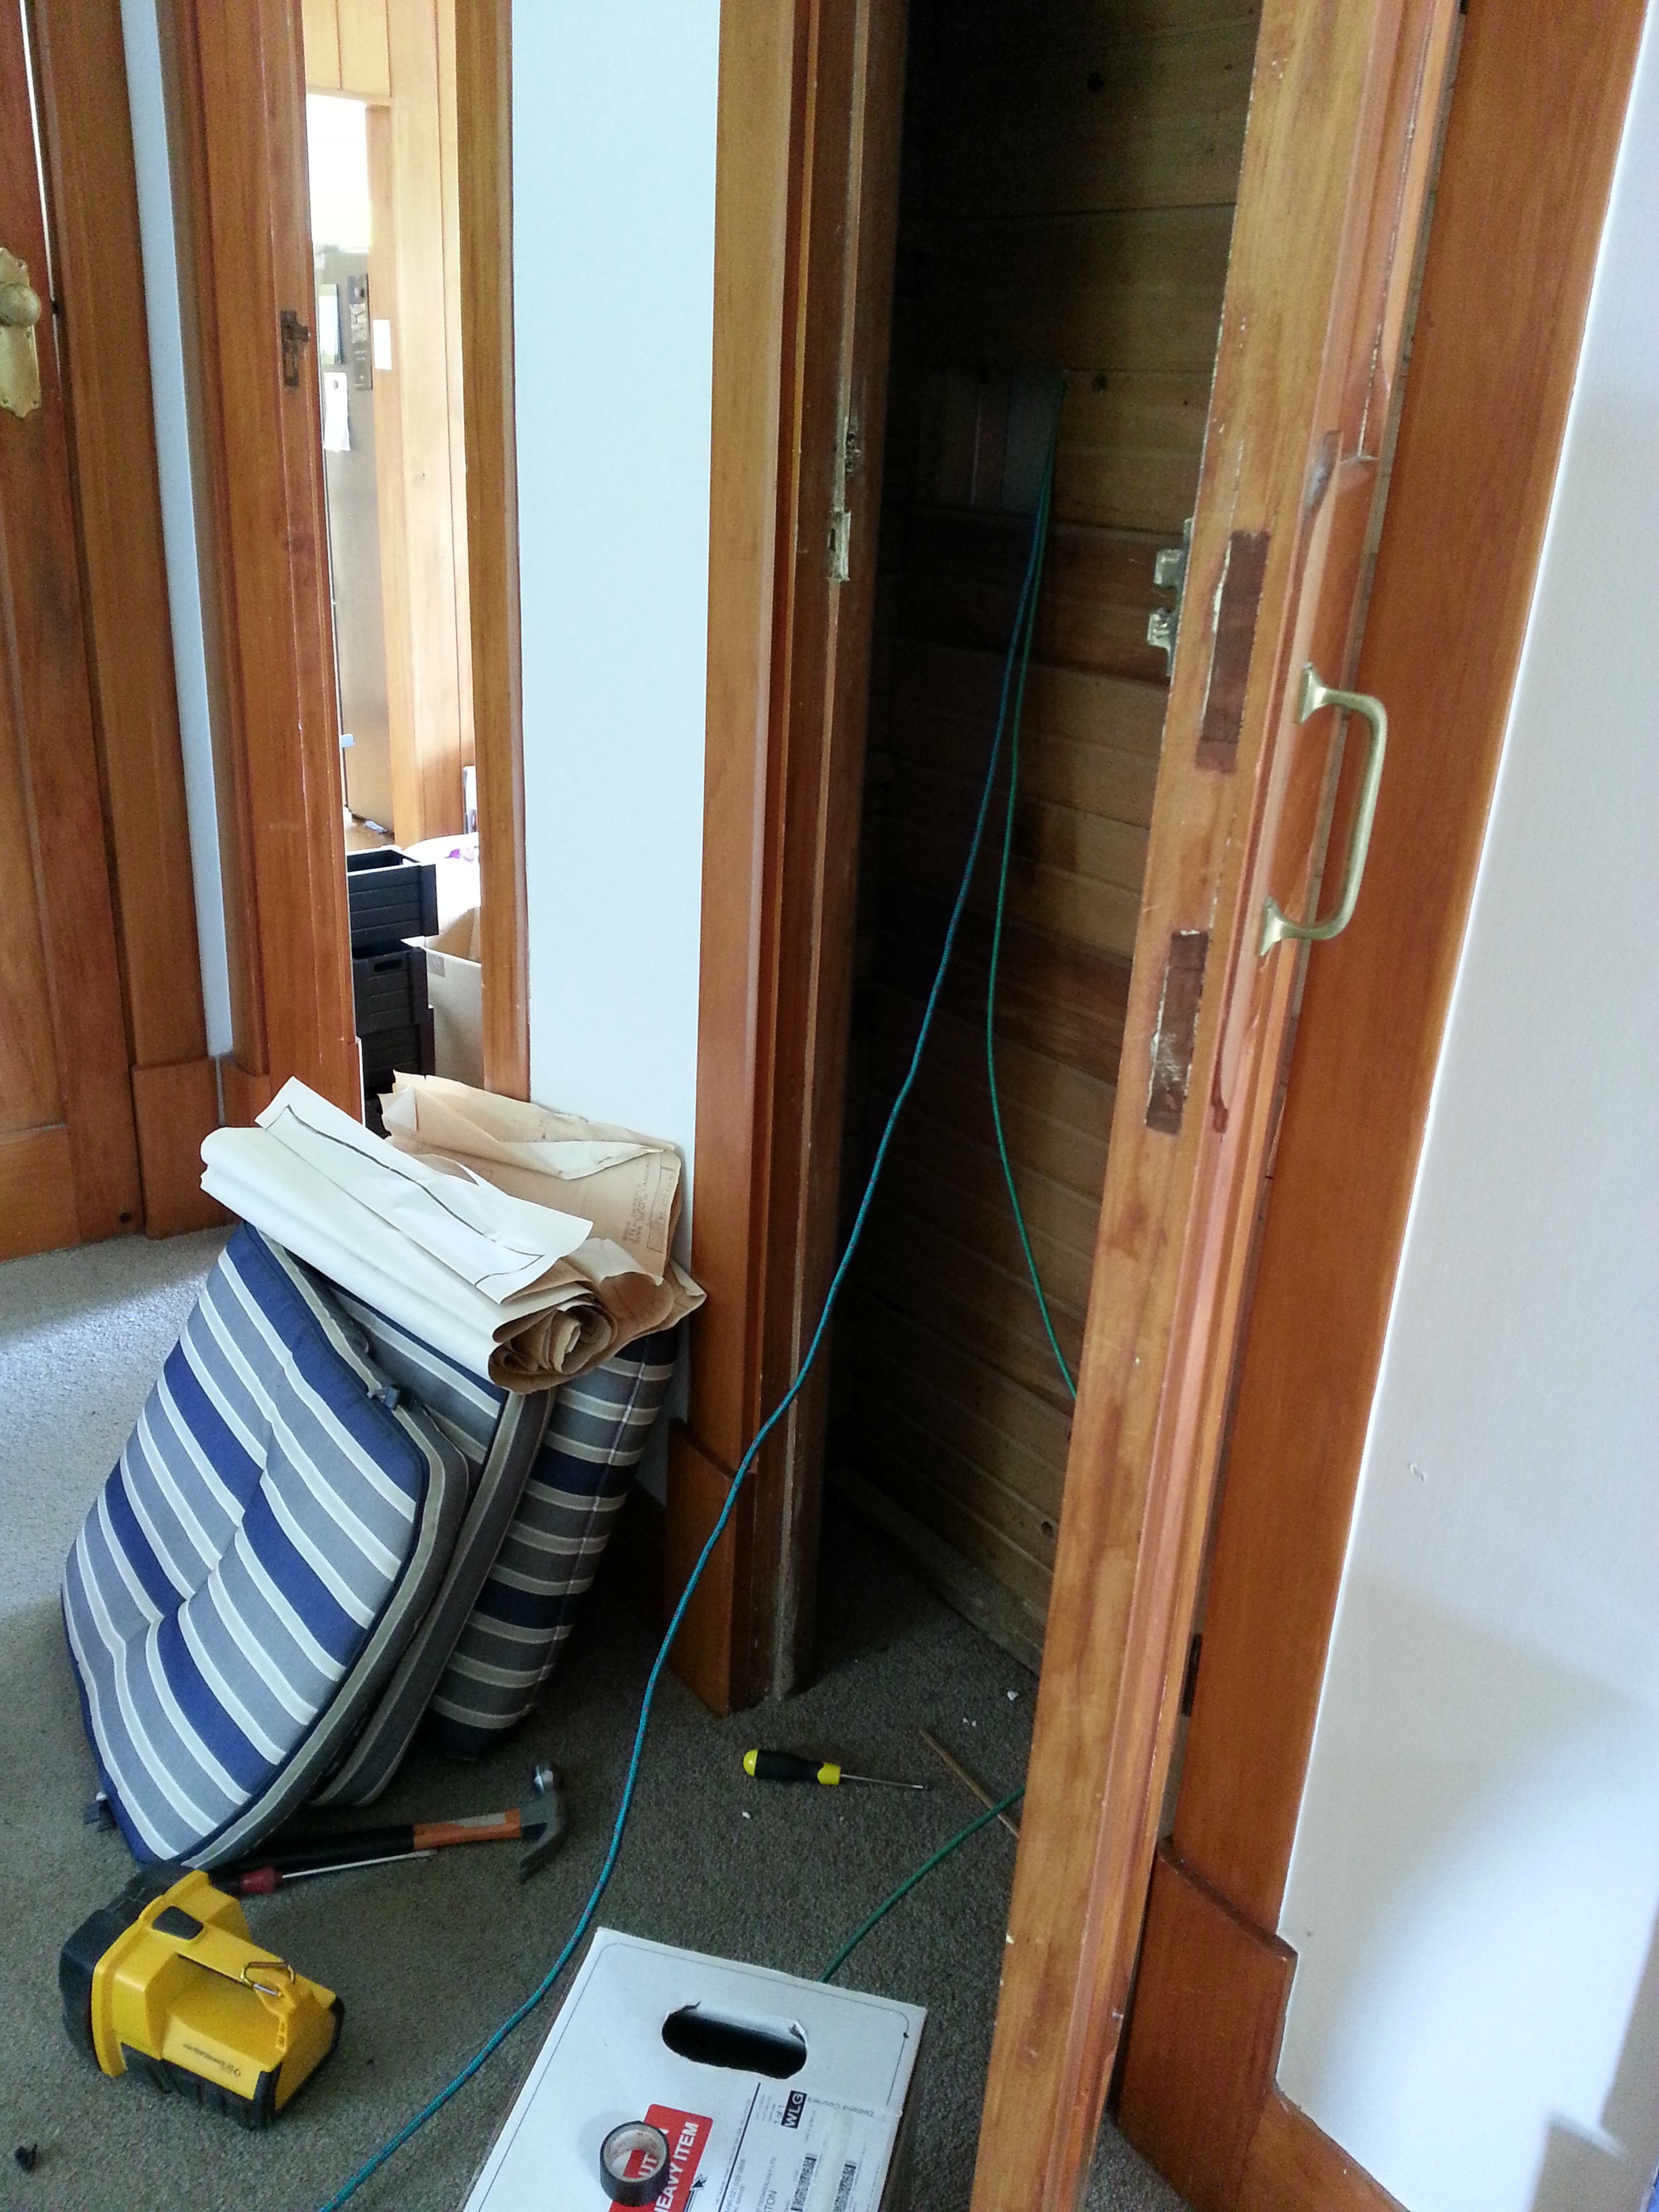
To do the master bedroom took some creativity, but we found that the hall cupboard that backs onto the bedroom was an easy to target location and dropped the cables down there, before doing some “creative re-construction” of the cupboard walls to get the cables down and through to the other side in the bedroom.
Even this coat cupboard needs to be GigE connected
Running the cables was a three-step task. First we ran a single cable being fed out of the reel until we got it to the desired location. This is required to determine the length of the cabling needed, although if we were willing to be wasteful with cable and coil the excess in the roof, we could have made estimations on the generous side and skipped this step and just have run a draw wire from the immediate start.
We then removed the cable, pulling a draw wire through after it. In my case, we use some old cat5 cable as the draw wire since it’s nice and tough. Once the original cable is recovered, we cut the required number of lengths exactly the same, then create bundles of cable as needed.
We used electrical table to bind them together (since it doesn’t add any thickness to the bundles, unlike cable ties, which get stuck on holes) and made sure to stagger the cables so that it wasn’t a single large flat end trying to get through the holes.
Once the bundles are ready, it’s just a case of attaching it to the draw wire and pulling the draw wire through, pulling the new bundle behind it. Make sure you’ve drilled your holes to be big enough to fit the whole bundle!
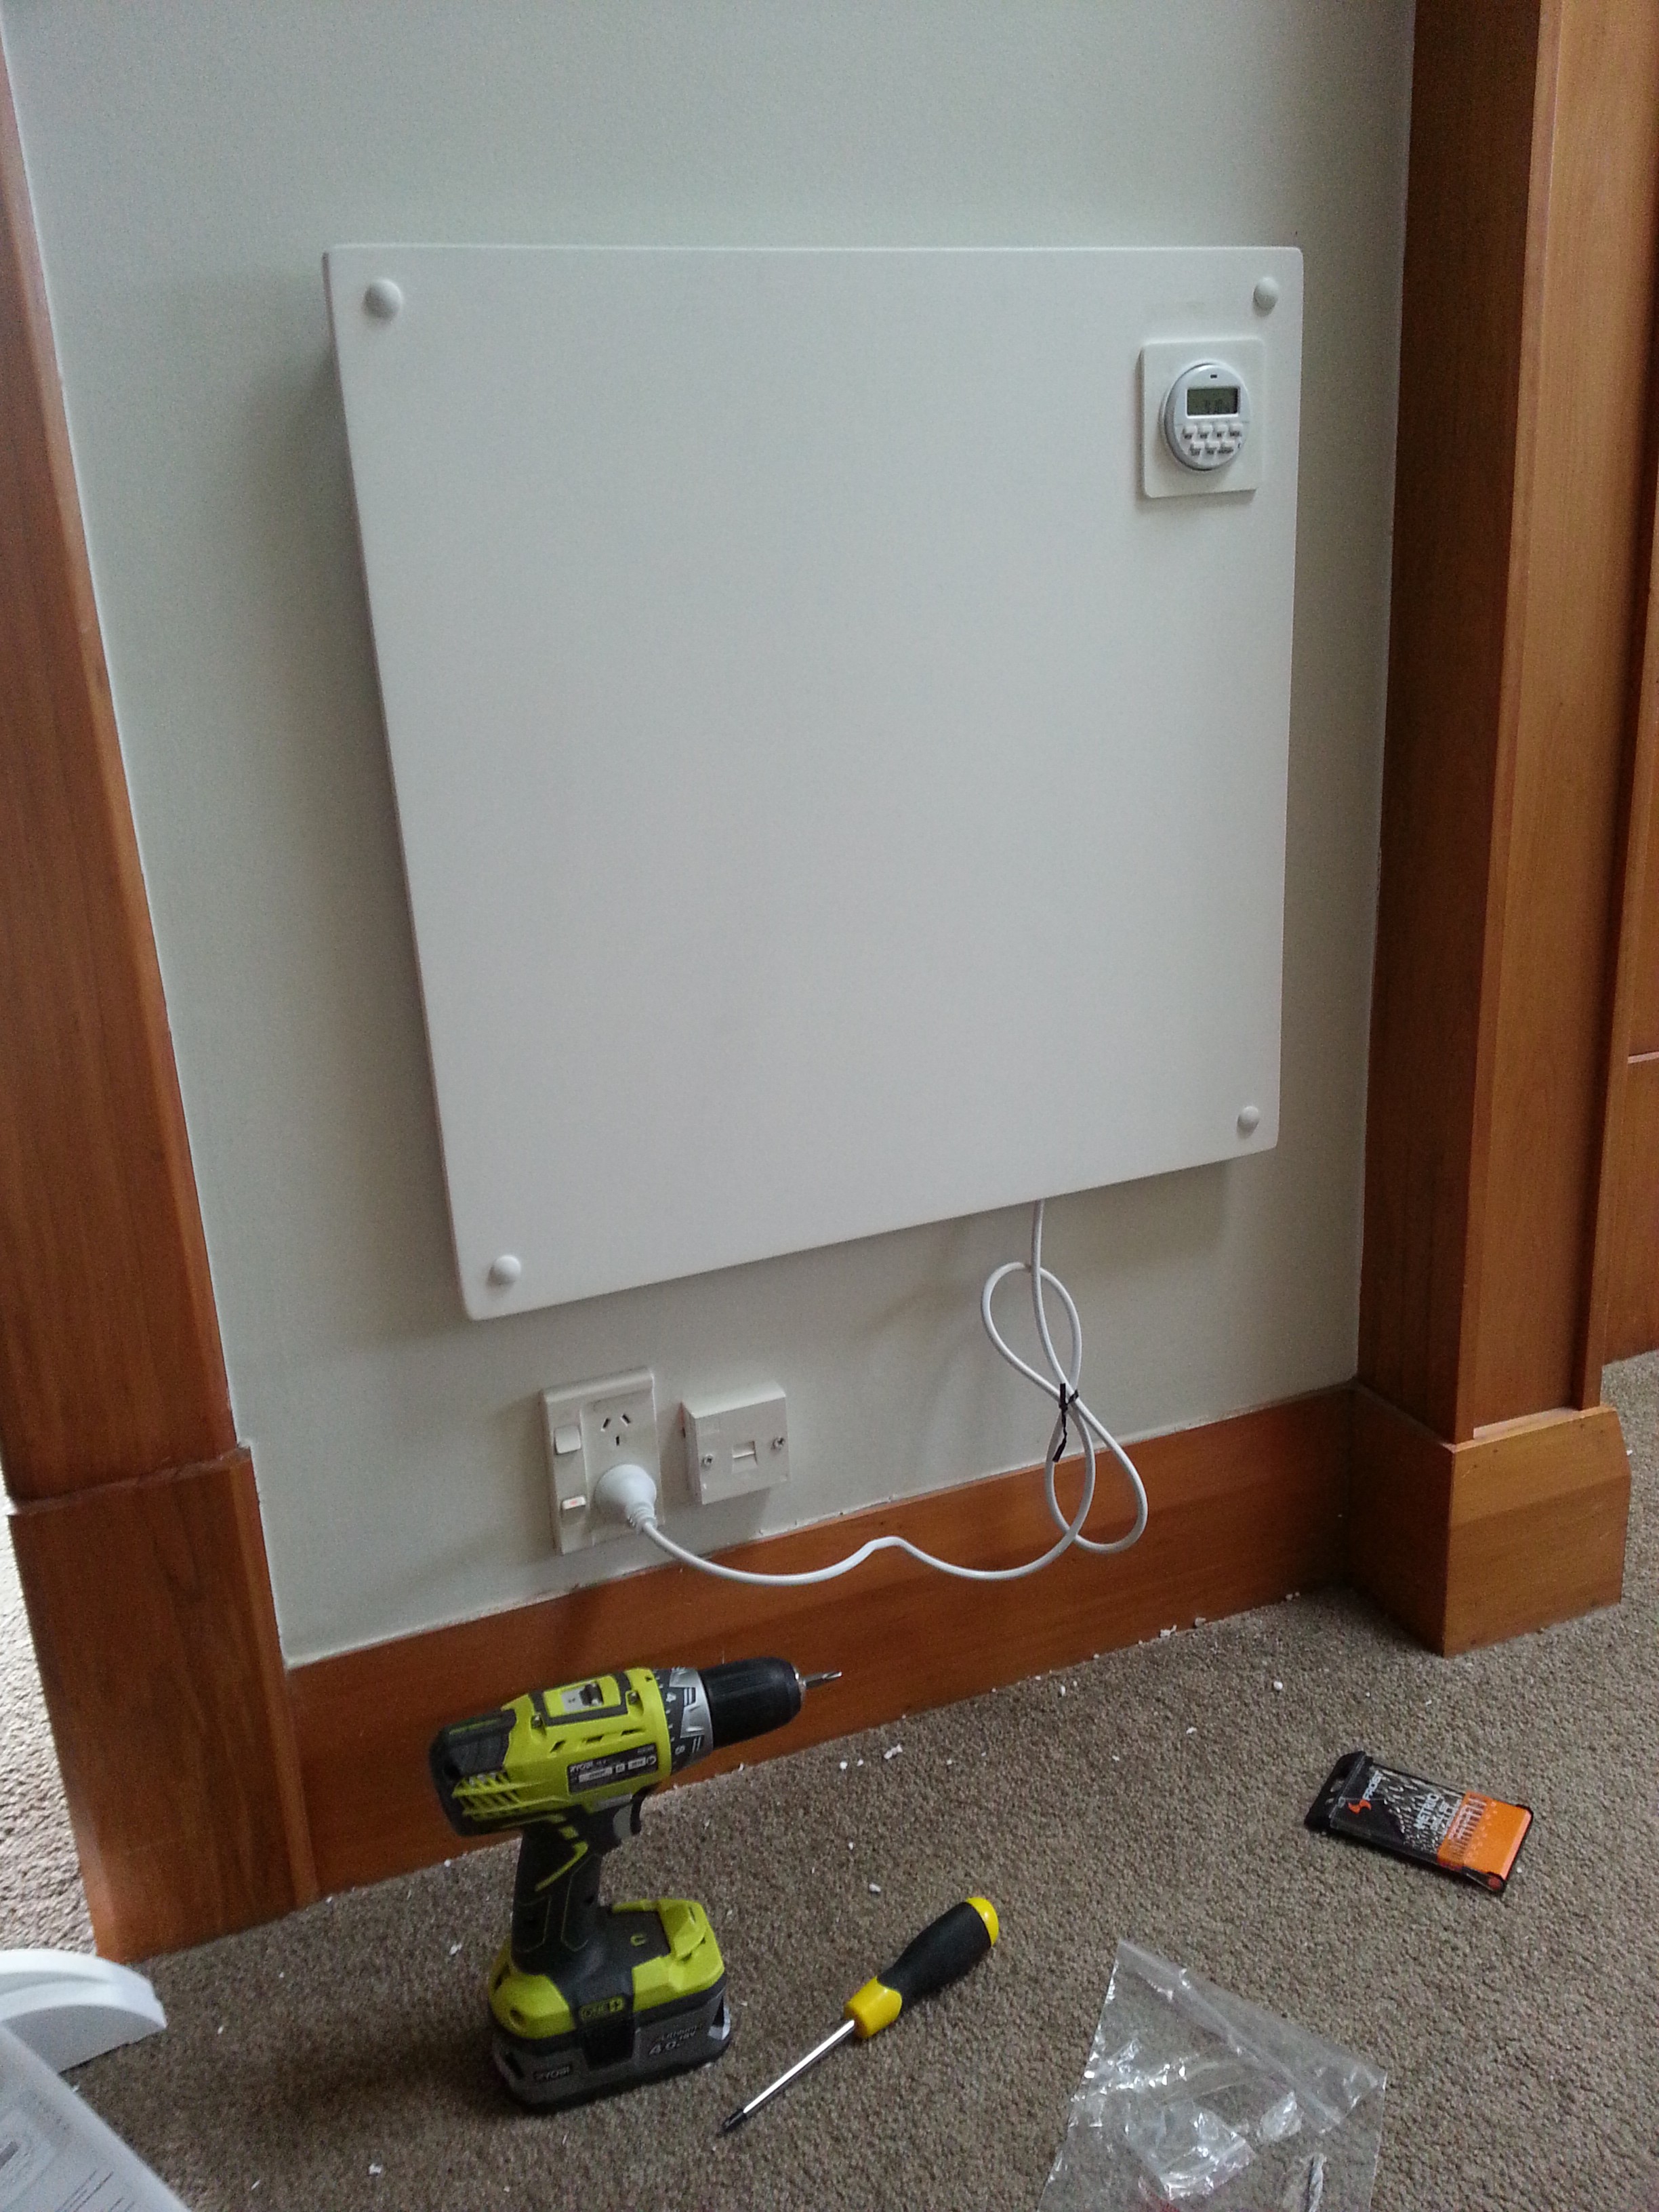
The easiest installation was that of the roof-mounted WiFi access point (Ubiquiti Unifi UAP-AC). Since it just needed a single cable which needed to be run along the attic to the patch panel, we simply drilled a hole up into the attic and fed the cable up straight from the reel, no need to mess around with draw wires.
I suspect we could have done this for all the rooms in the house just as easily, so if you decide you want to invest in WiFi APs in every room rather than wired ethernet ports, you would have a lot easier time putting the APs up.
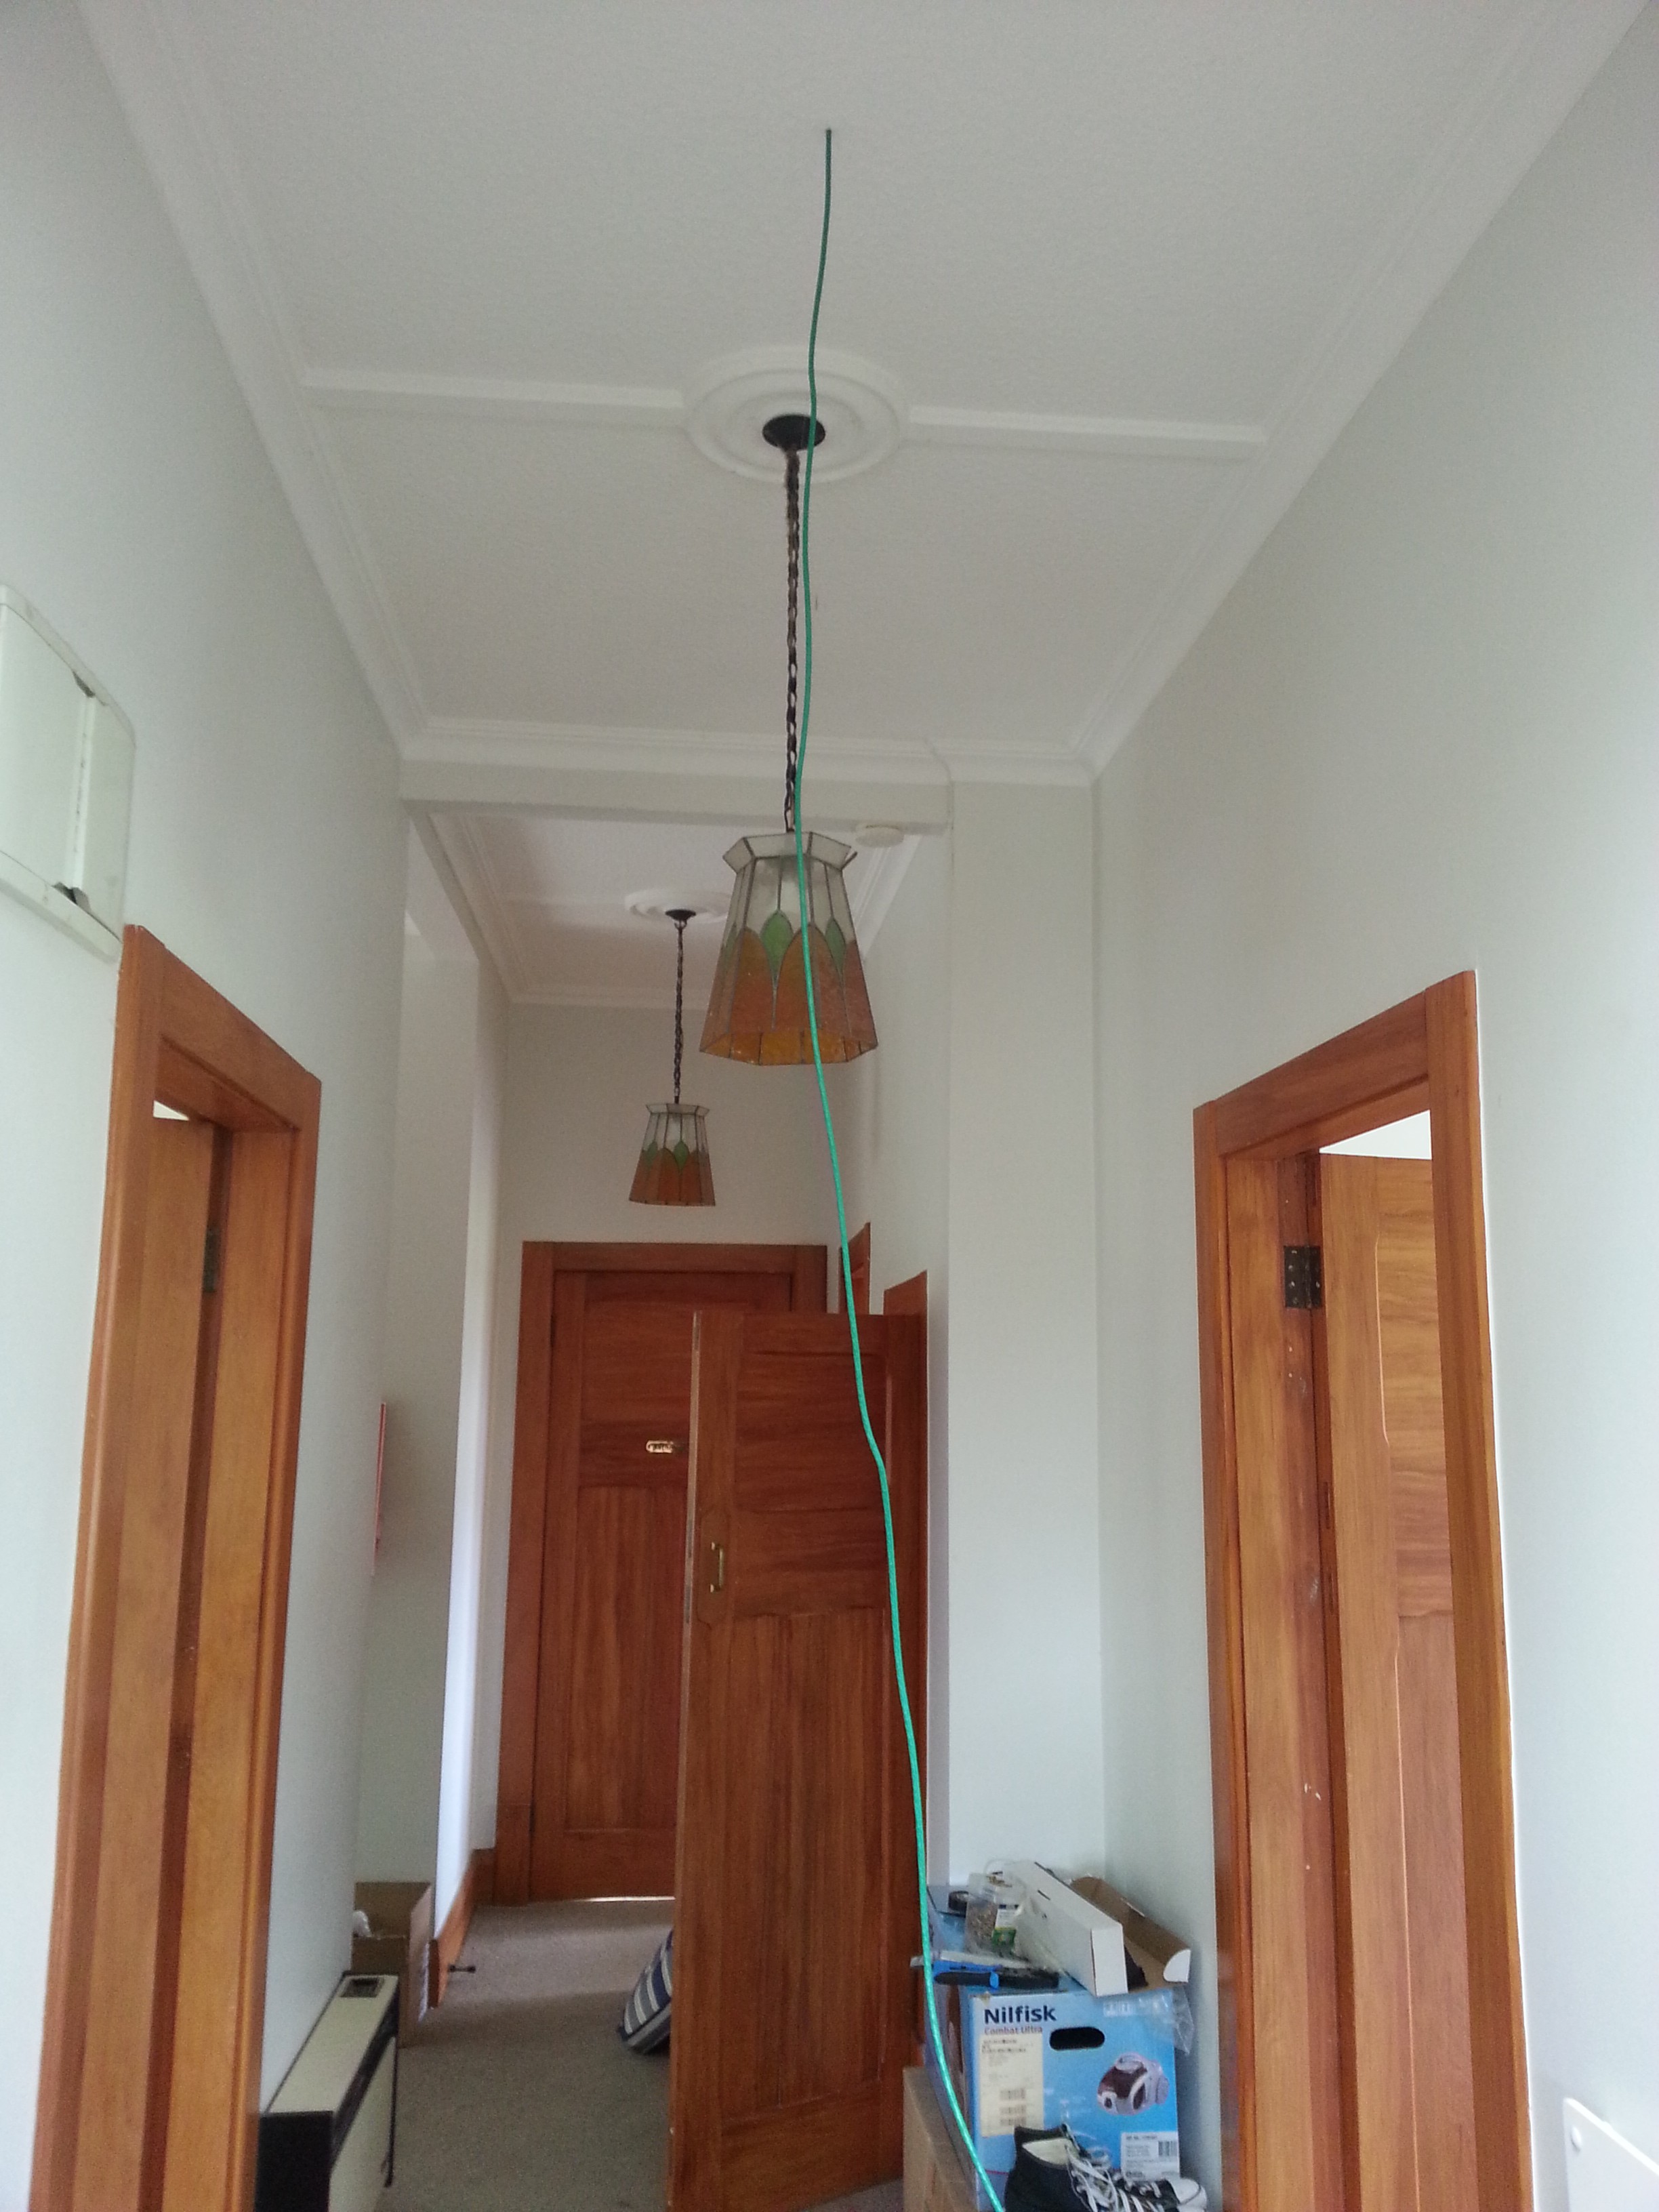
Drill hole, feed cable, doesn’t get much simpler than this.
Rather than a socket, the roof cable is terminated with an RJ45 connector which plugs directly into the back of the AP which then fits snugly on the roof hiding all cabling.
The end result looks quite tidy, I was worried about the impact on the character ceilings and part of me did feel bad putting the drill through it so I took care to keep the holes to the absolute minimum to ensure it could be patched without too much grief in future.

The blue-sun god we worship for internet access.
The blue square on the AP is visible in the dark, but doesn’t light up the area. It’s bright enough that I’d think carefully about putting it in a bedroom unless there’s a way to turn it off in software.
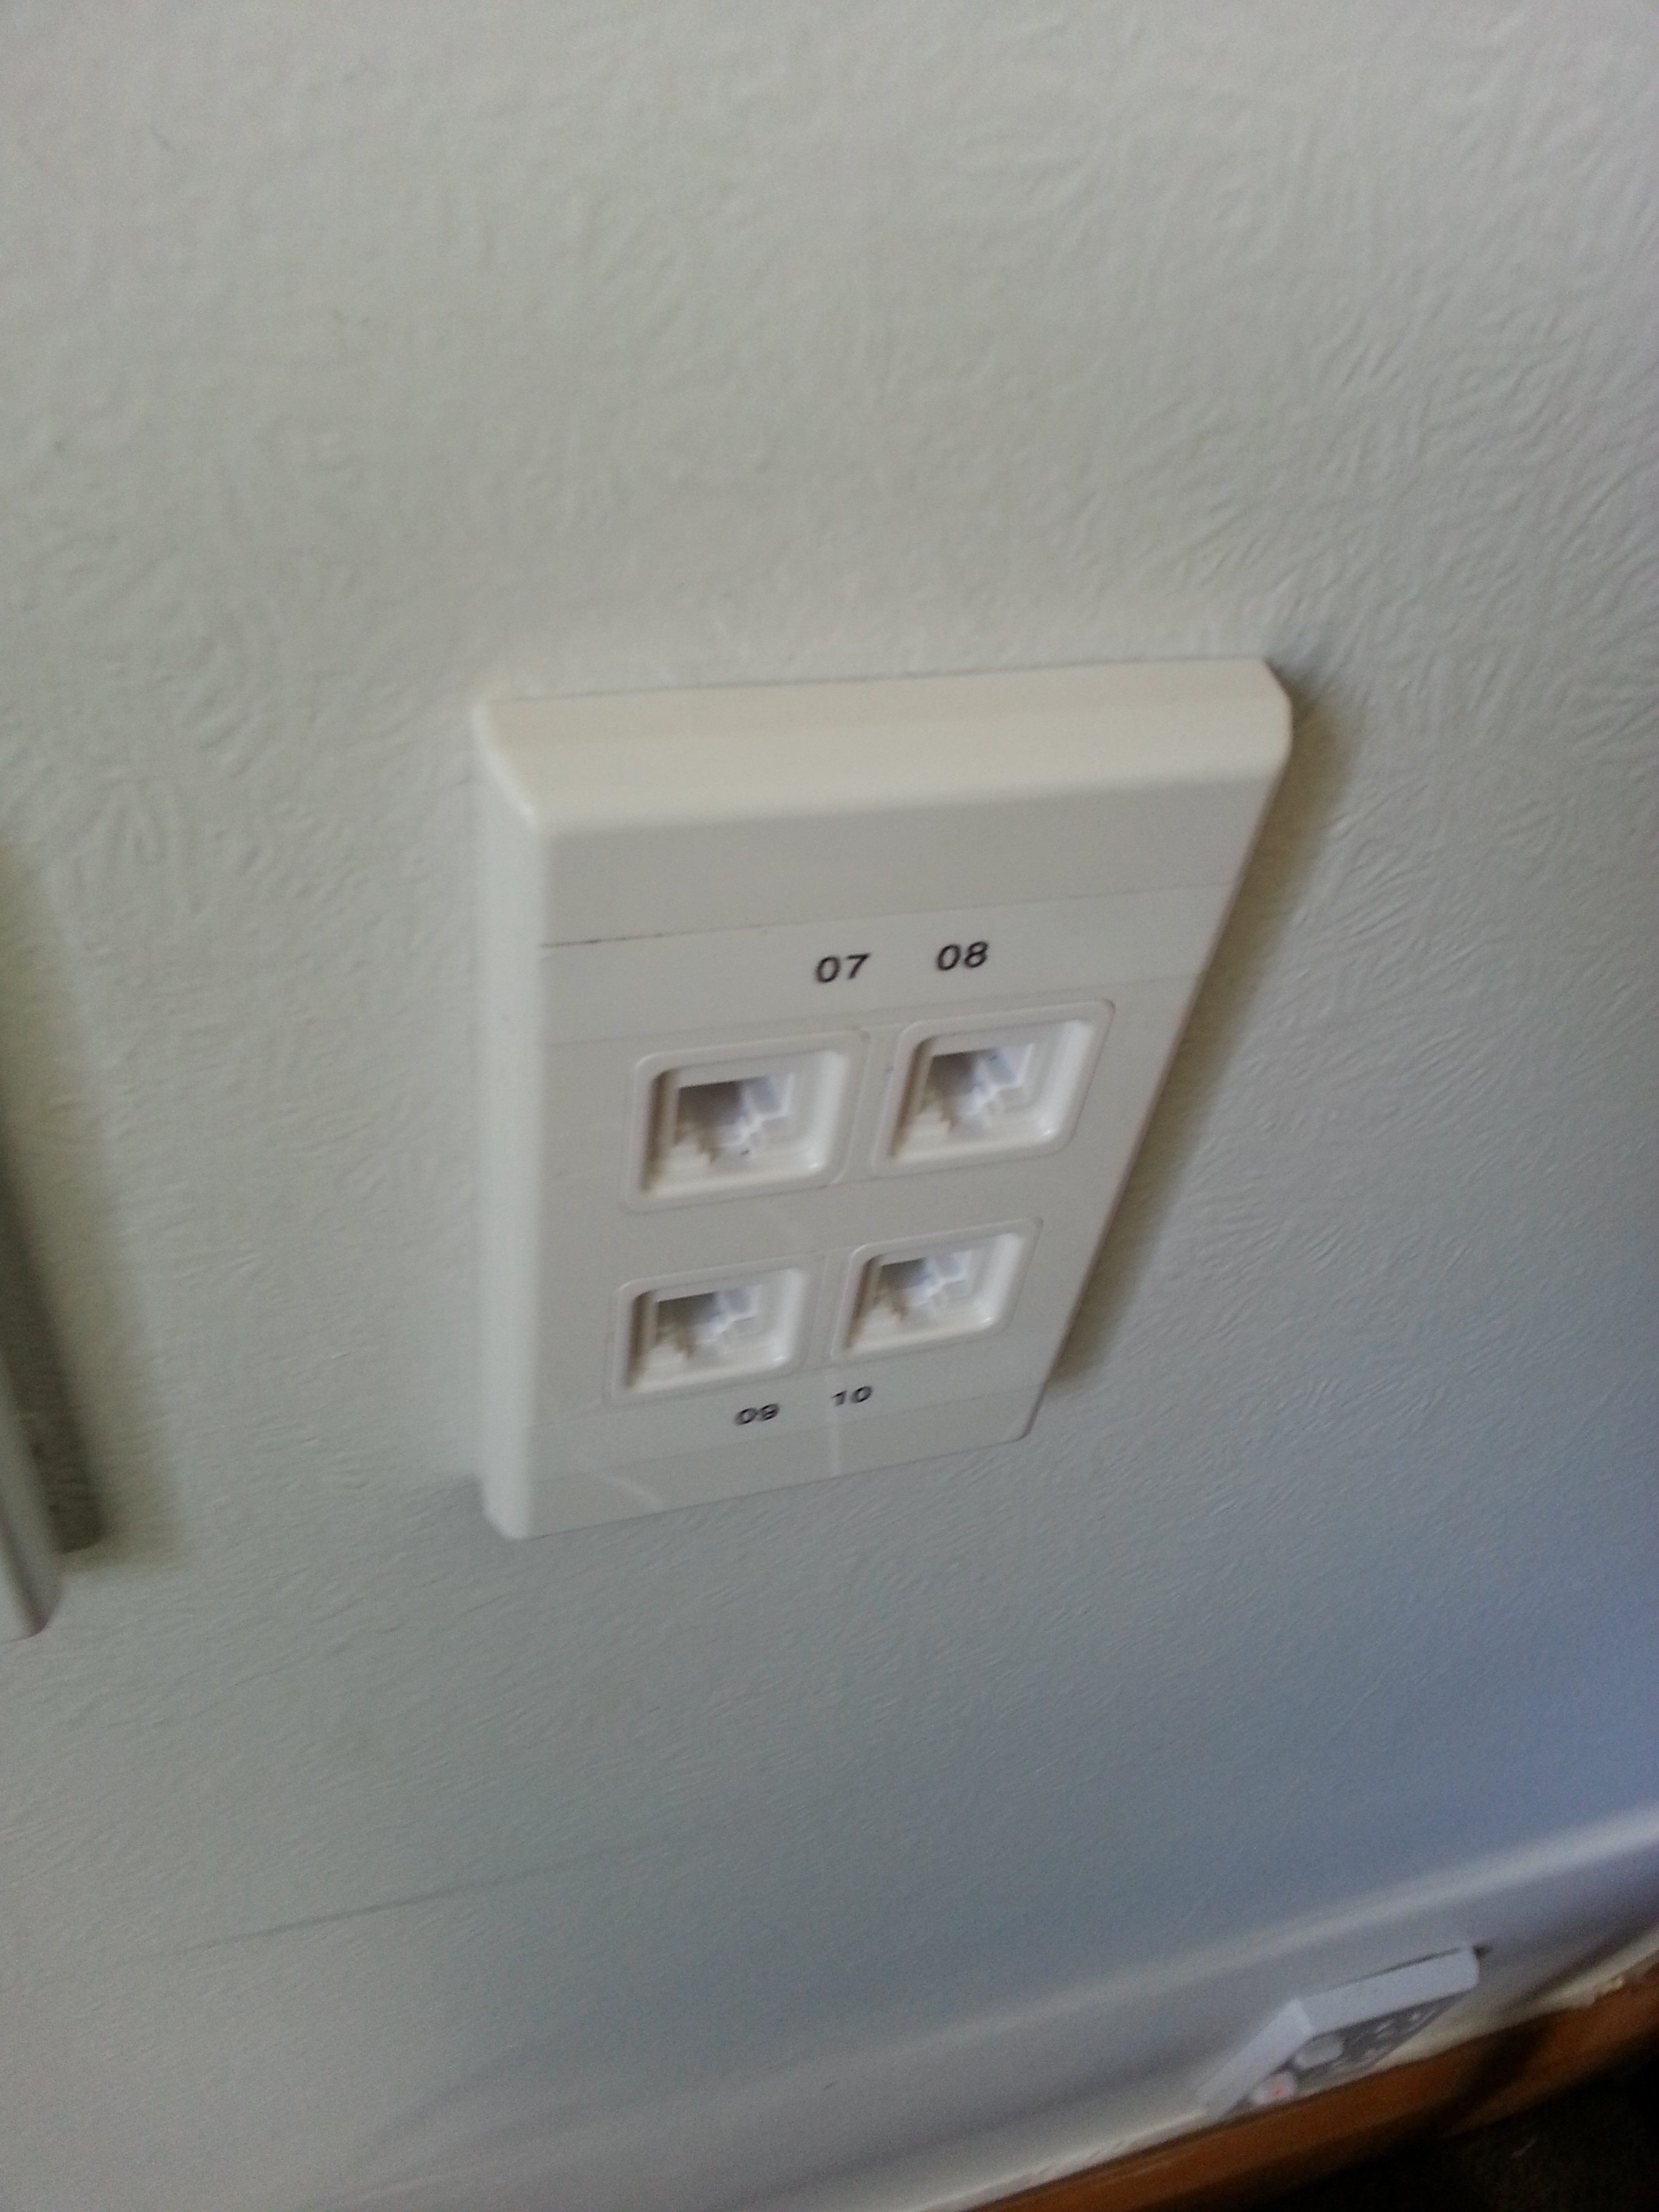
Whilst the roof mount AP had an RJ45 port due to space constraints and aesthetics, all the room cables have been terminated at proper RJ45 jacks.
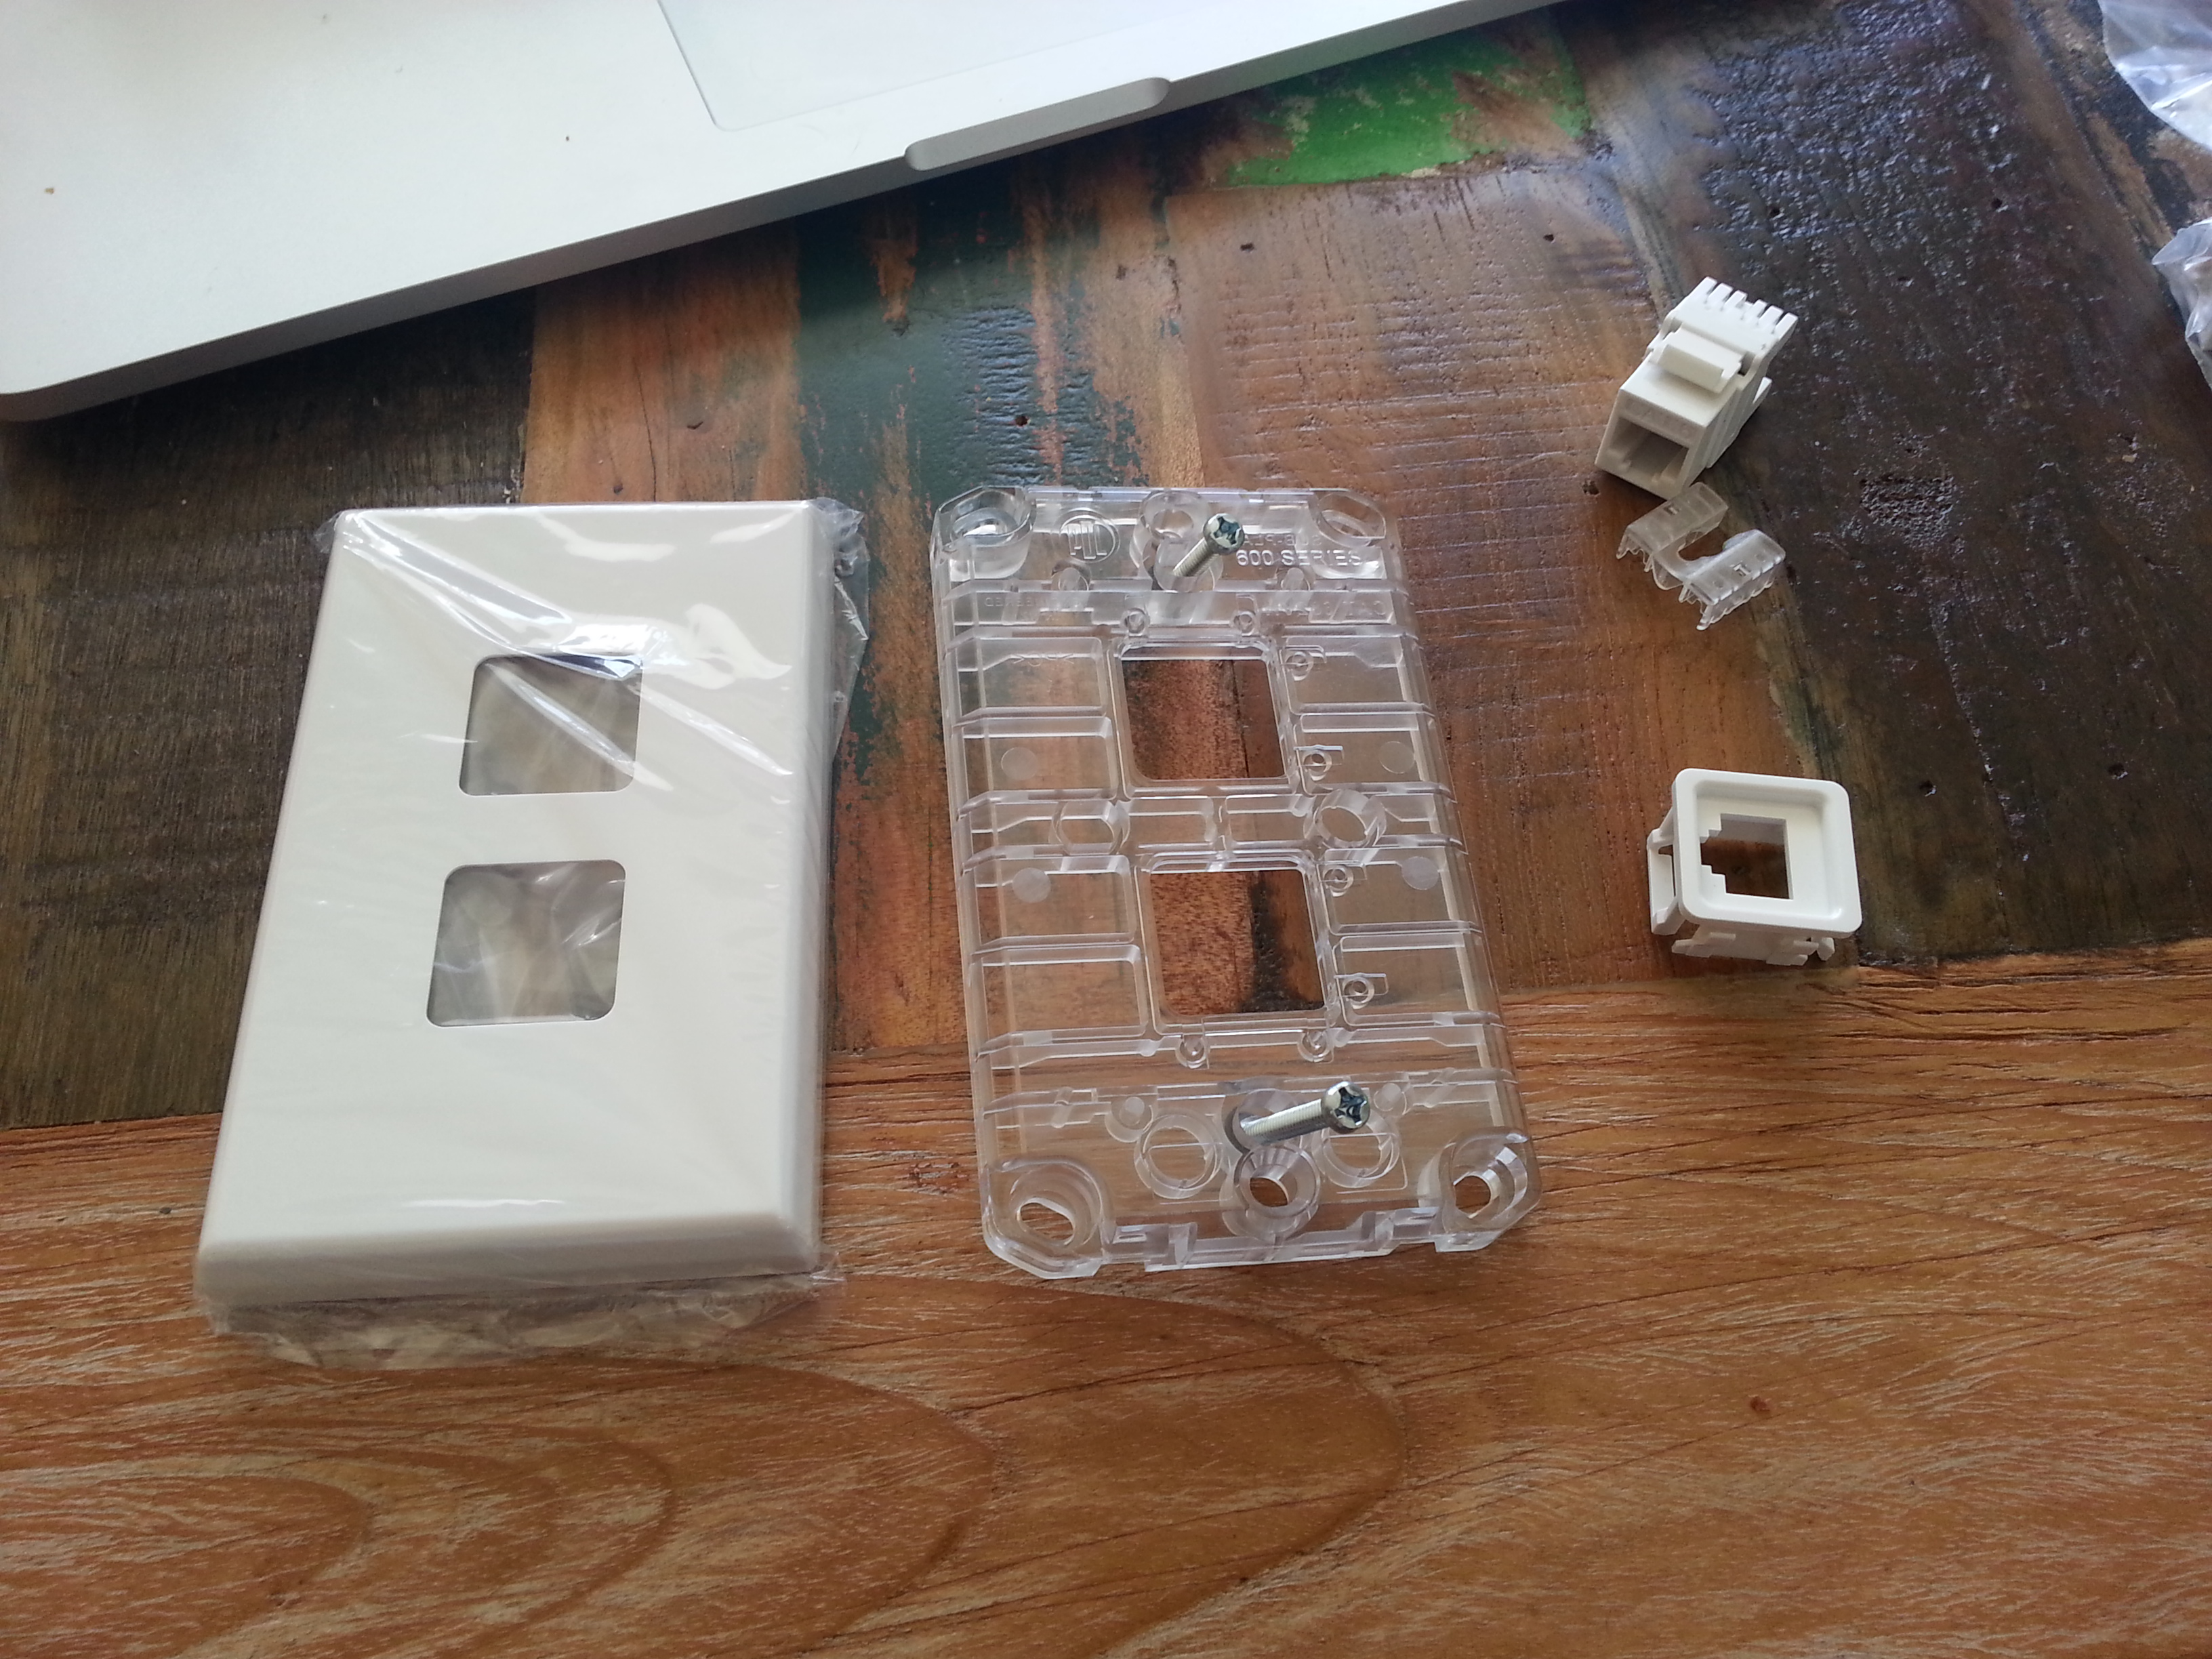
PDL Cover, Grid (sold together), Third Party RJ45 keystone and PDL RJ45 clip.
My house is primarily PDL 500/600 series faceplates, which means I ended up sourcing the same PDL products for the data faceplates. The faceplates aren’t too outrageous at about $6 each (2-port / 4-port), but PDL charge a whopping $13.80 for their RJ45 data inserts. Given that I installed 14 sockets, that would cost $193.20 for the ports, which is crazy… I could buy several entire patch panels for that.
Fortunately the RJ45 inserts themselves (the keystones) are made by a number of vendors, you just need the PDL keystone clip to join any third party keystone with the PDL faceplates.
Hence I sourced 14x of the PDL clips at $1.38 each ($19.32 total) and then sourced 3x 5-pack of keystones on TradeMe from a seller “digitalera” for $9 per pack ($27). This brought my total spend for the RJ45 data inserts to $46.32… much much cheaper!
The finished product.
All these cables terminate back in a small cupboard in the hallway, into a 24-port patch panel. There’s a bit of space space left over on it for future expansion as it occurs.
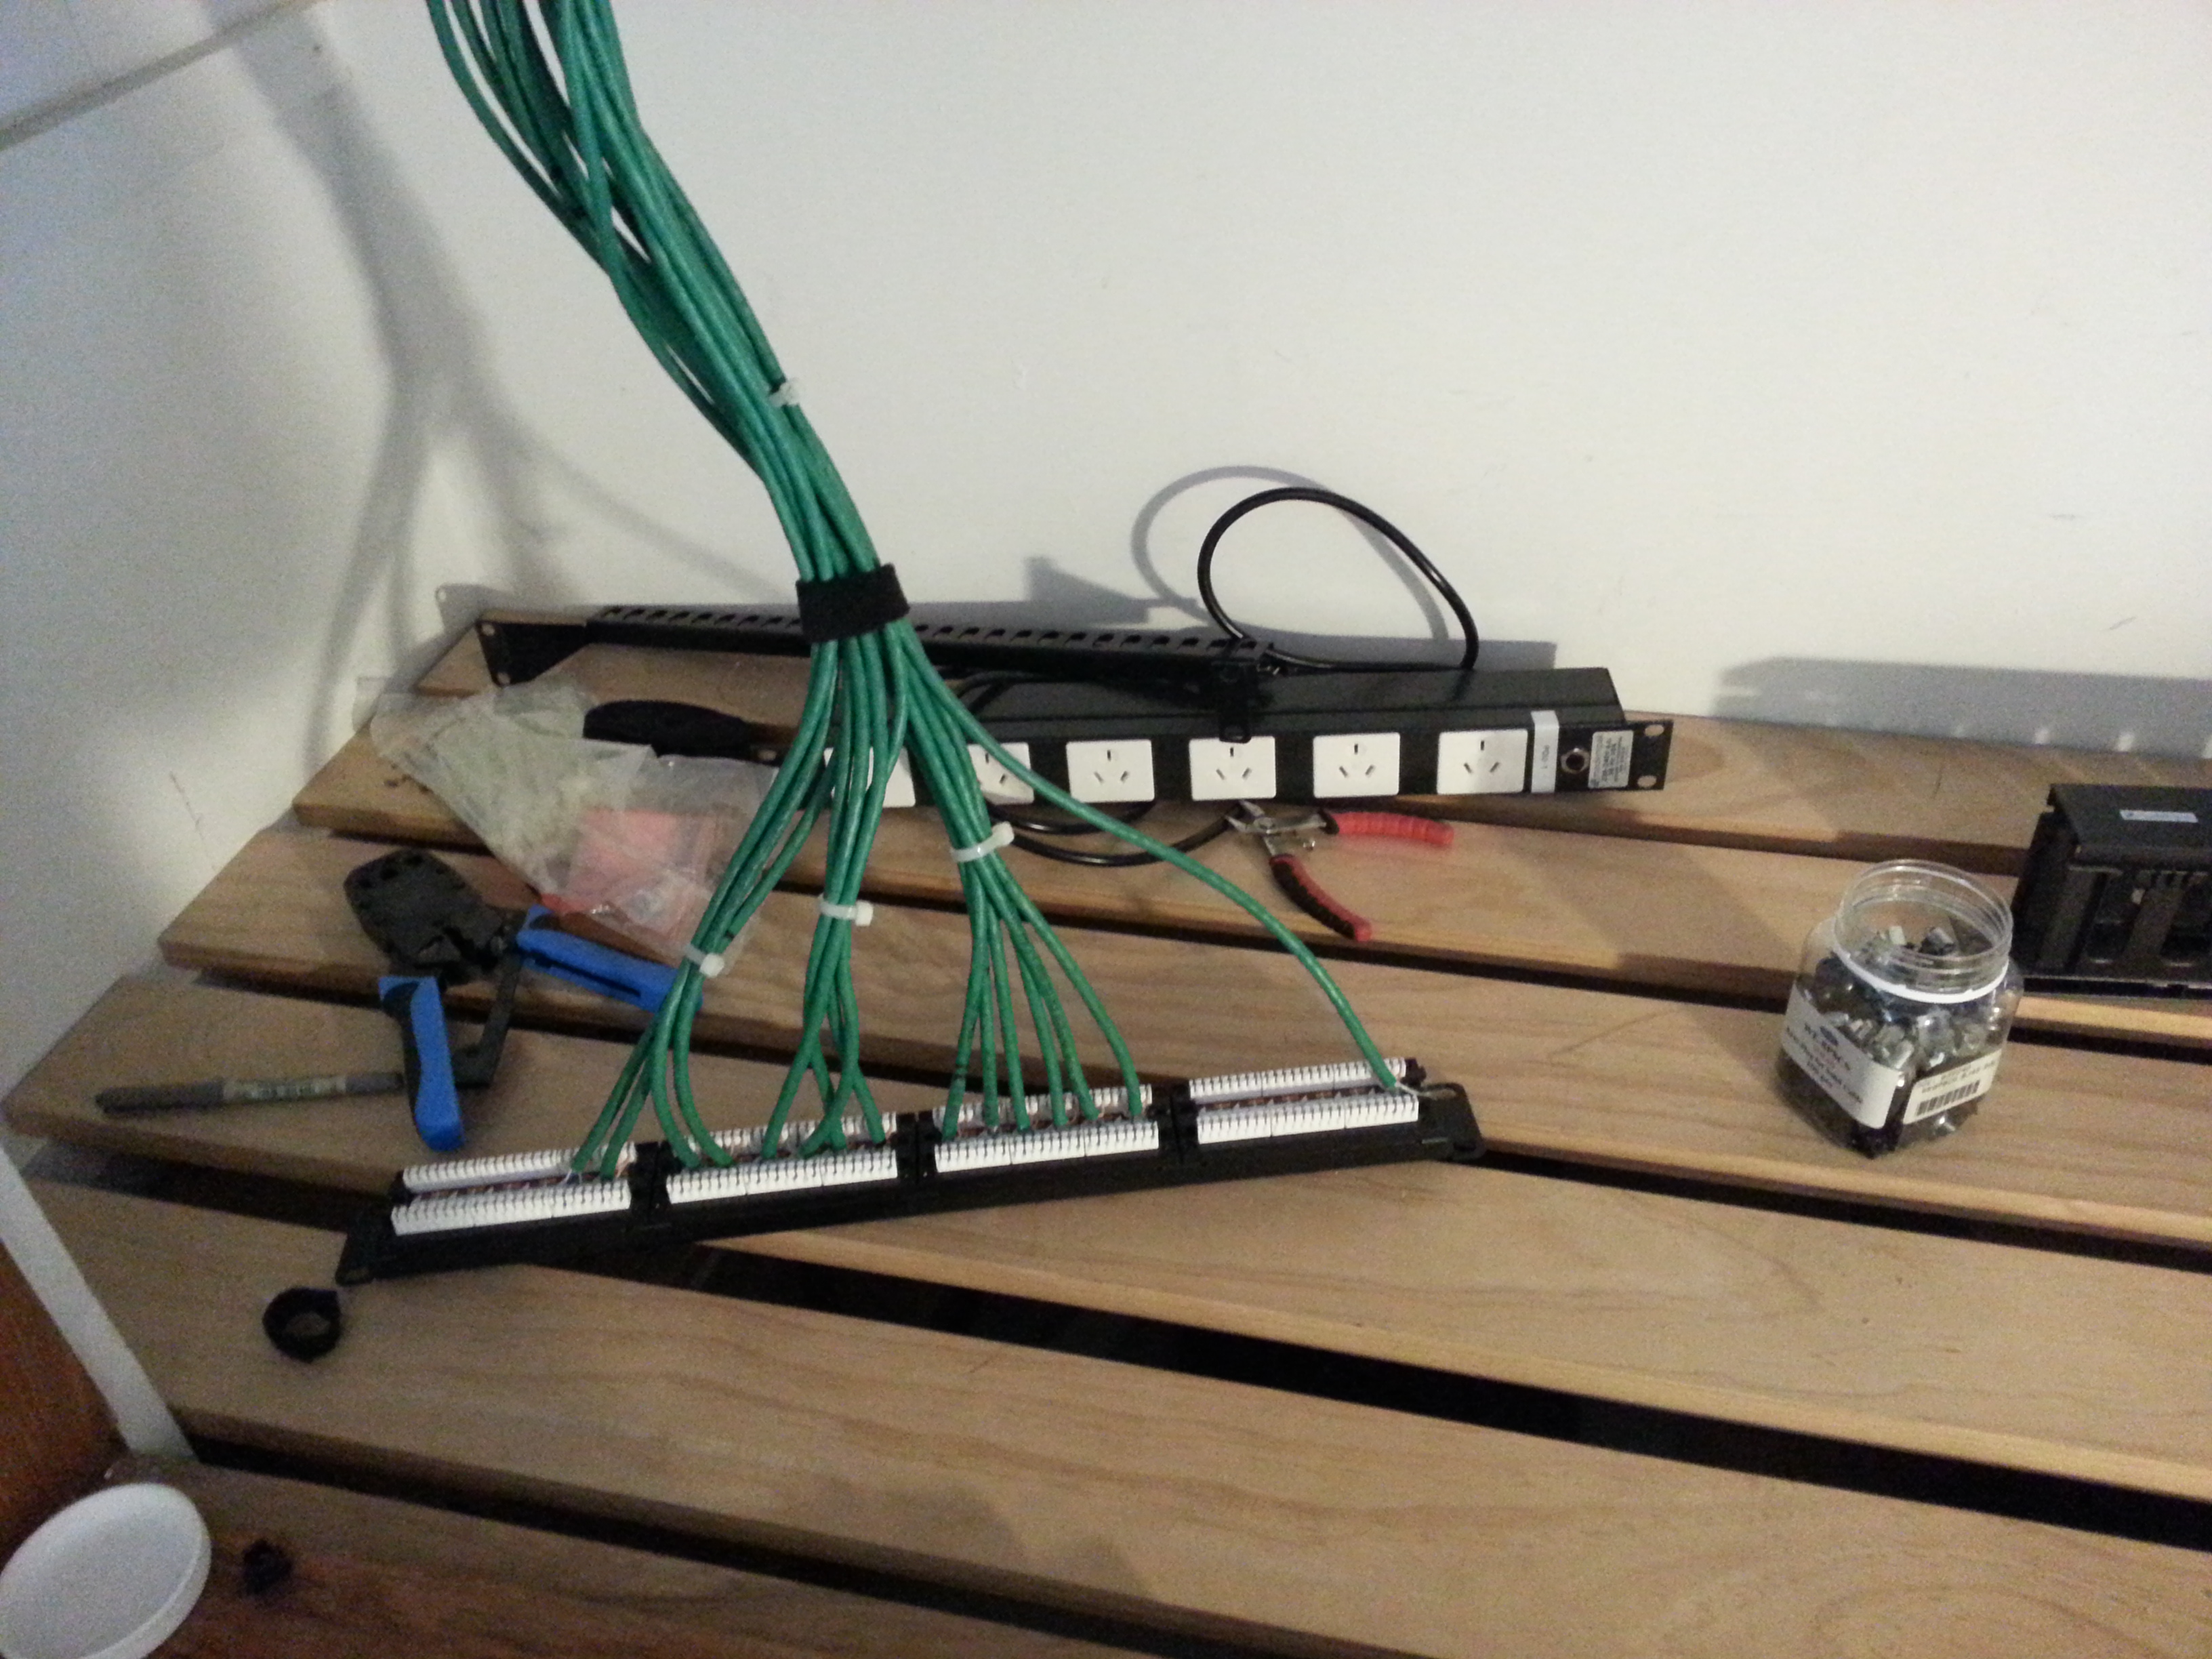
All patched and all ready to go
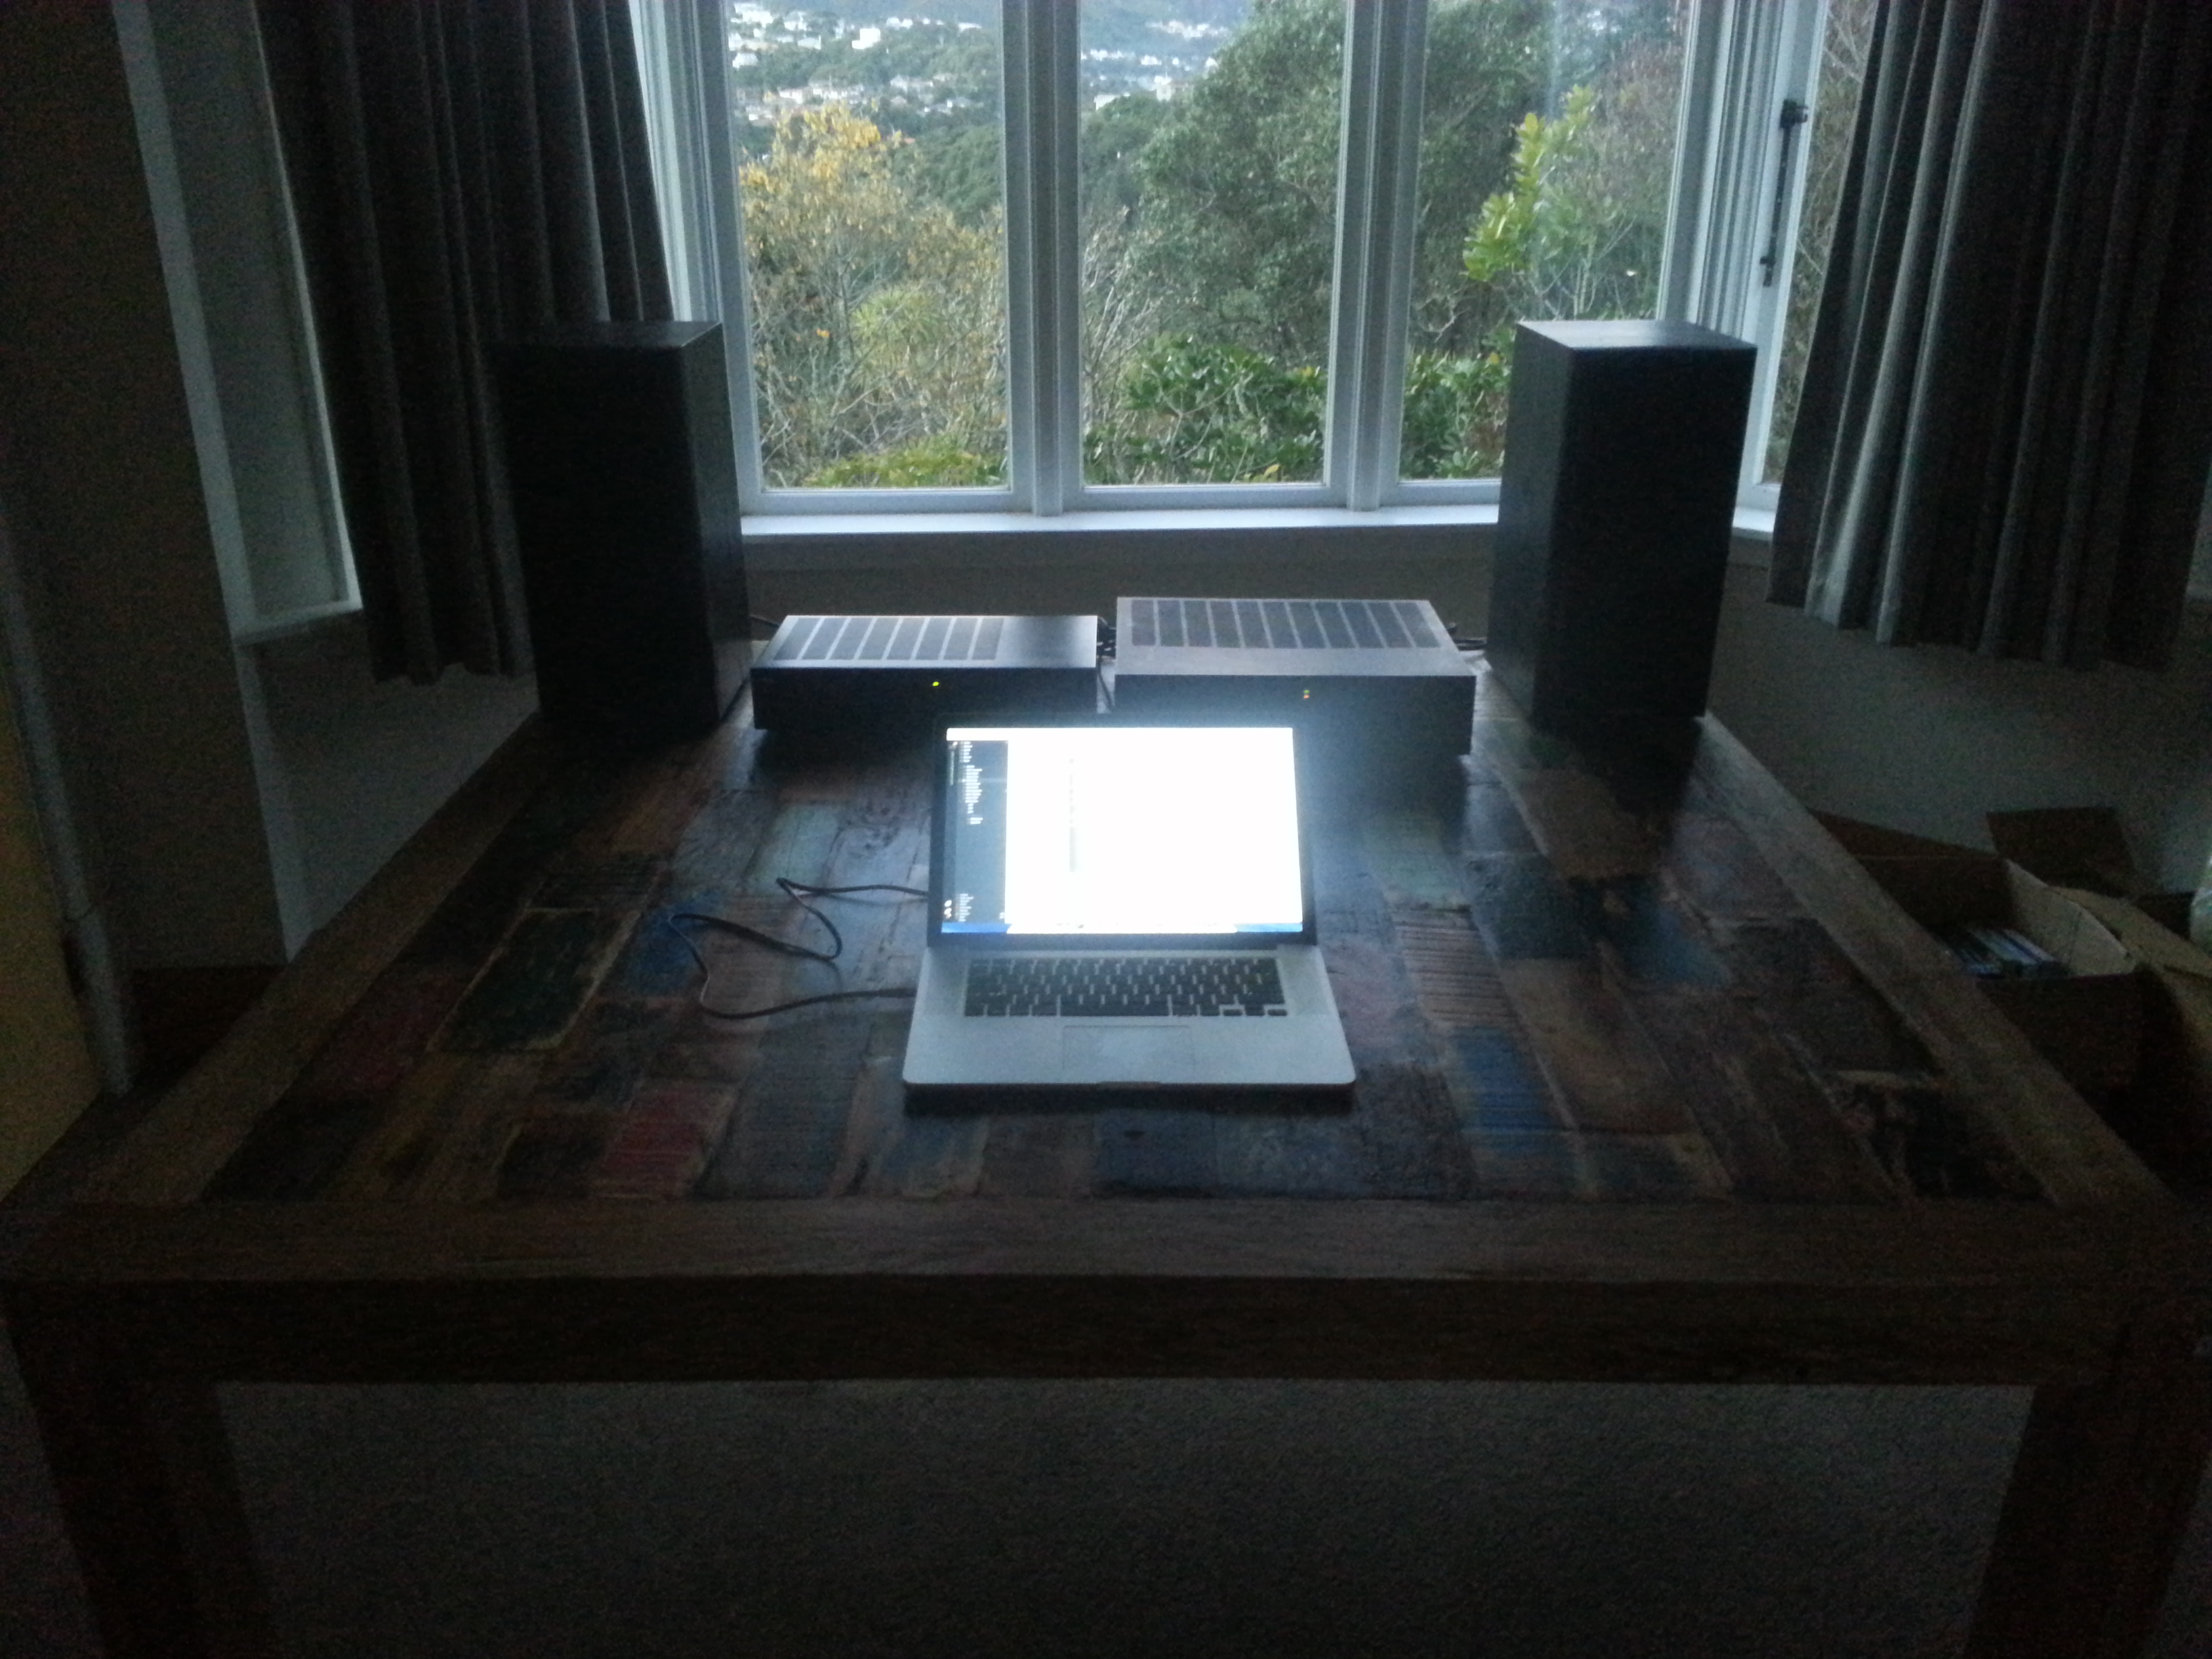
The patch panel is installed in a wall-mount 9 RU 19″ comms cabinet. I went for a 9RU and 30cm deep model, since it offers plenty of space for PDUs, cabling and also can fit lots of models of switches and routers with room to clear.
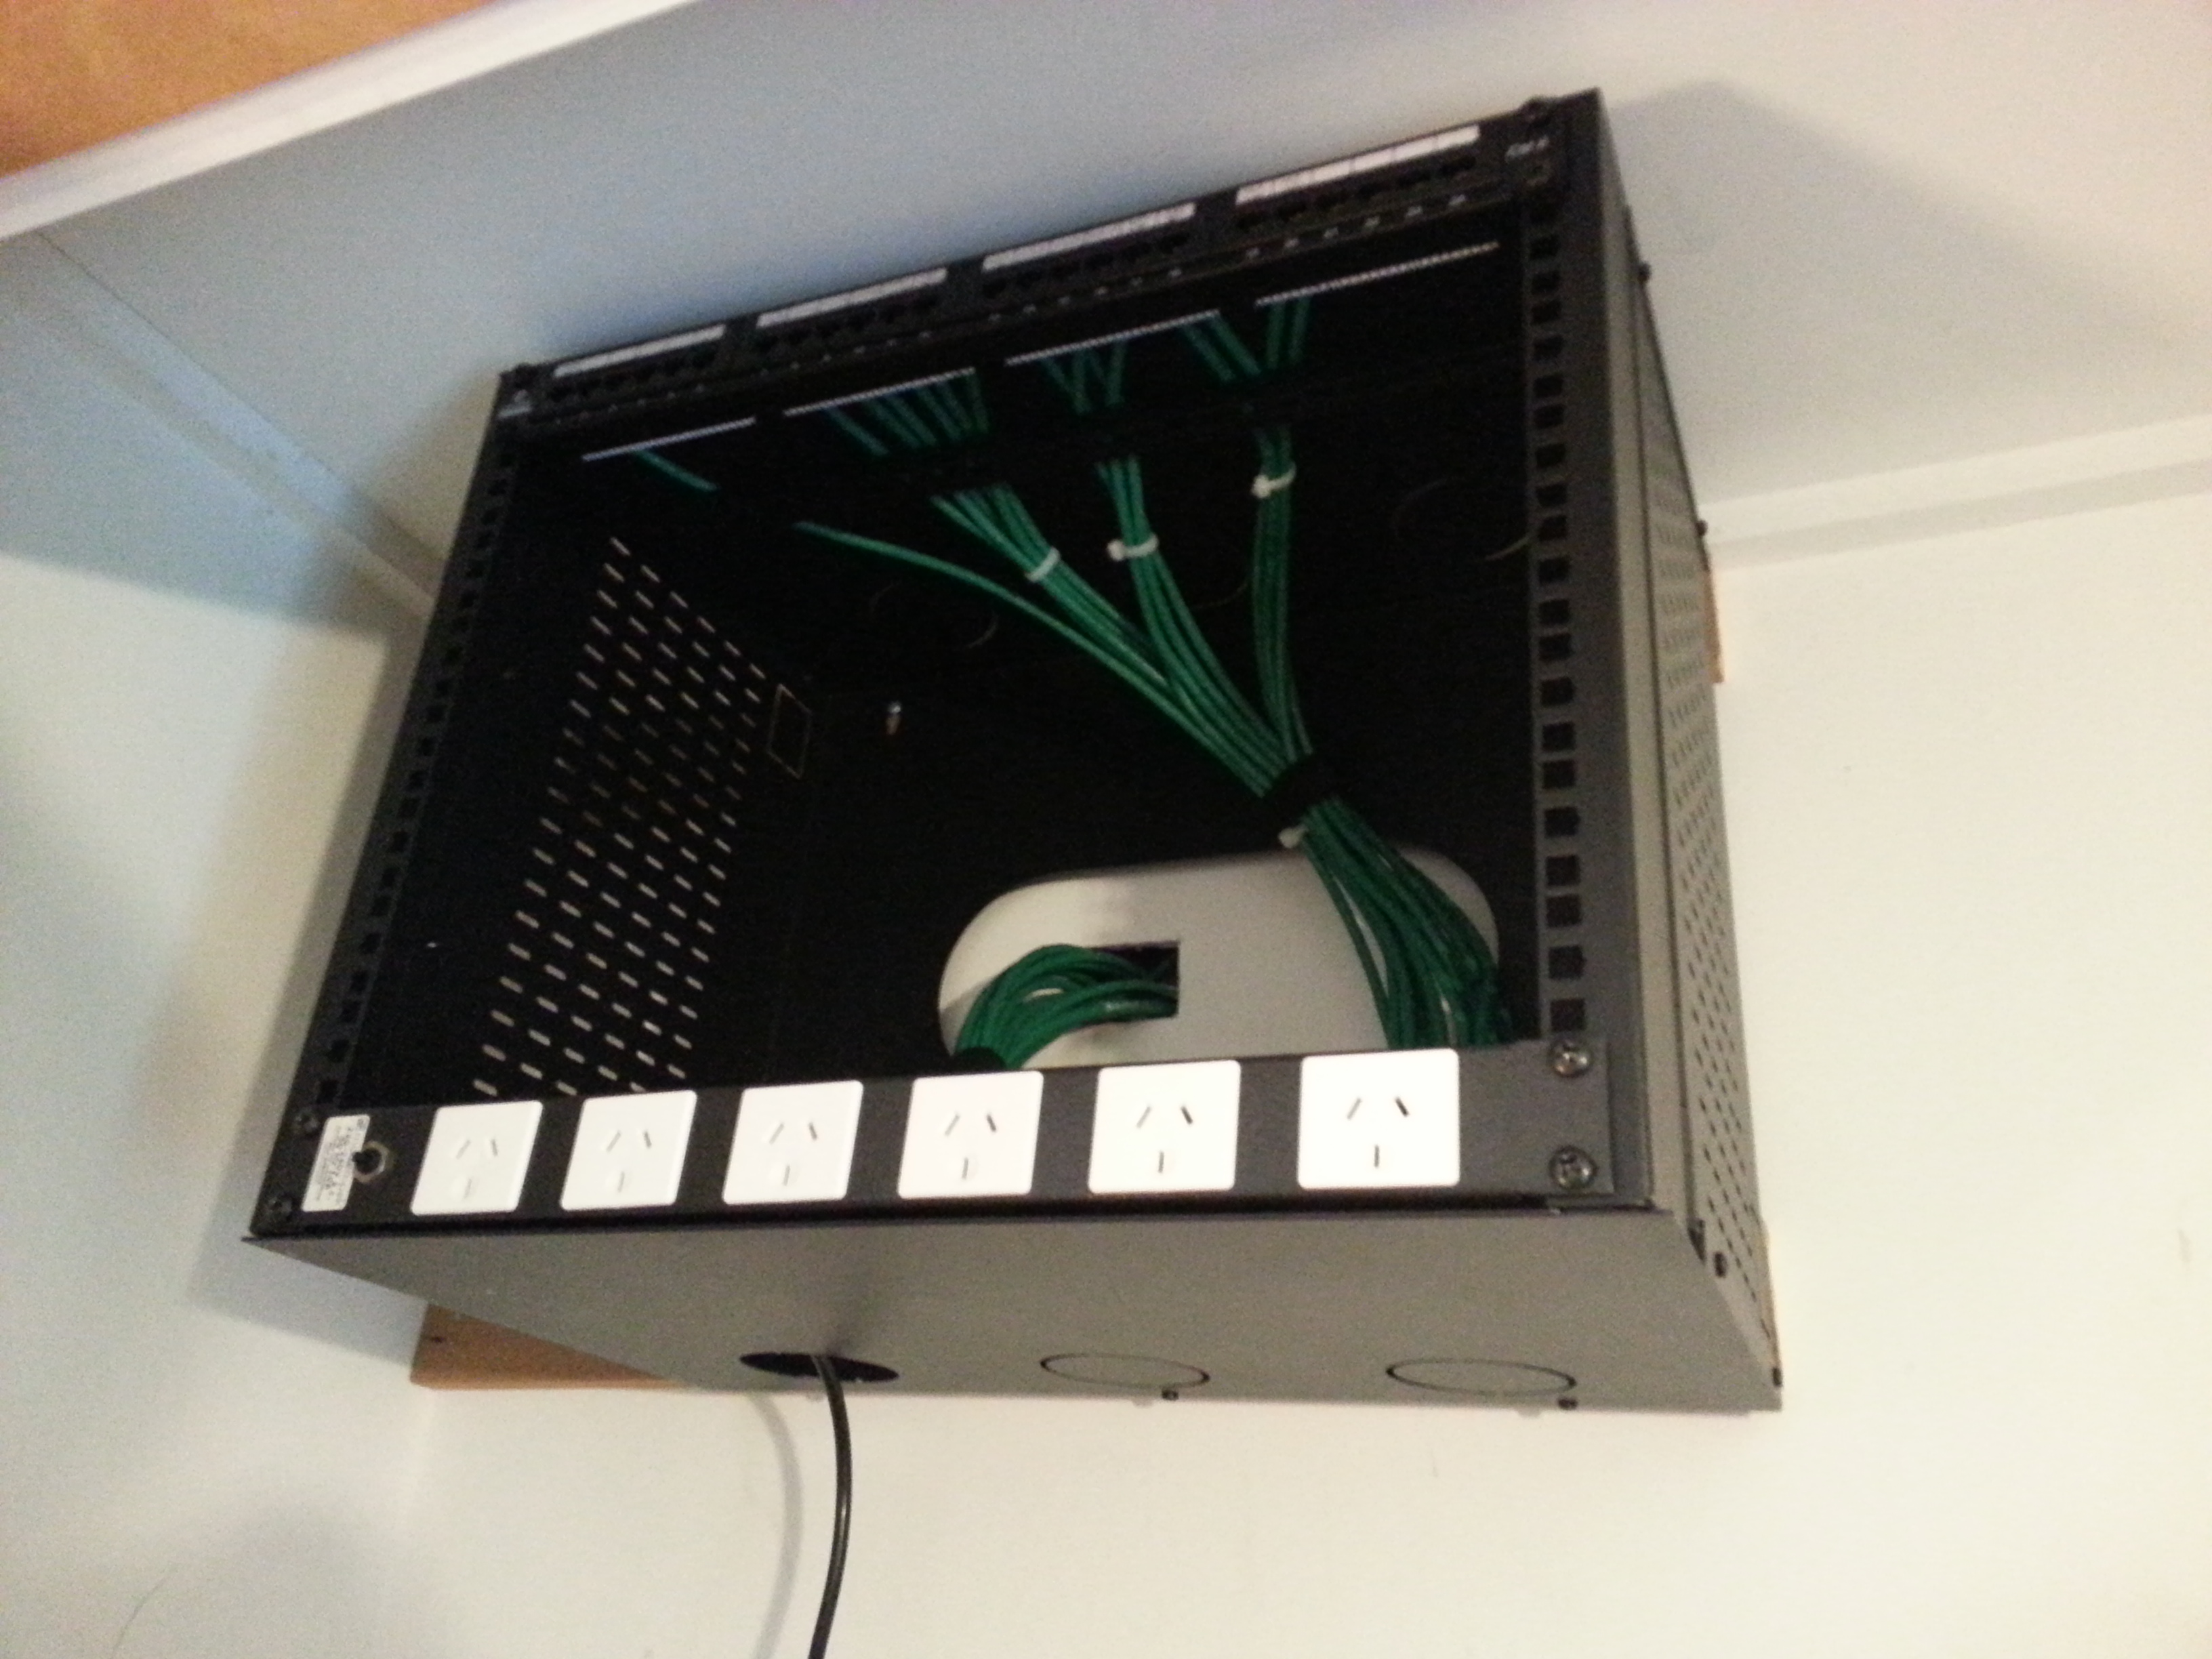
Data & Power sorted!
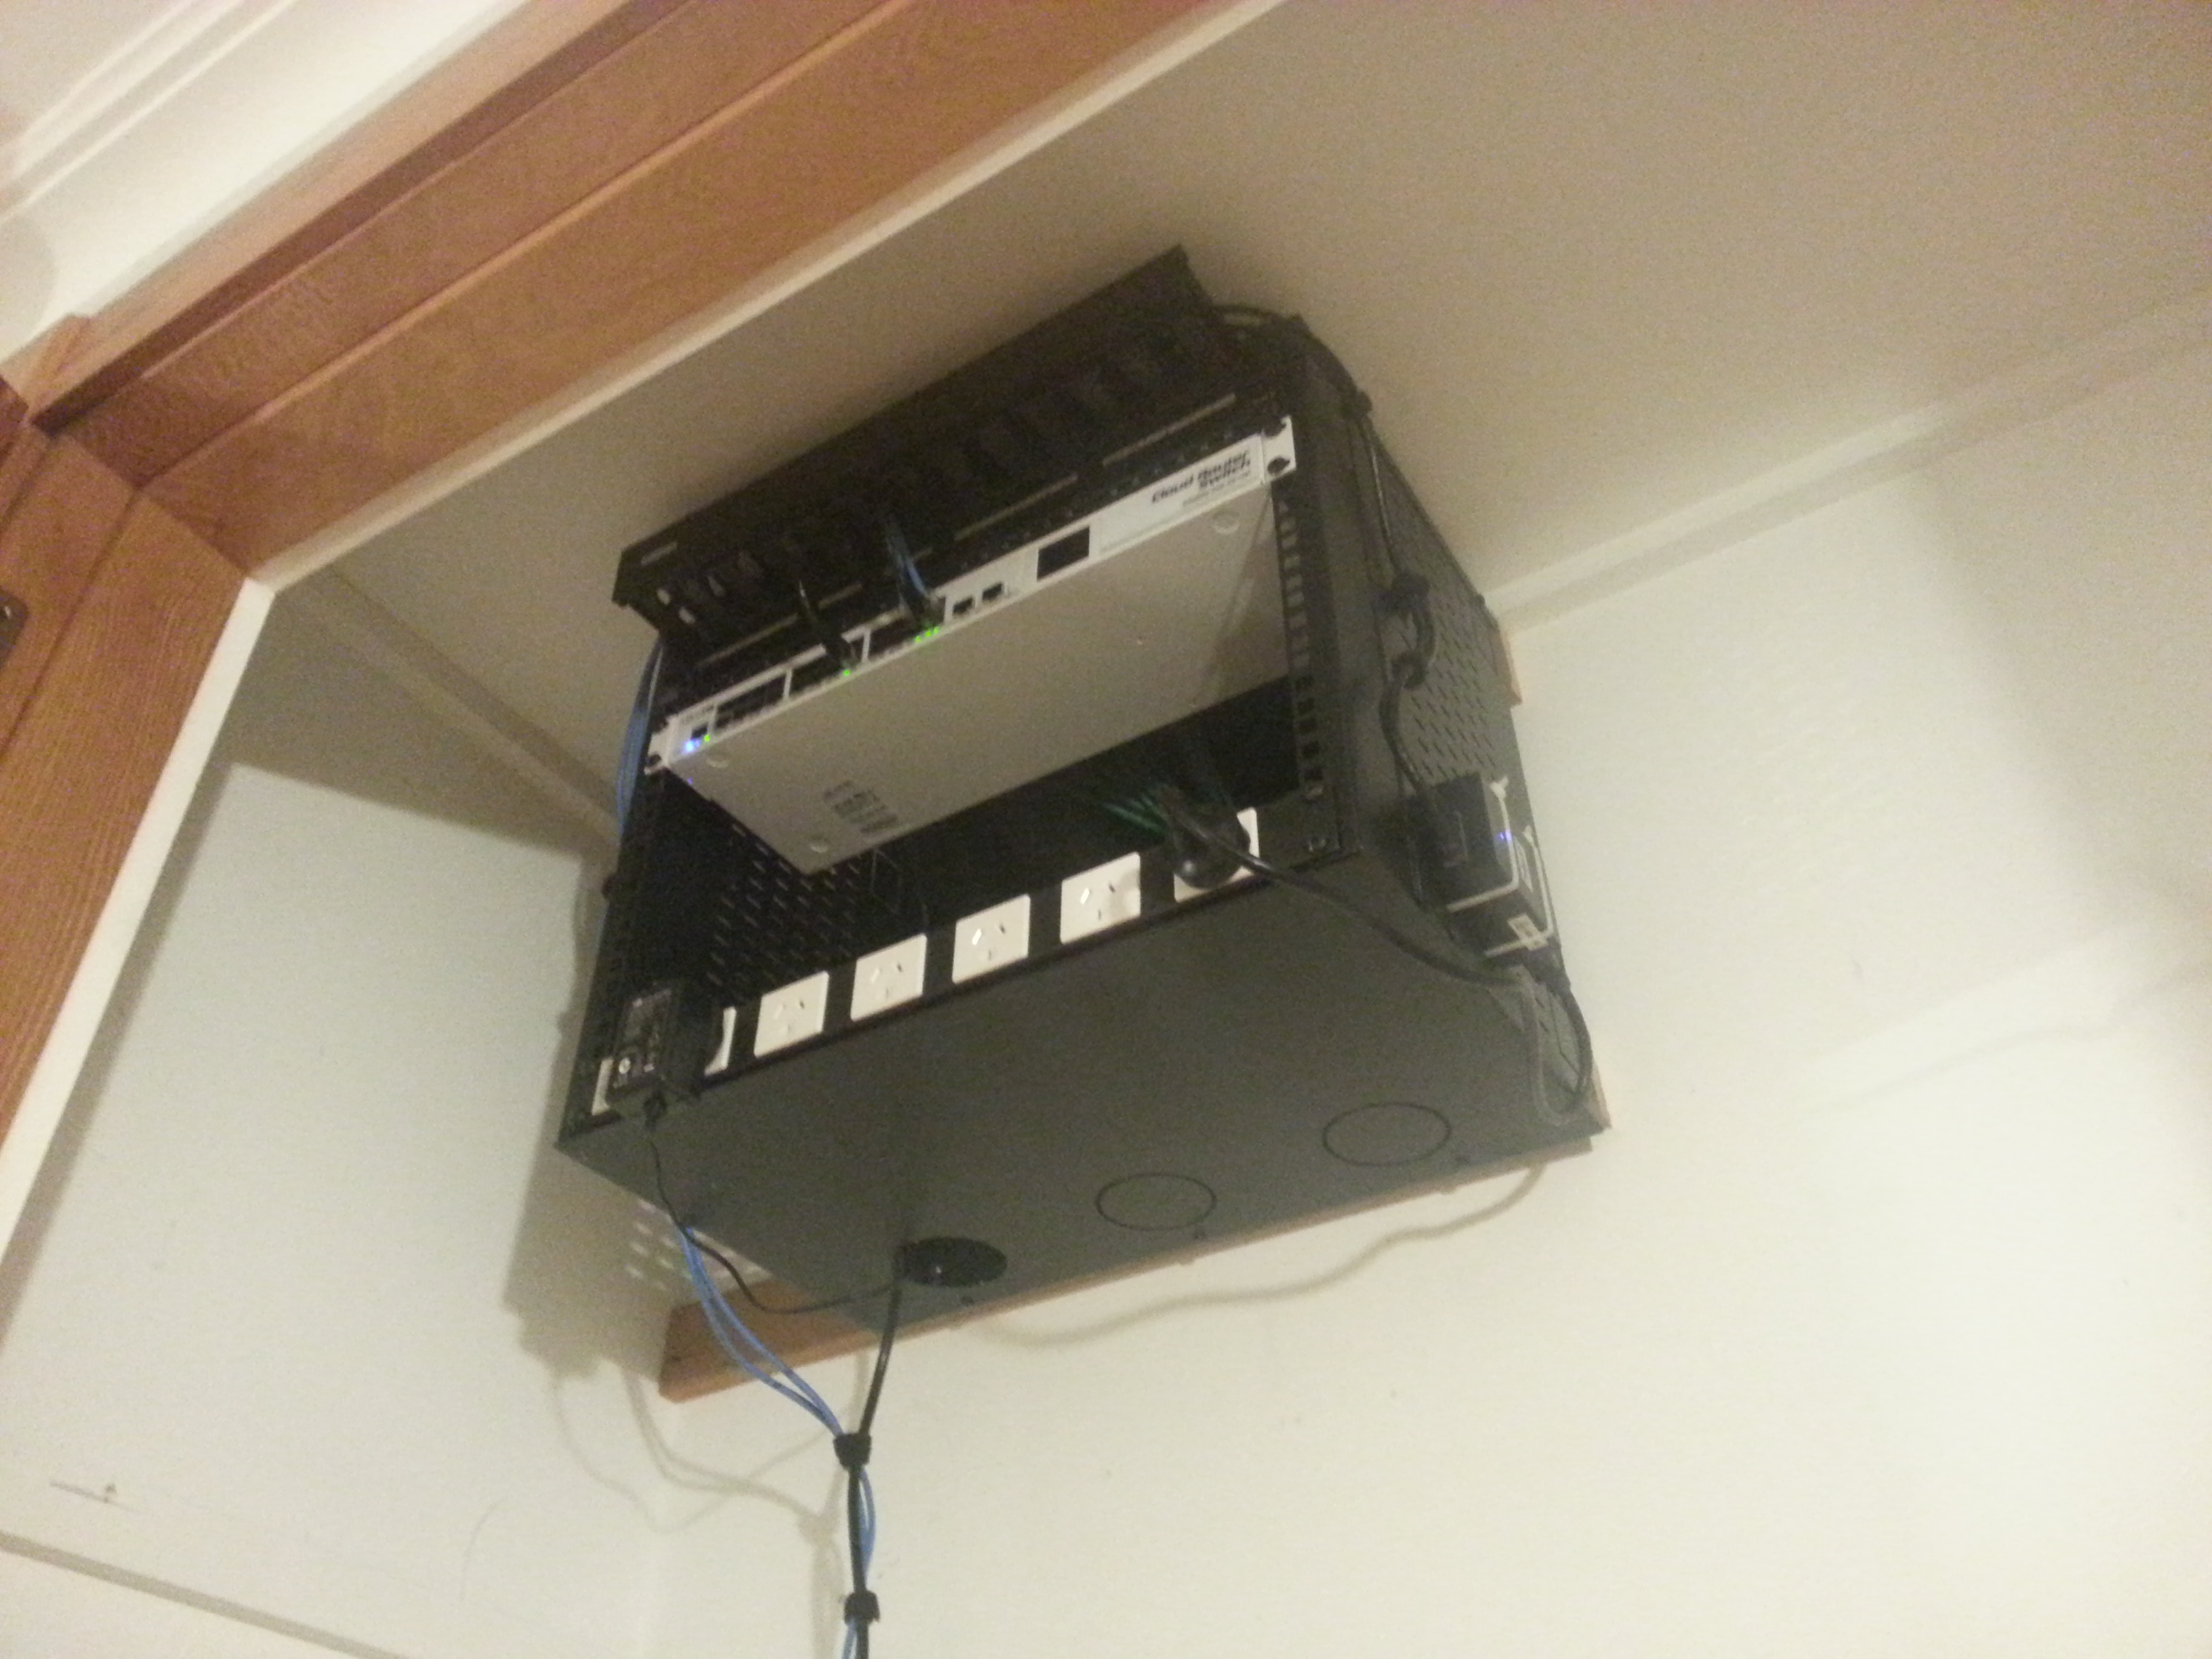
Cable management with this setup has been a little tricky – usually I’d prefer to have a cable management bar for the patch panel and a cable management bar for each switch, an arrangement that is space expensive, but the easiest and tidiest.
Unfortunately I quickly found that putting the cable management bars in the roof-height cabinet limits visibility too much, since it blocks the ability to see the switch ports or patch panel labels since you can’t look at it face on, but rather look at it upwards from the top of the ladder.
The approach I’ve ended up with is therefore a little unconventional, with a cable management bar at the very top of the rack, and cabling going up into it from the patch panel and then back down to the switch.
The downside of this approach is that cables cross the patch panel to get to the switch (arghgh I know!), but the upside is that I can still see all the other switch ports and patch panel ports and its still quite readable. I’ll understand if I’m kicked out of the data centre cabling perfection club however.
There’s still 5RU spare for some shelves for devices like VDSL model or a dedicated router, but given that the Mikrotik CRS226-24G-2S+RM RouterOS based switch can do almost everything I need including almost 200mbits routing capability, there’s no plan to add much more in there.
Currently the power and server data runs down to the floor, but next time I have an electrician on-site doing work, I’ll get a mains socket installed up by the cabinet to save a cable run and potentially a very shallow rackmount UPS to run the cabinet.
Cabling and equipment installed!
The final step was making sure everything actually worked – for that I used a $5 cable tester I picked up off Trademe – has nothing on a fancy brand like Fluke that can measure the length of cable runs and tell you the type of cabling pin out, but for a casual home installation it was great!
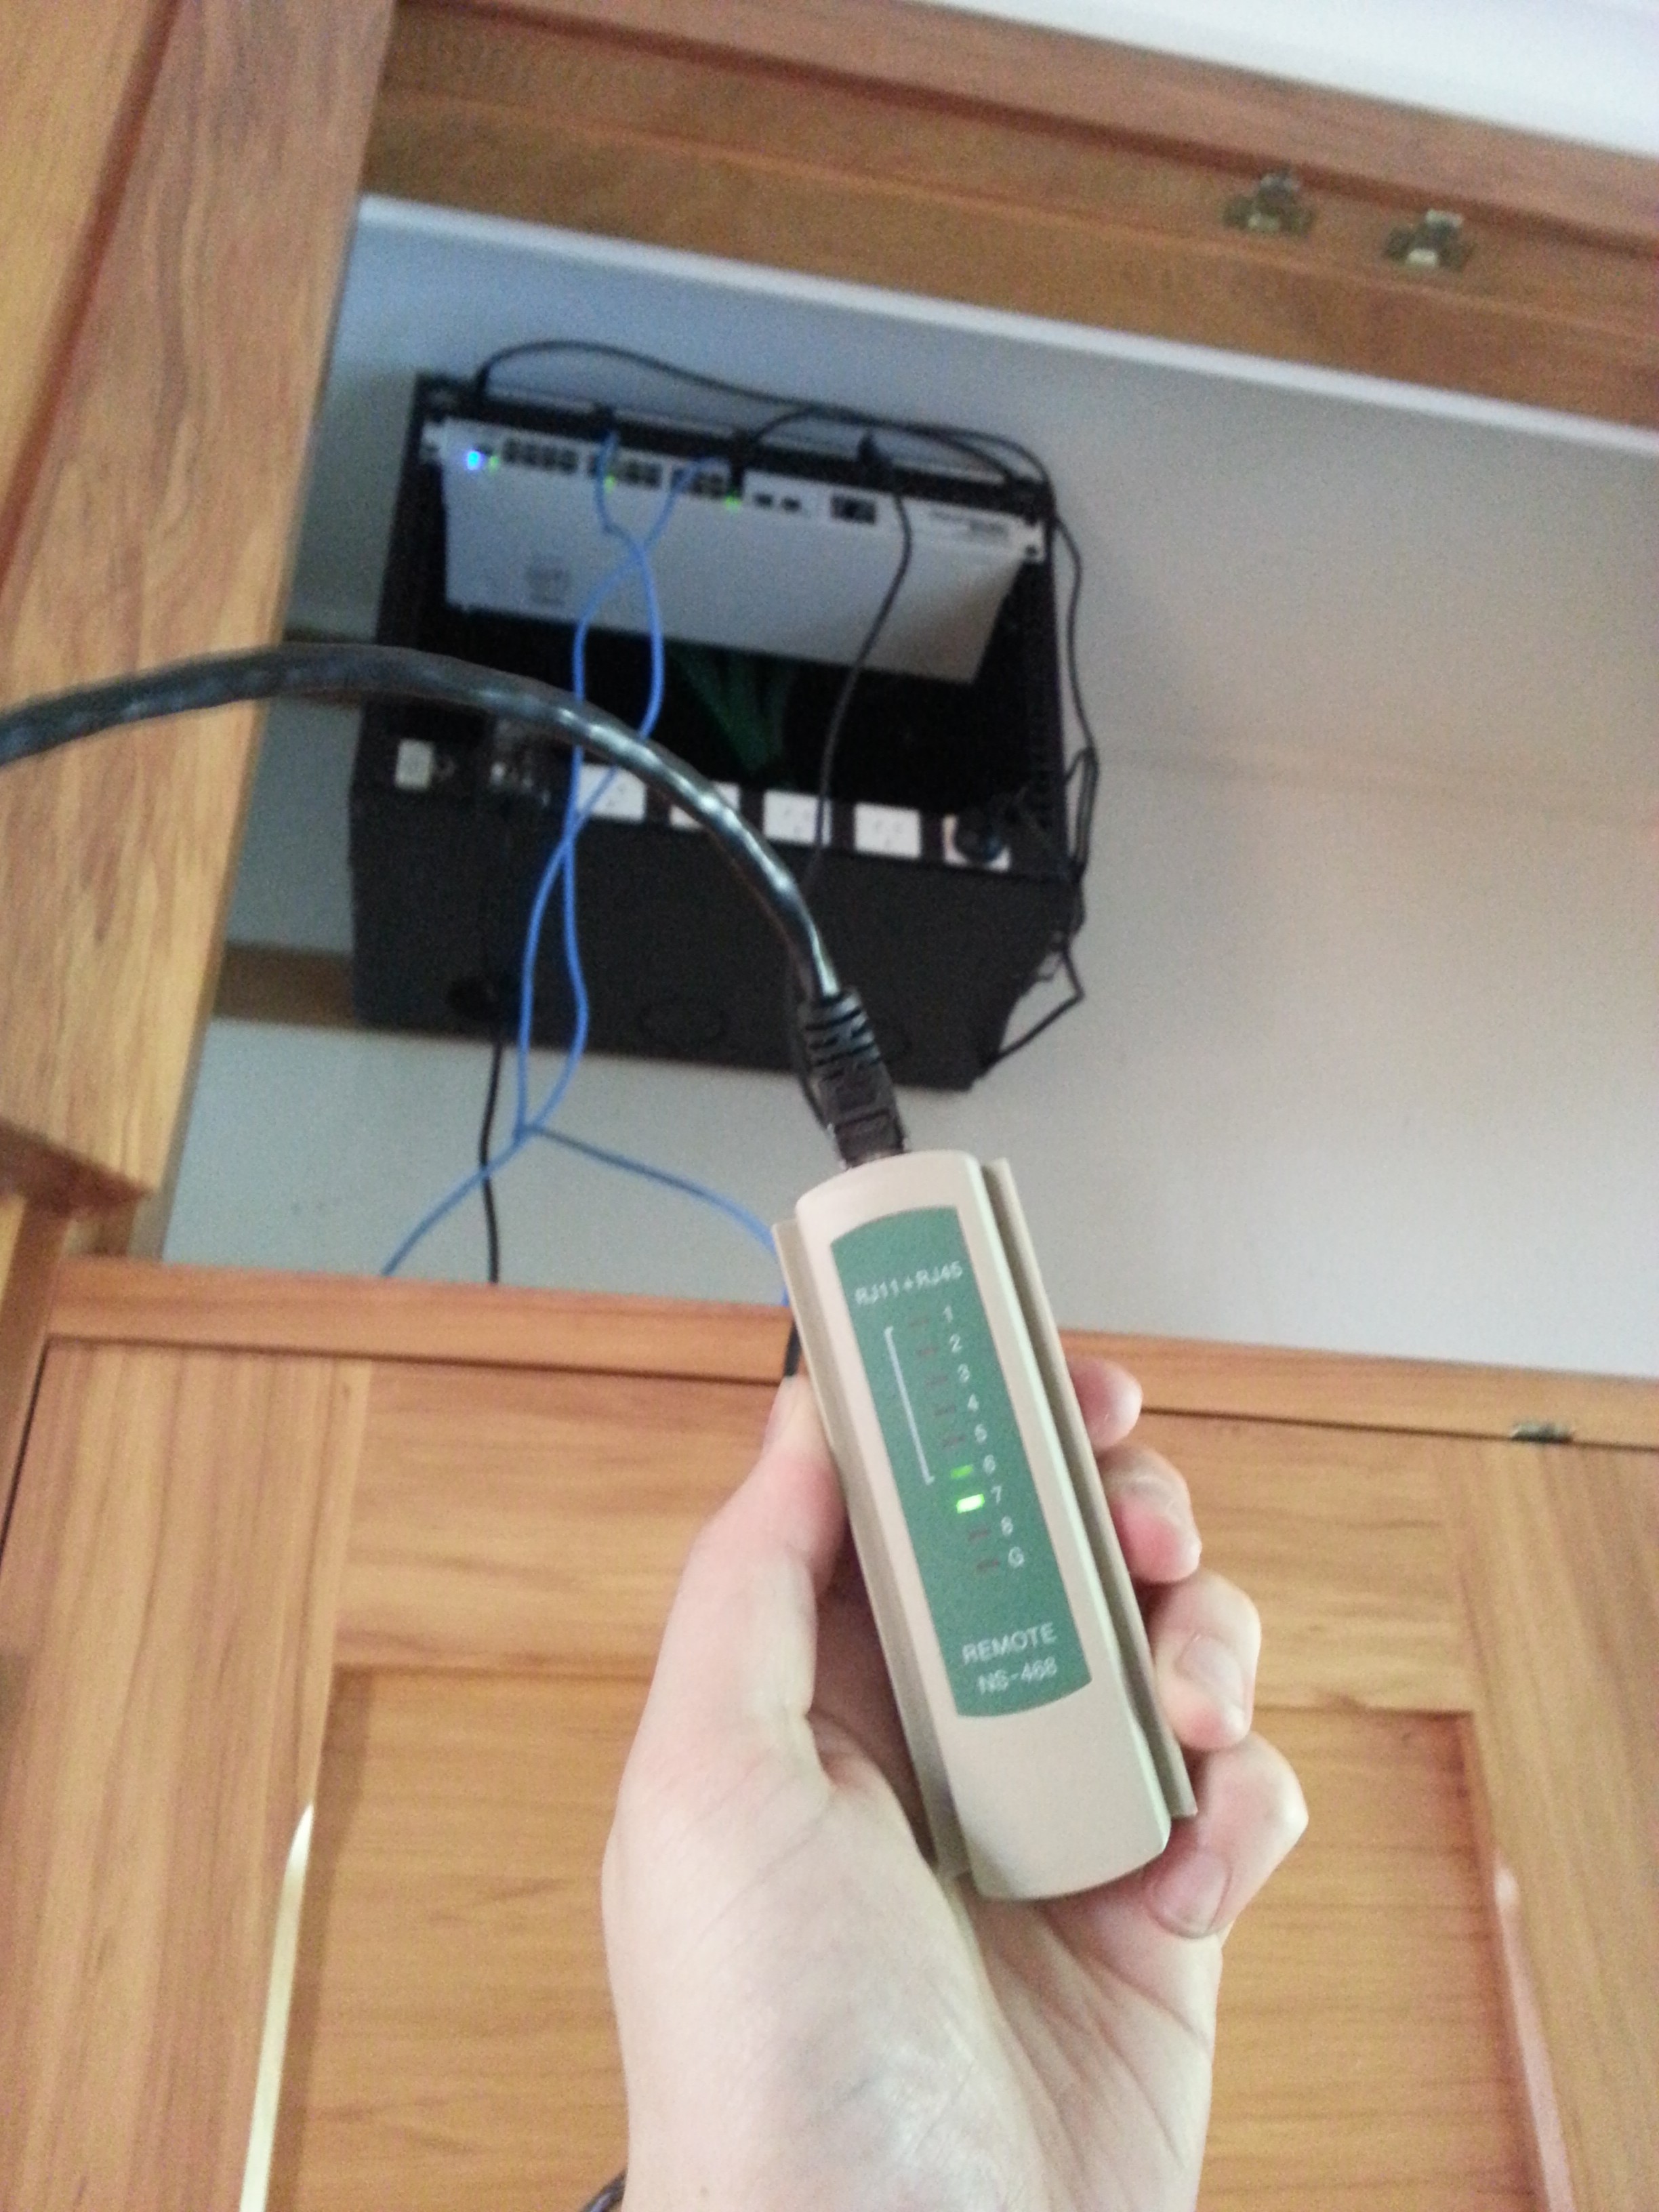
Testing the cabling jobs – the meter runs through each wire in order so you can detect incorrectly punched cables or incorrect arrangements of the wires at either end.
I had most of the tools needed on hand already, if you’re tempted to do similar, you’re going to need the following:
- A decent electric drill.
- A hole saw (goes into your drill, makes big holes in walls). You need this to make the opening for your wall plates with enough room to sit all the RJ45 modules into the wall.
- Regular drill bits if you’re going up through the ceiling into the roof for WiFi APs – just need something large enough for a Cat6 cable and no more.
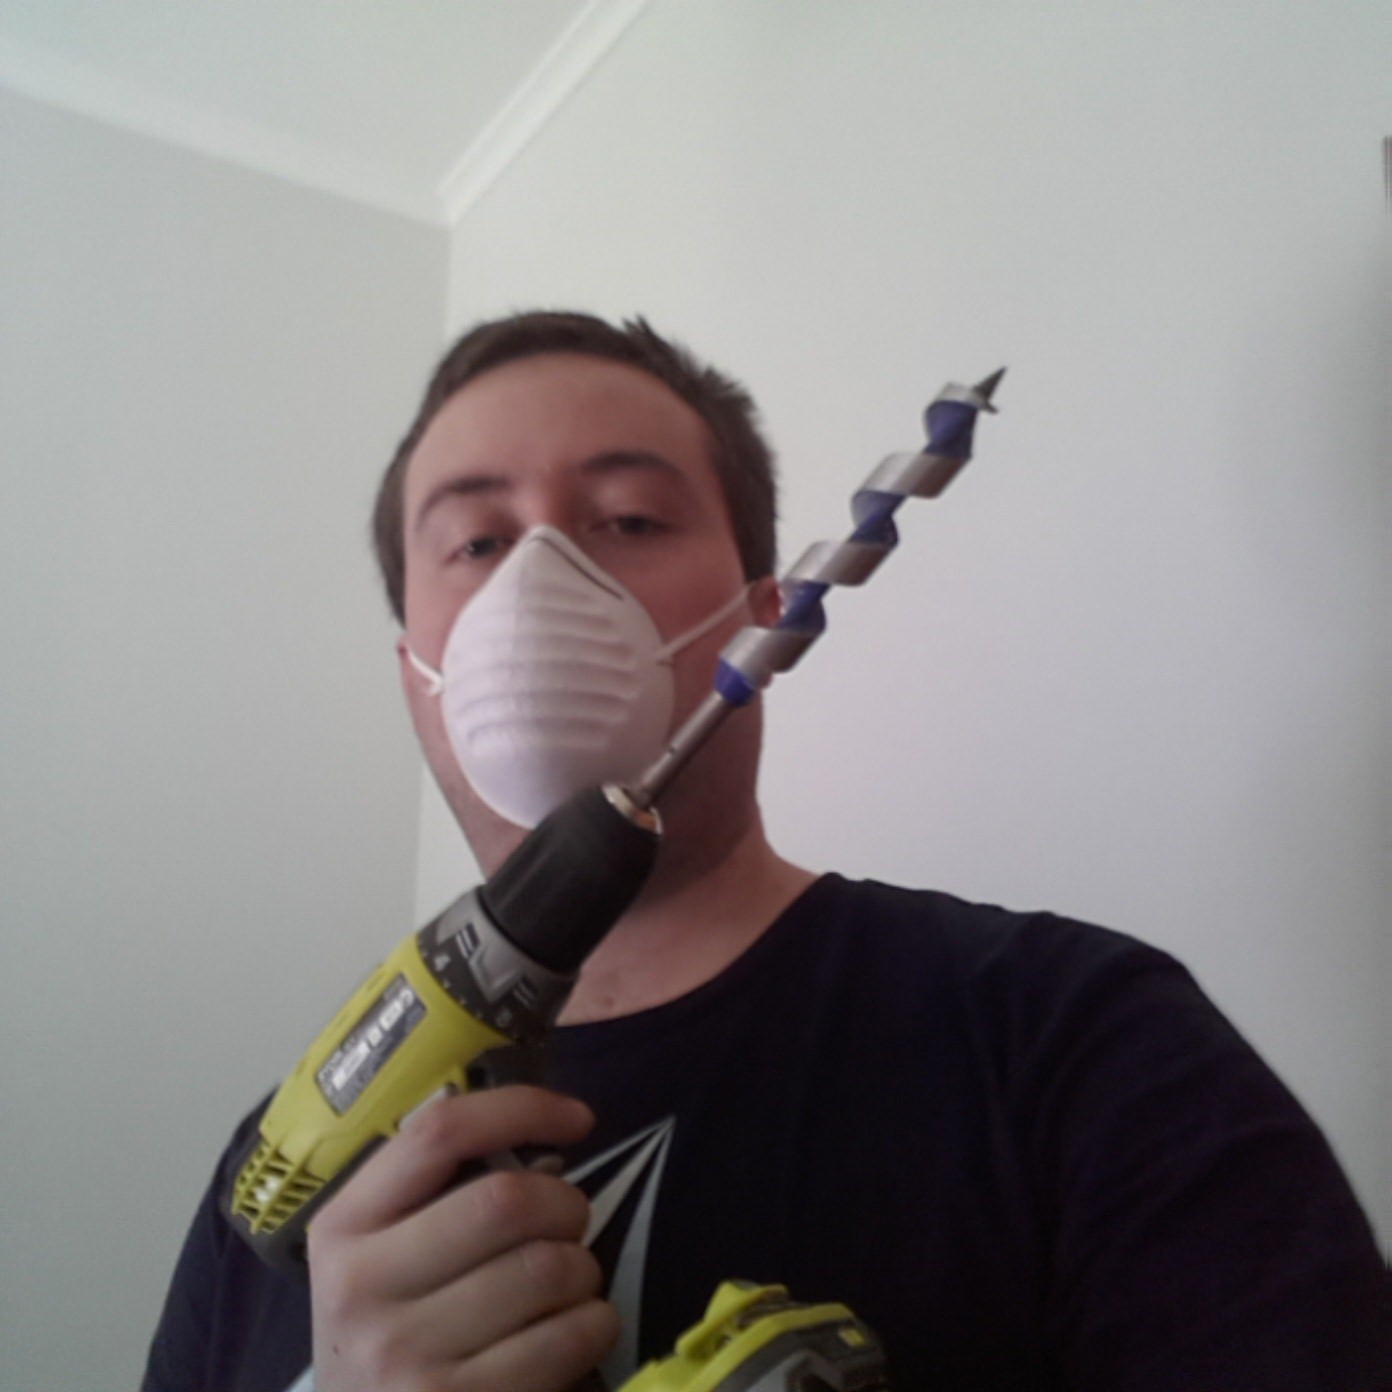
- An auger drill bit if you want to drill holes suitable for running bundles of cables through solid wood beams. Having a bit big enough to fit all your cables in your bundle a bit of slack is good.
- A punch down tool, this is what you use to connect each wire in the patch panel and RJ45 wall modules. Its worth buying a reasonable quality one, I had a very cheap (~$5) unit which barely survived till the end of the build since you tend to put quite a bit of force on them. The cheap tool’s cutter was so bad I ended up using a separate wire cutter to get the job done, so don’t make my mistake and get something good.
- A good quality crimping tool – this will allow you to terminate RJ45 (needed if you want to terminate to the plug, rather than socket for roof-mount access points), but they also tend to include a cable stripper perfectly aligned to strip the outer jacket of the cat5/6 cable. Again, don’t scrimp on this tool, I have a particular solid model which has served me really well.
- Needle nose pliers or wire cutters – you need something to cut out the solid plastic core of the Cat6 cable. You can do it in the crimping tool, but often the wire cutter or pliers are just easier to use.
And of course materials:
- A reel of Cat6 Ethernet. Generally comes in 305m boxes.
- A roll of black electrical tape, you’ll want to use this to attach guide cables, and to bundle cables together without adding size to the cabling runs.
- Cable ties are useful once you get cables into position and want tight permanent bundling of cables.
- RJ45 plugs if you are terminating to a plug.
- RJ45 modules and related wall plate hardware.
- Pipe/Saddle Clips can be useful for holding up cables in an orderly fashion under the house (since they’re designed for pipes, big enough to fit cable bundles) and they’re great to avoid leaving cables running across the dirt.
Note that whilst there are newer standards like Cat 6a and Cat7 for 10 GigE copper, Cat6 is readily available in NZ and is rated to do 10GigE to a max of 35-50m runs, generally well within the max length of any run you’ll be doing in a suburban house.