With a change in job, I recently shifted from my primary work computer being a Lenovo X1 Carbon running GNU/Linux to using an Apple Macbook Pro Retina 15″ running MacOS.
It’s not the first time that I’ve used MacOS as my primary workstation, but I’ve spent the vast majority of my IT life working in a purely GNU/Linux environment so it was interesting having to try and setup my usual working habits and flow with this new platform.
I’m going to do a few blog posts addressing my thoughts and issues with this platform and how I’ve found it compared to my GNU/Linux laptops. I’m going to look at both hardware and software and note down a few fixes and tricks that I’ve learnt along the way.
Part 1: The Retina Display
Apple is known for their hardware quality – the Macbook Pro Retina 15″ I am using is a top-of-the-line machine with a whopping Core i7, 16GB of RAM and 512GB SDD, Nvidia GPU and the massive 2880×1800 pixel Retina LCD display. Whilst the hardware is nice, it’s something that can be found with other vendors – what really makes it interesting, is the massive high resolution display.
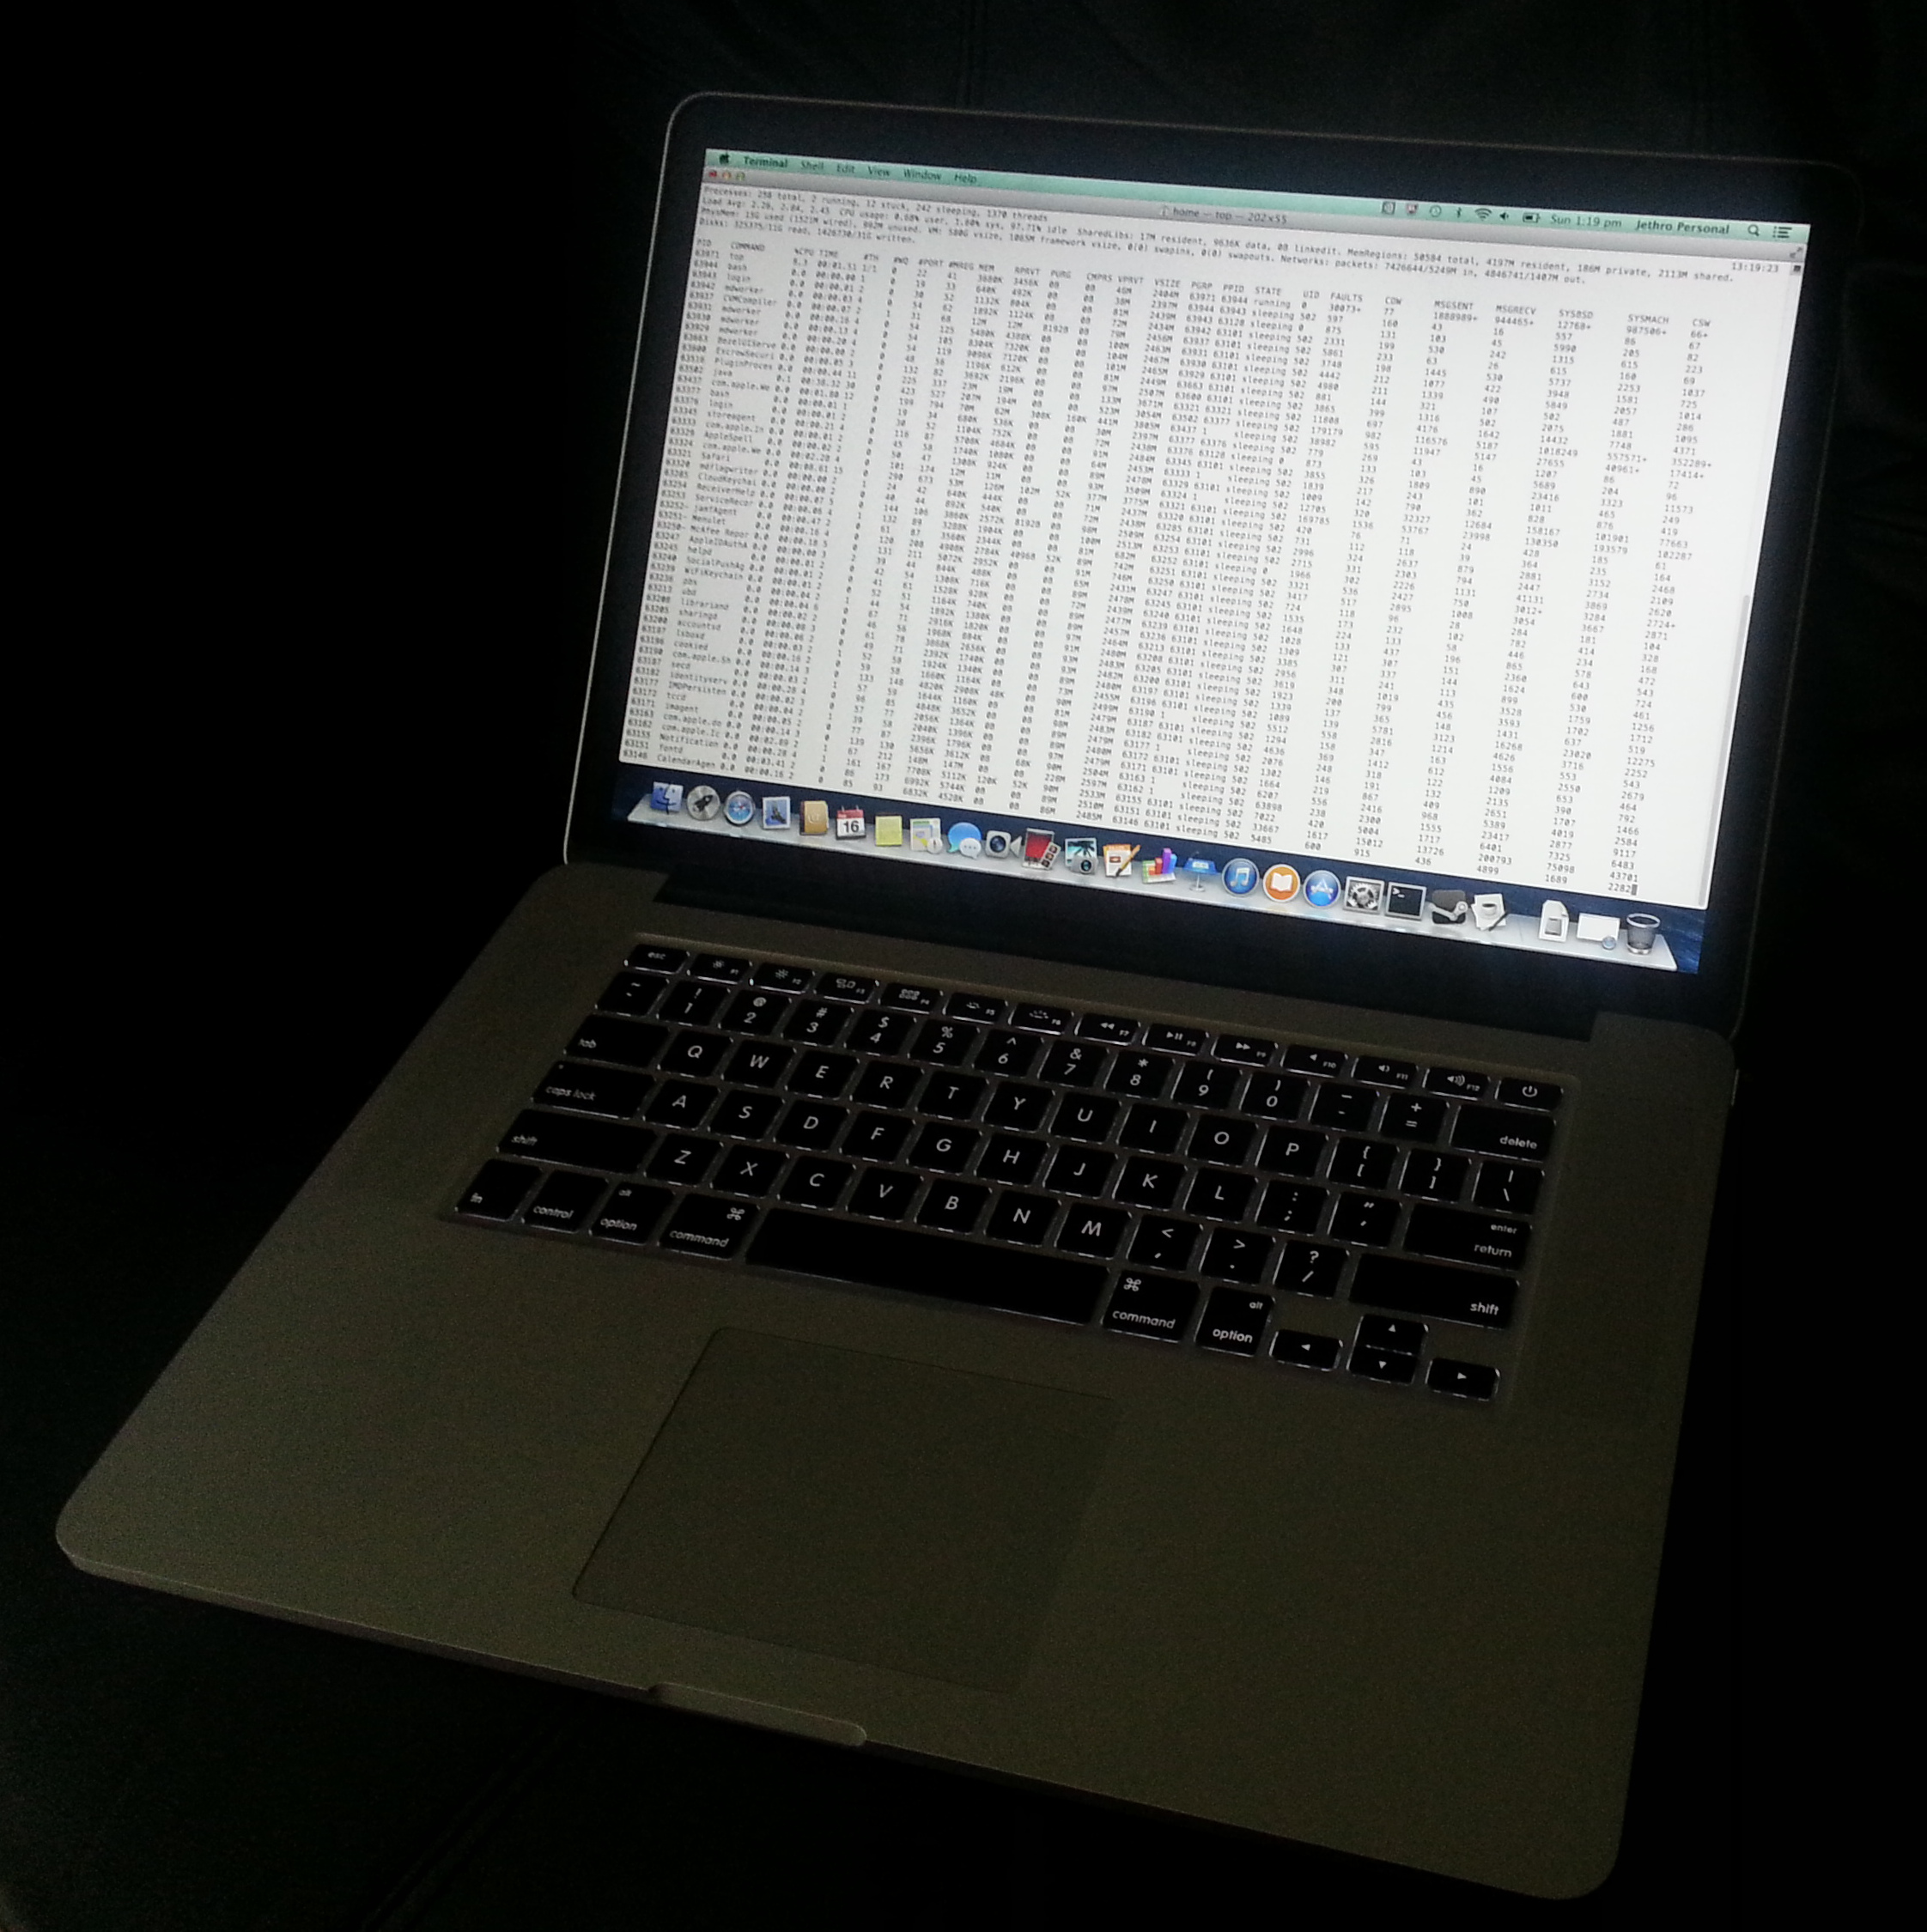
Shiner than a Thinkpad. But is it just a showoff?
Unfortunately for all the wonderfulness that Retina advertises, it’s given me more grief than happiness so far. My main issue, is how Apple handles this massive high resolution display.
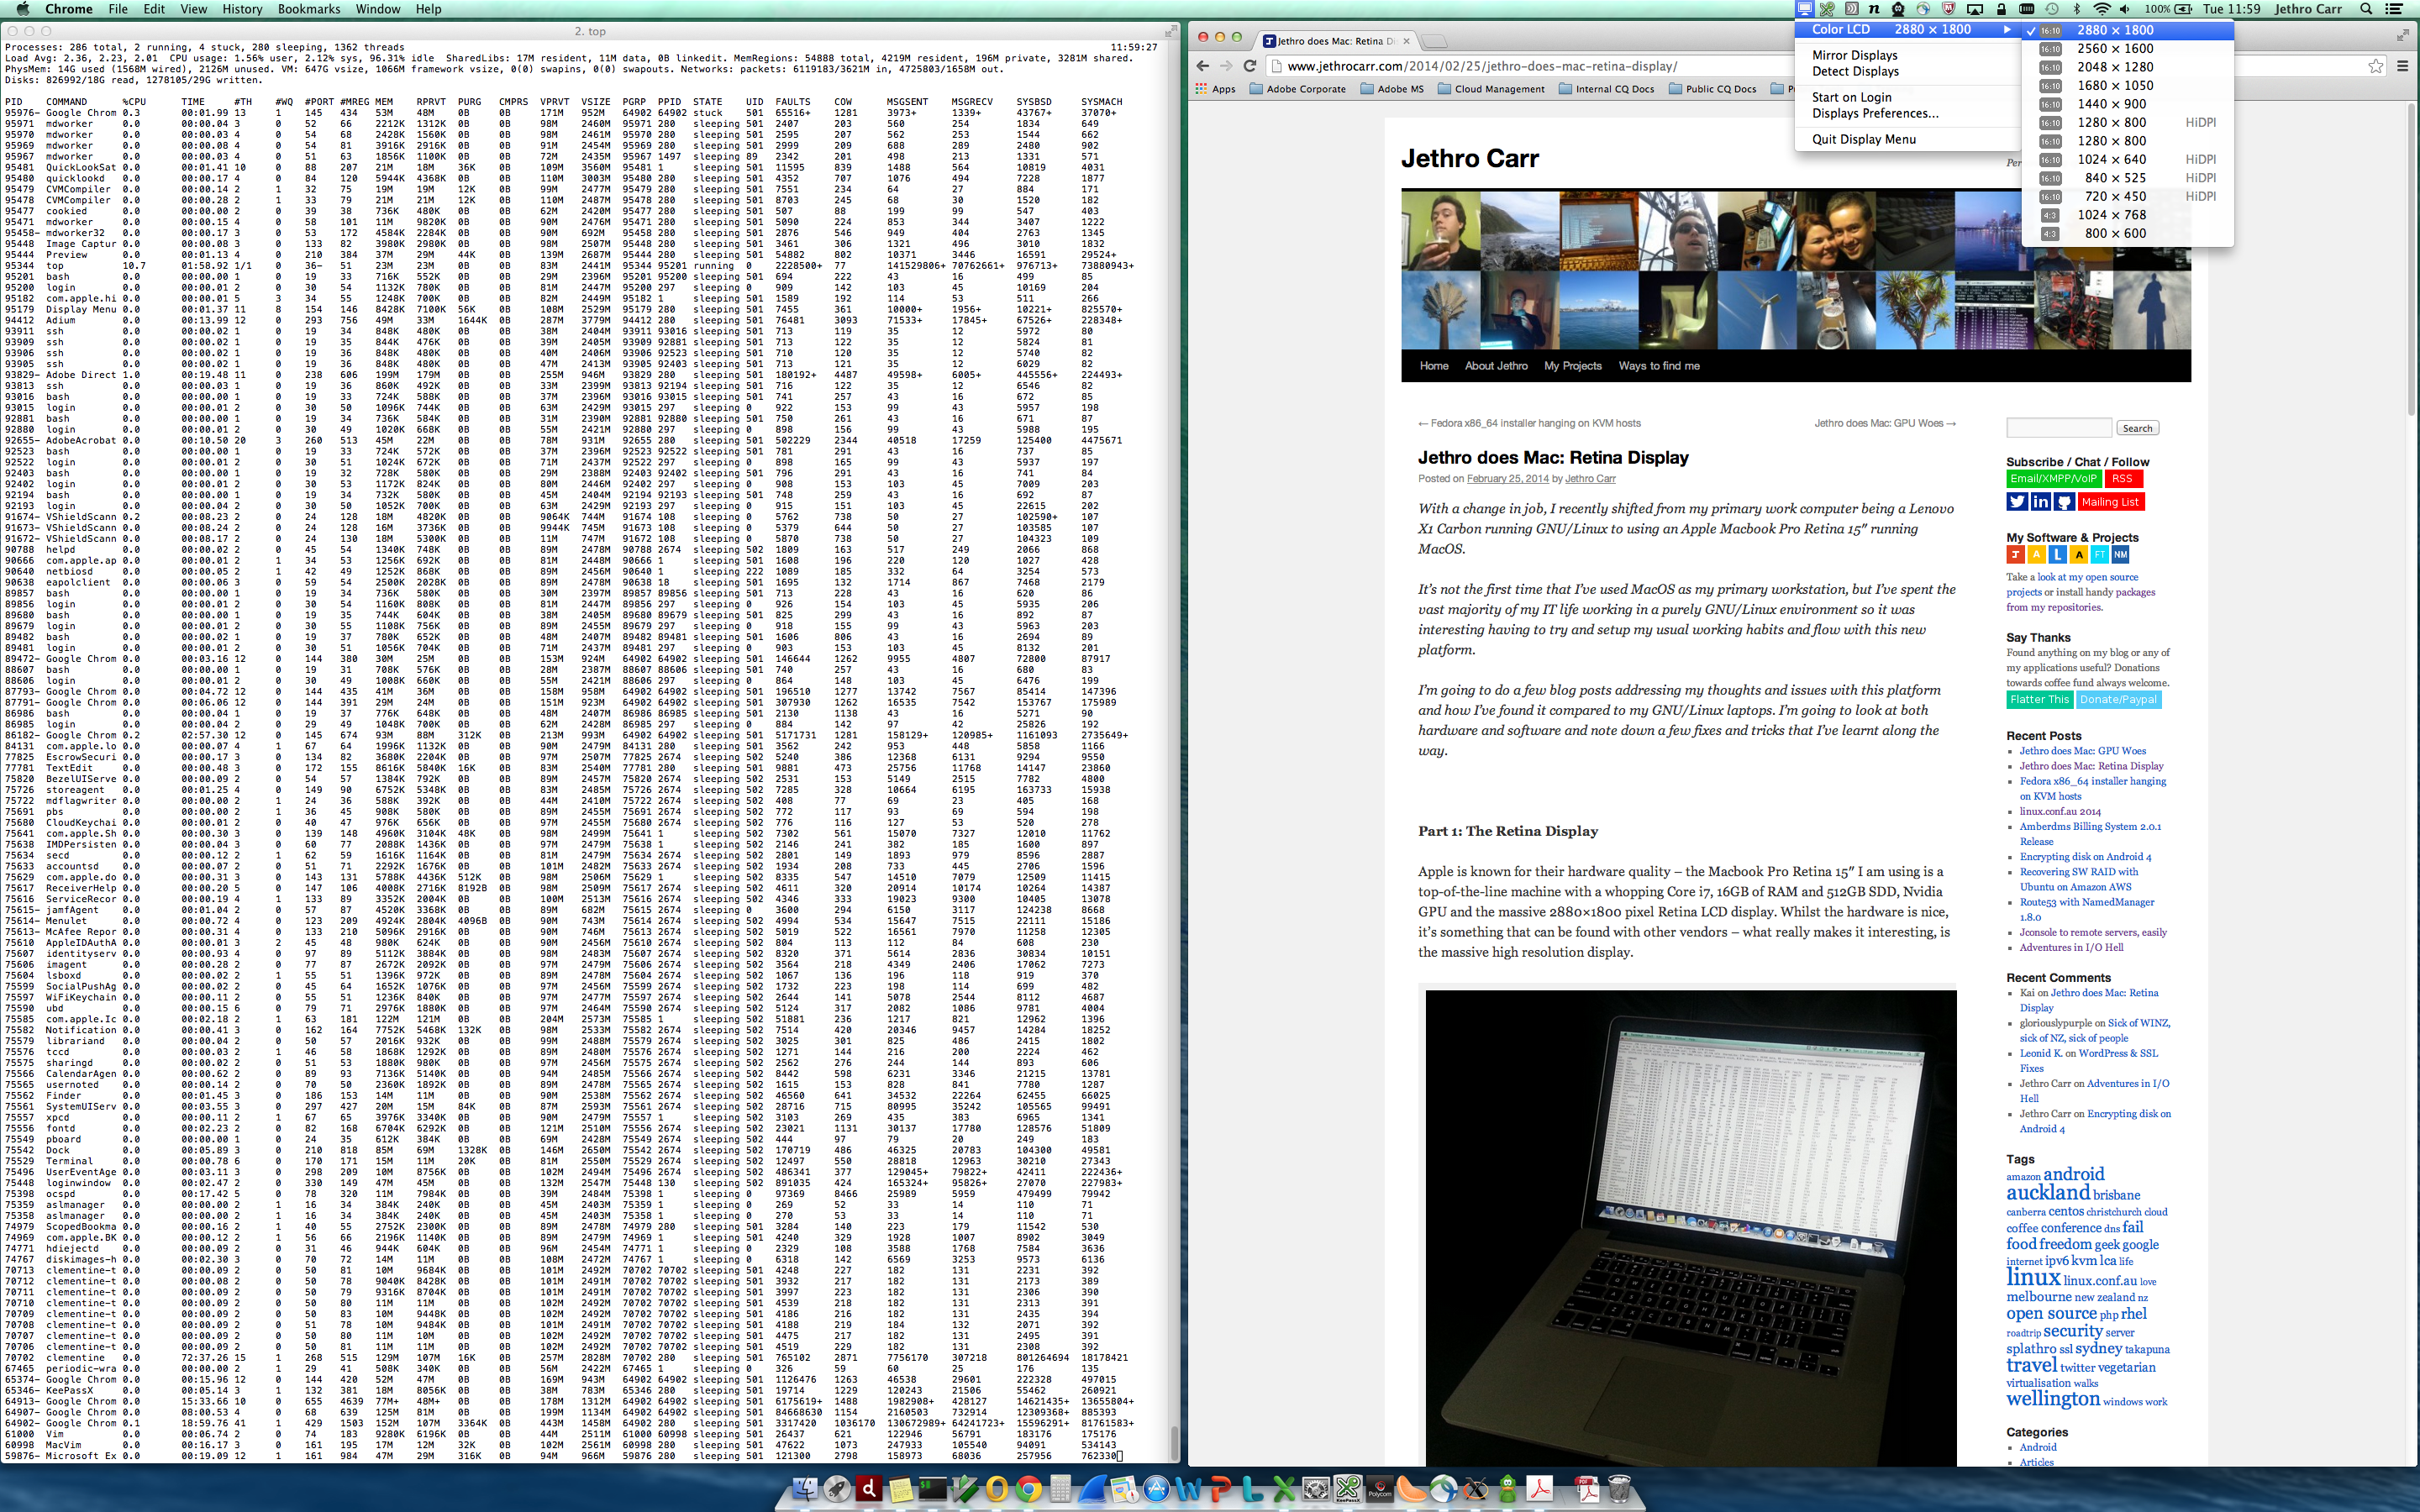
Out of the box you get a scaled resolution that looks like any standard MacOS laptop, rather than the full native resolution of the display. Apple then does some weird black magic with their UI layer, where the actual display is rendered on a massive virtual 3360 x 2100 resolution virtual display and is then scaled down to the actual display size of 2880 x 1800 pixels.
The actual resolutions available to the end user aren’t real resolutions, but rather different modes that essentially look/feel like 1920×1200, 1680×1050, 1440×900 (the default for Retina), 1280×800 and 1024×640, but in the background MacOS is just scaling application windows to these sizes.
There’s some more details about the way the Retina display and MacOS work on the AnandTech review here.
If you come from a Windows or GNU/Linux world where the screen resolution is what it says on the box, it’s a really weird mindshift. You’ll quickly find this approach is common to the Apple ecosystem – so much stuff that I understand about computers is difficult to figure out with MacOS due to the way Apple hides everything and instead of using the technical terminology, hides it behind their own terminology designed to make it “easier” for normal users. And maybe it does… but for me, it’s more of a hindrance, rather than a help.
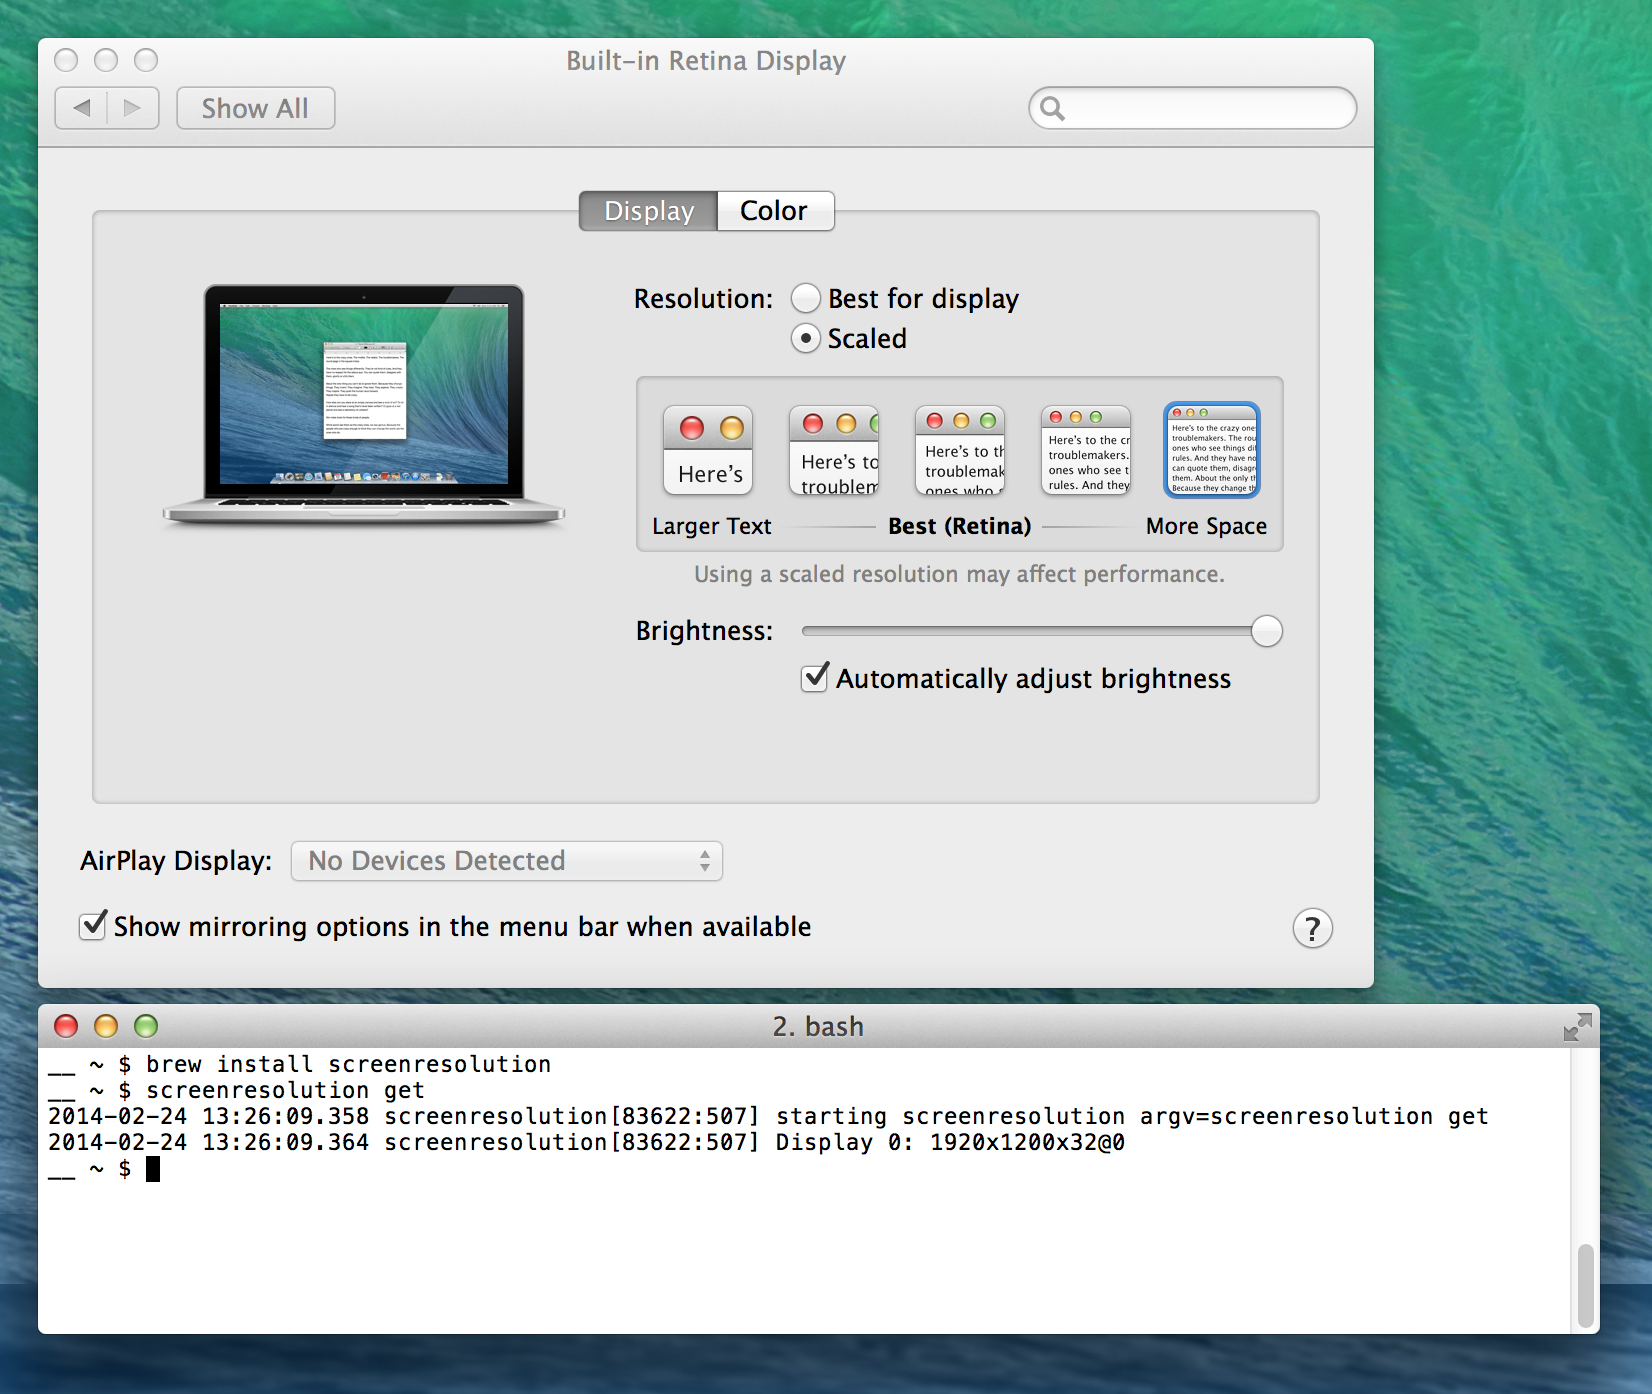
Apple’s Settings window isn’t that helpful at explaining the real resolutions underneath, in my case I had to get “screenresolution” from Brew in order to figure out what resolution this machine was actually displaying.
So which size and mode do I use? The stock screen resolution is OK for a laptop and maybe you’ll like it perfectly if you’re using Retina optimised applications (eg Aperture) where having a lower effective resolution, but high DPI for the content is useful.
Default scaled mode – effectively 1440×900
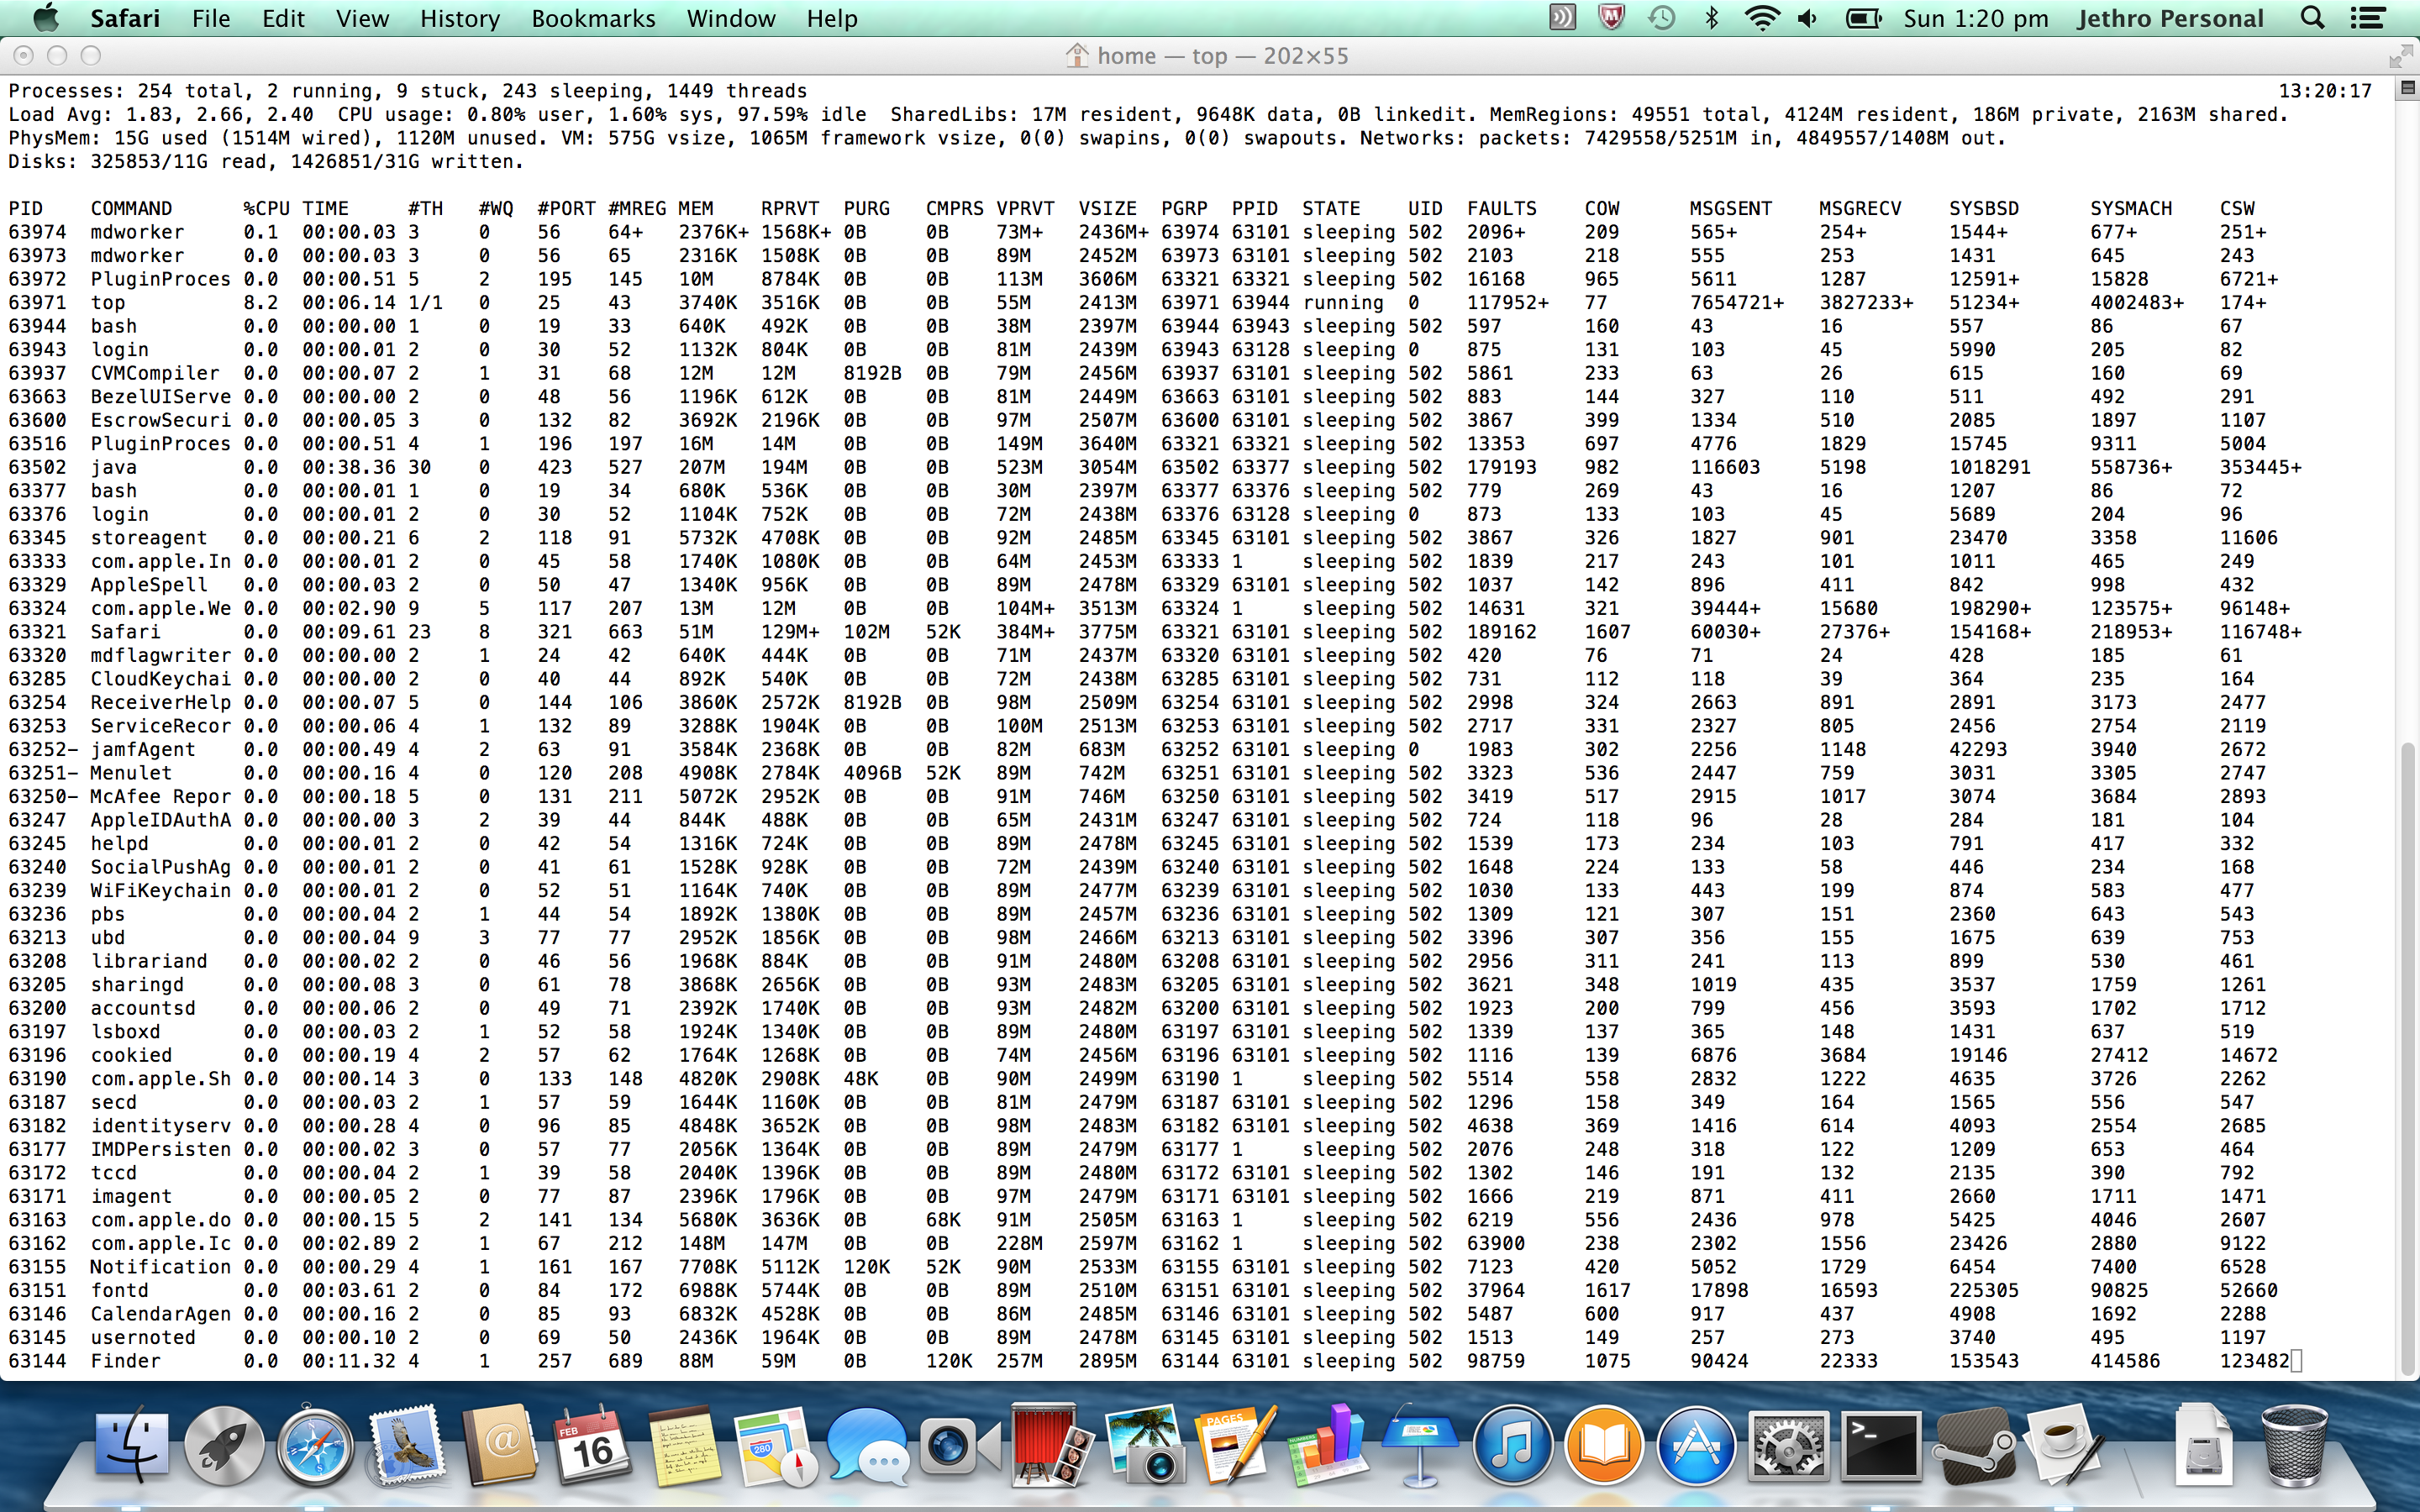
However for me, where most of my use case is email, terminal and a browser, I wanted the ability to fit the most possible information onto the screen, so I ended up using the “More Space” resolution, which drives the display at a 1920×1200-like scaled resolution.

The “More Space” mode is handy for fitting decent amounts of console output.
Whilst the Retina display is an excellent equal to a 24″ monitor (which have a resolution around 1920×1080, almost the same as the “More Space” mode), it doesn’t quite meet my dream hope which was that it would equal a 27″ monitor.
27″ monitors are the holy grail for me, since they have a resolution of 2560 x 1080, which is big enough to fit two large A4 sized windows on the screen at the same exact time.

It’s functional, but not as natural-feeling as doing the same on a 27″ monitor – still feels like trying to squeeze everything in.
It is possible to bypass Apple’s limitations on resolution get a higher resolution using third party tools, but I can only just read the 1920×1200 comfortably. I tried DisplayMenu (as suggested by Kai in the comments), but whilst the resulting resolution is amazing, I find reading text on it just a bit too small for prolonged periods.
The full 2880×1800 is lovely, but I might need glasses to read it…
The other issue with the Retina displays, is that due to the way Apple does the scaling, some applications just end up looking bad and fuzzy due to bitmap stretching and other nastiness – this impacted me with KeepassX, as well as some company-internal web applications.
But when you do get a properly Retina compatible application, things do look beautiful – Google Maps both in vector map and also satellite view look incredibly sharp and clear.
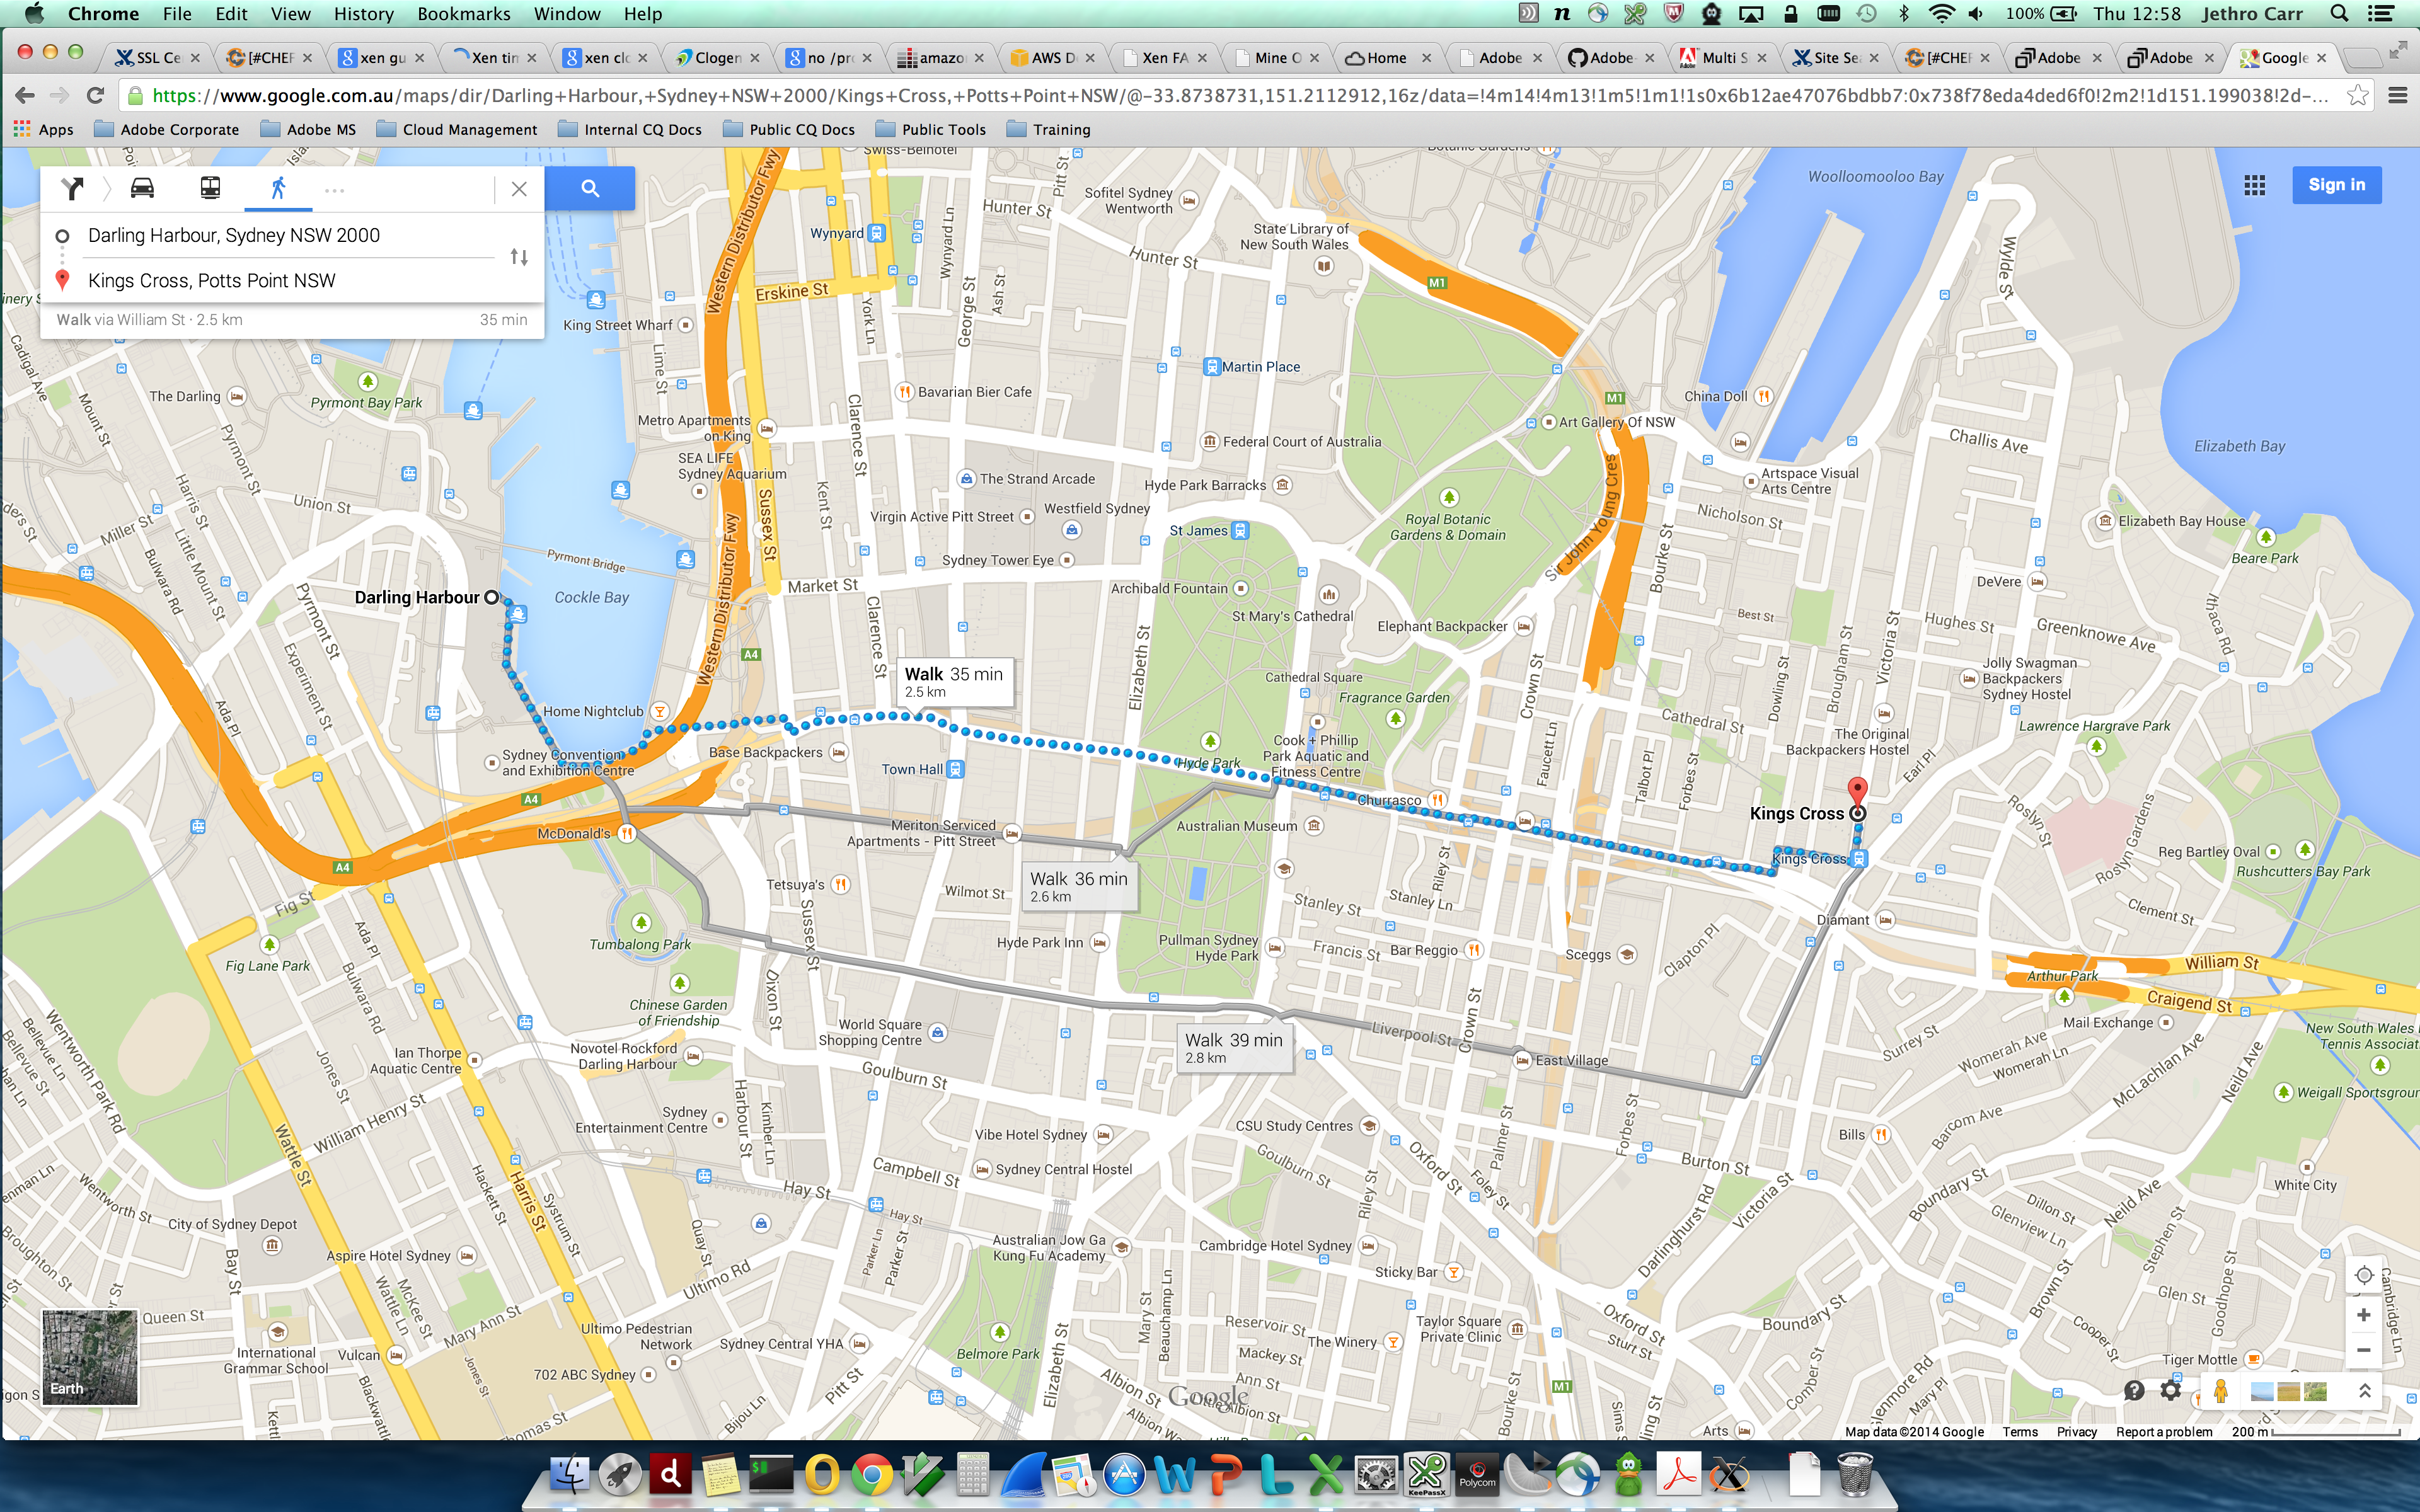
Vectorised graphics were made for Retina
If I was choosing between a laptop with a high resolution display like this and one without, I’d be choosing the former all other factors being considered equal. But I’m not convinced that it’s worth splashing lots of cash on for my particular requirements of terminals and browsing – the Retina screen probably wouldn’t add much for me over a laptop that features a resolution like 1920×1200 native instead of downscaling.
See other posts in this series via the jethro does mac tag as I explore using MacOS after years of GNU/Linux only.
