Tag Archives: 1-wire

Android via serial to Arduino

Whilst I’ve been pretty busy lately, I recently made another order from Mindkits and got to work with testing some of my ideas for my Arduino-based remote management solution for my home server.

There’s 4 major parts to this solution

  1. Connectivity to the computer’s serial port (a motherboard 10-pin header) and being able to communicate with the serial port using the Arduino.
  2. An Arduino controlled switch to turn the computer motherboard’s reset pins on and off.
  3. Connection into one of my old HTC Magic Android cellphones.
  4. Connection of 1-wire temperature sensors in key parts of the server’s case.

I’m using a stock standard Arduino Uno/Eleven for this project, for two main reasons:

  1. The HTC Magic phone is quite an old model of Android phones, effectively it’s the second generation after the original G1 and was the first officially available Android phone in New Zealand. Whilst I have loaded the last stable version of Cynogenmod released for it onto the phone, it’s only Android 2.2 and doesn’t feature the Android USB Accessory API support, so there was no point getting something like the USBDroid model.
  2. Rather than paying extra for ethernet connectivity, I’m planning to write an Android application that runs on the phone in the background that provides all the logic behind the remote management program for the server and connectivity via Wifi, 3G and SMS – I figure that the Android platform is better places for the management program anyway with a more sophisticated software

I purchased some protoshields for the Arduino, so my plan is to develop all my circuit logic as an addon shield so it will be possible to stack other shields on in future if I want to add some new applications/functionality to the system.

I’m new to the electronics, the Arduino coding AND the Android development requirements, so it’s an awesome learning curve project for me to start getting my head around all these technologies. :-)

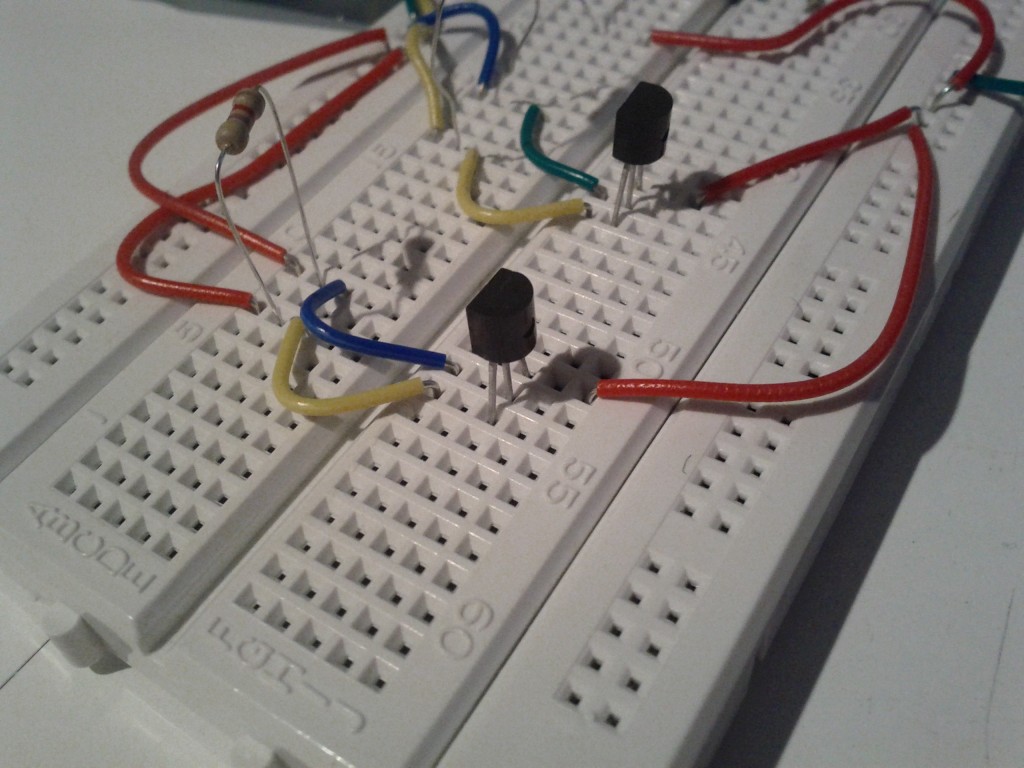
The easiest bit to solve is the control of the computer’s reset header – I need this in order to be able to reboot a crashed system, something that has happened a couple of times due to flaky hardware.

To control the reset, I can use a simple transistor switched circuit, there’s a few resources around for novices to follow, I found this one useful. The only concerns I have is that I need to research and find out what the voltage on the reset headers is – I’m assuming 5V, but it could be anything from 3V to 12V….

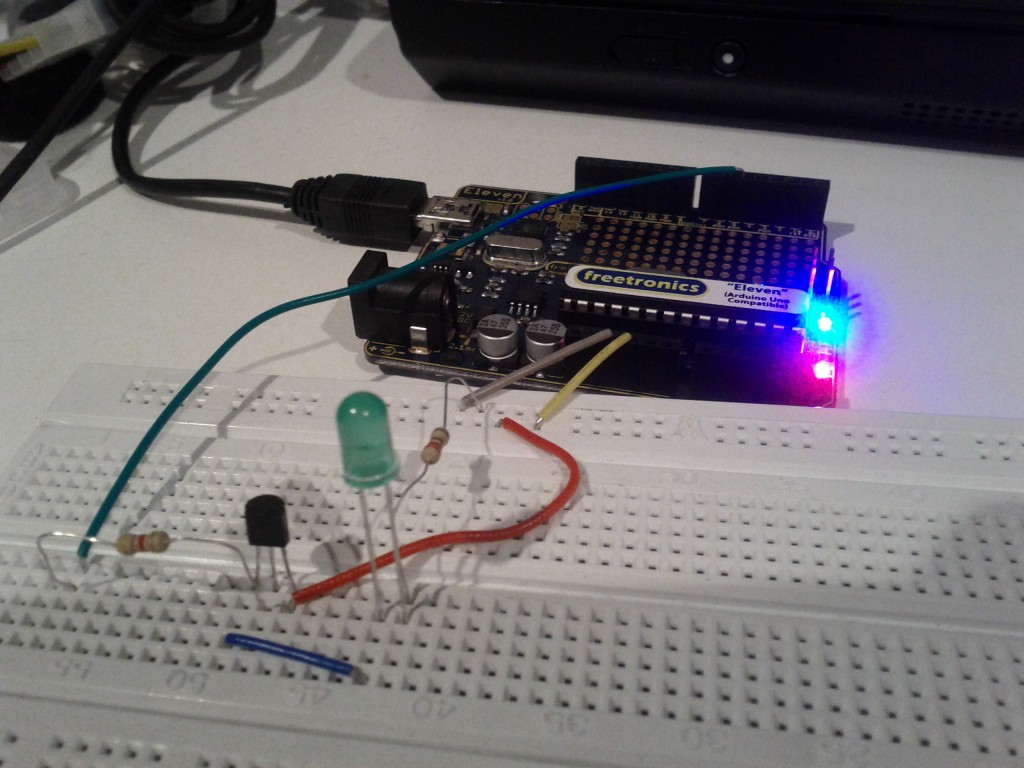
Tested the switch by using the Arduino to turn on the LED using a transistor.

The connectivity to the server seems pretty straightforwards – I’ll be using an RS232 shifter circuit (like this one) to connect the PC serial port to the Arduino, although I might end up re-implementing that circuit directly on the protoshield and using a 10-pin IEC connector to plug directly into the motherboard’s serial header

The phone will be connected using the debug serial port in the HTC Magic – it seems a number of the earlier HTC models can provide serial over some of the extra pins in the ExtUSB plug they use.

I’m not totally sure how I’ll be connecting both serial ports just yet – the Ardunio has one hardware UART onboard on pins 0 and 1, but I’m not sure if I can use those without losing the ability to manage the Arduino via it’s USB port – ideally I want the capability to still update the Arduino from the server it’s connected to.

It is possible to connect additional serial ports using software and there’s even a handy library for it, so I have that option for one or both ports. I’ll just have to code my software to be aware that the connection might be lossy or imperfect and to be patient and retry stuff.

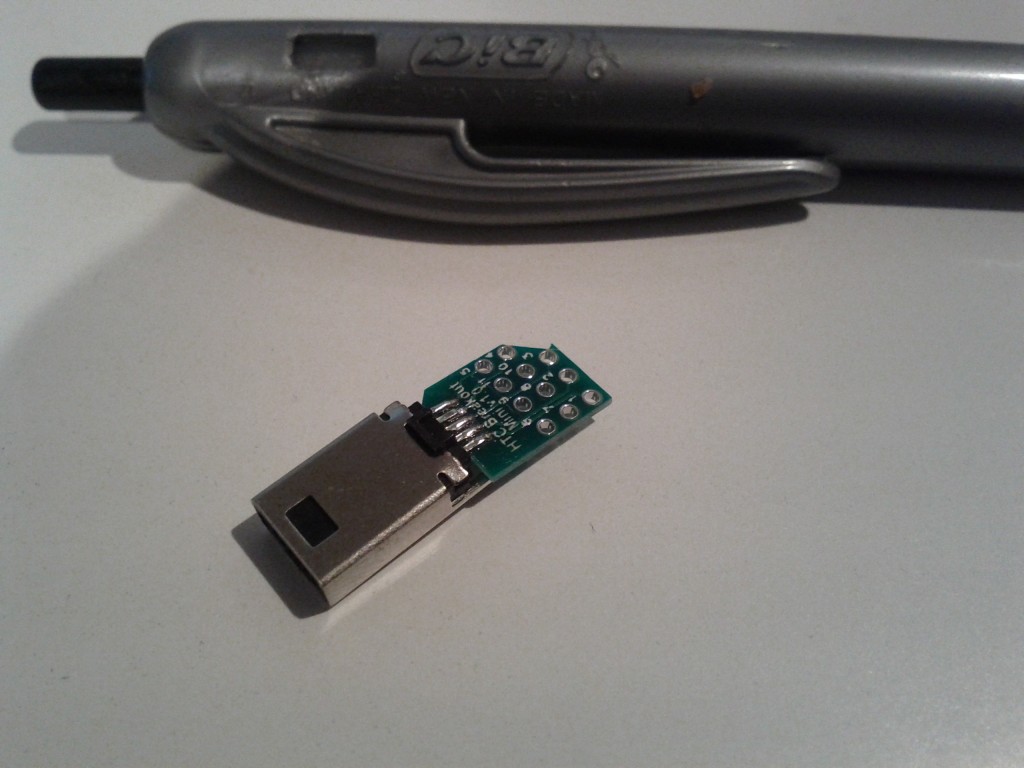
I purchased an (expensive!) breakout board for the ExtUSB port which will make the soldering a *bit* easier, but considering the size of it, it still won’t be any walk in the park…

From uber-tiny to just plain tiny :-/

Fortunately since I’m using Cynogenmod, all the OS-side software is sorted and the kernel built with the correct parameters to enable the serial port functionality, providing me with a /dev/ttyMSM2 character device out-of-the-box.

Because I wanted to give it a go and see how the phone ran, I used some header pins to connect to the breakout board as they fit in the holes snugly – there must be some better tools available for connecting to PCBs and device legs without soldering for testing purposes, so I’ll need to do some more research for future.
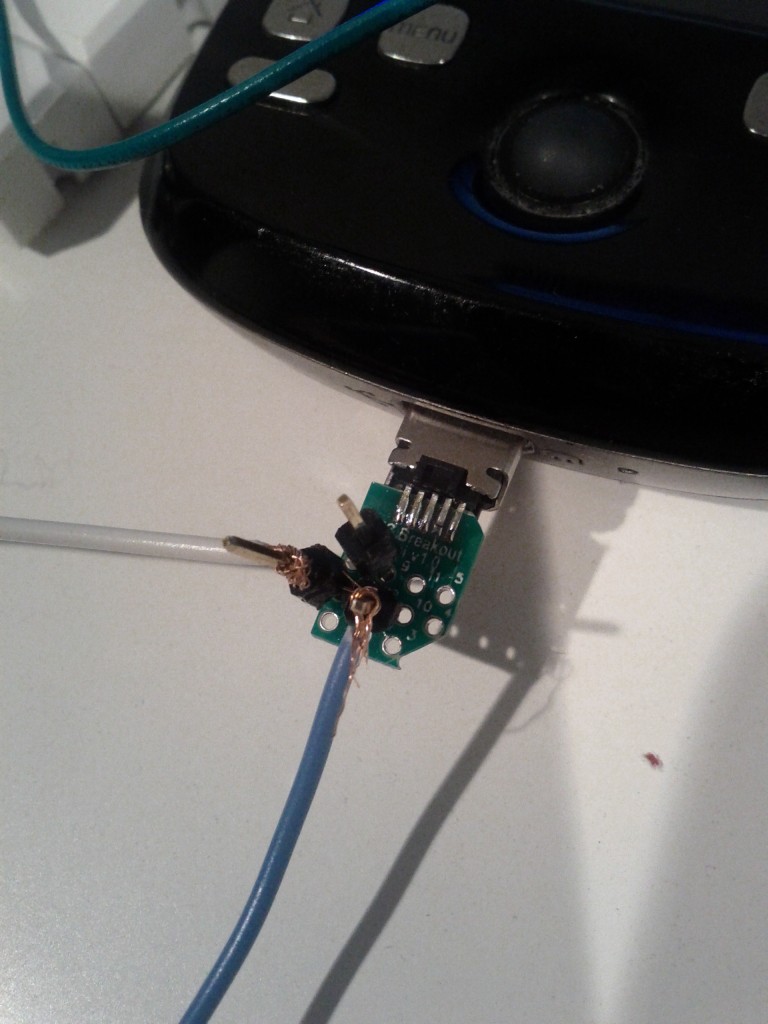
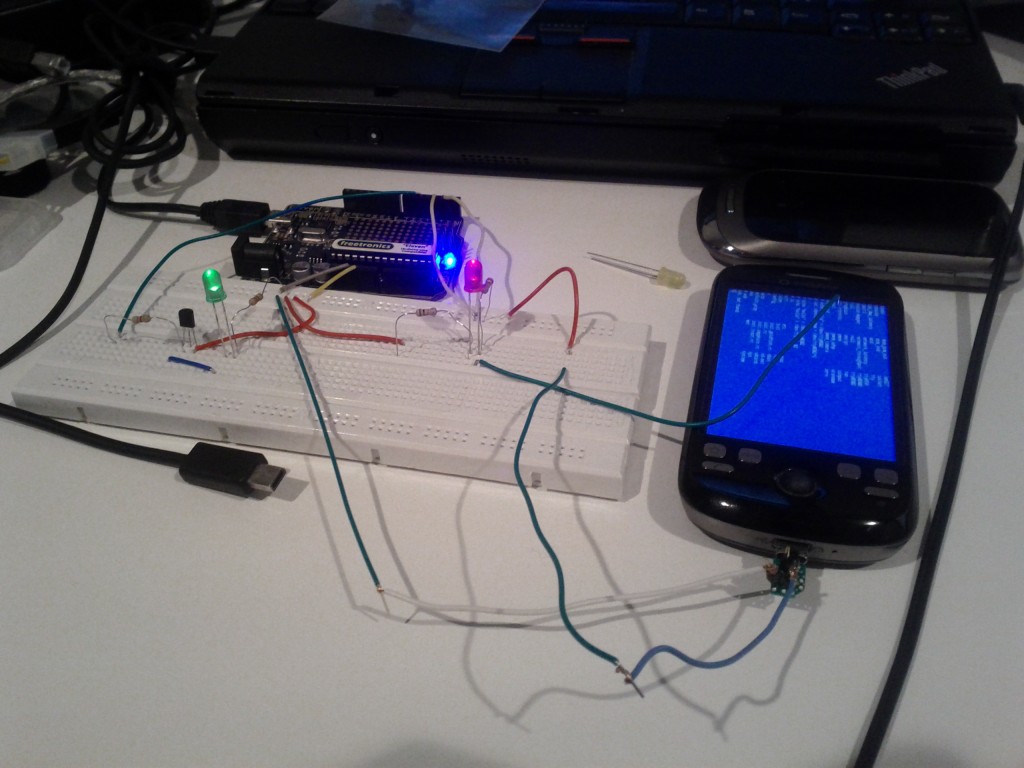
World’s dodgiest serial connection – also GND and TX pins connected only, it sends 2.8V into the Arduino which is OK, but I need to do a step down circuit before I can transmit from 5V back into the phone.
Hacky hacks

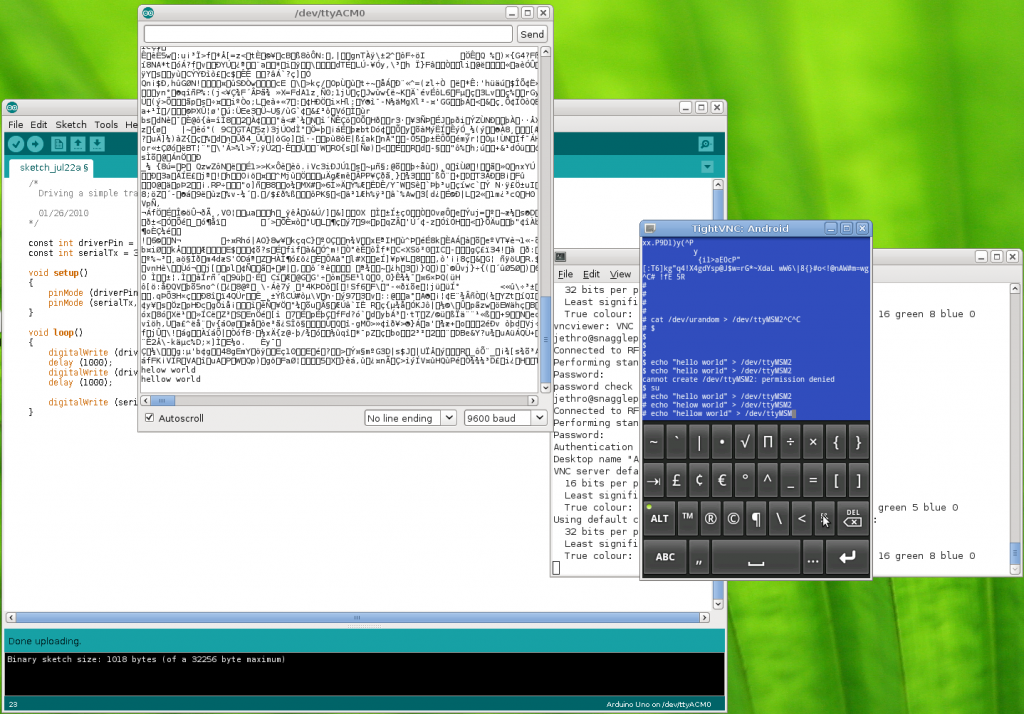
VNCd into the phone and sending messages over the serial line, which is connected to pin 1 (TX) on the Arduino, so the messages appear in the serial monitor

Based on these results it’s looking good – at least I’ve validated my understand of what is possible, so the next step is to turn some of this into a proper circuit.

My current plan is to do a short wire run from the ExtUSB connector breakout board into a small PCB which will split the output into the 3 wires for serial (RX, TX, Ground) and also take the 4 wires for USB and connect them to a USB port, so that I can plugin a USB cable to charge and manage the phone. From there, I can run the 3 serial wires to a header on the protoshield I’m building to connect into the Arduino.

I’ll have to work out how the Android phone and the Arduino will communicate for the management functionality, at this stage I’m planning to have an app that would send specific commands to the Arduino via serial and maybe the ability to get the output from the server’s serial port via the serial link to the Android phone by encapsulating the data or some other behavior.

Next steps is to get a better soldering iron so hopefully will be able to do the initial soldering I need for the HTC magic serial connection next weekend. :-)
Leosticks are a gateway drug

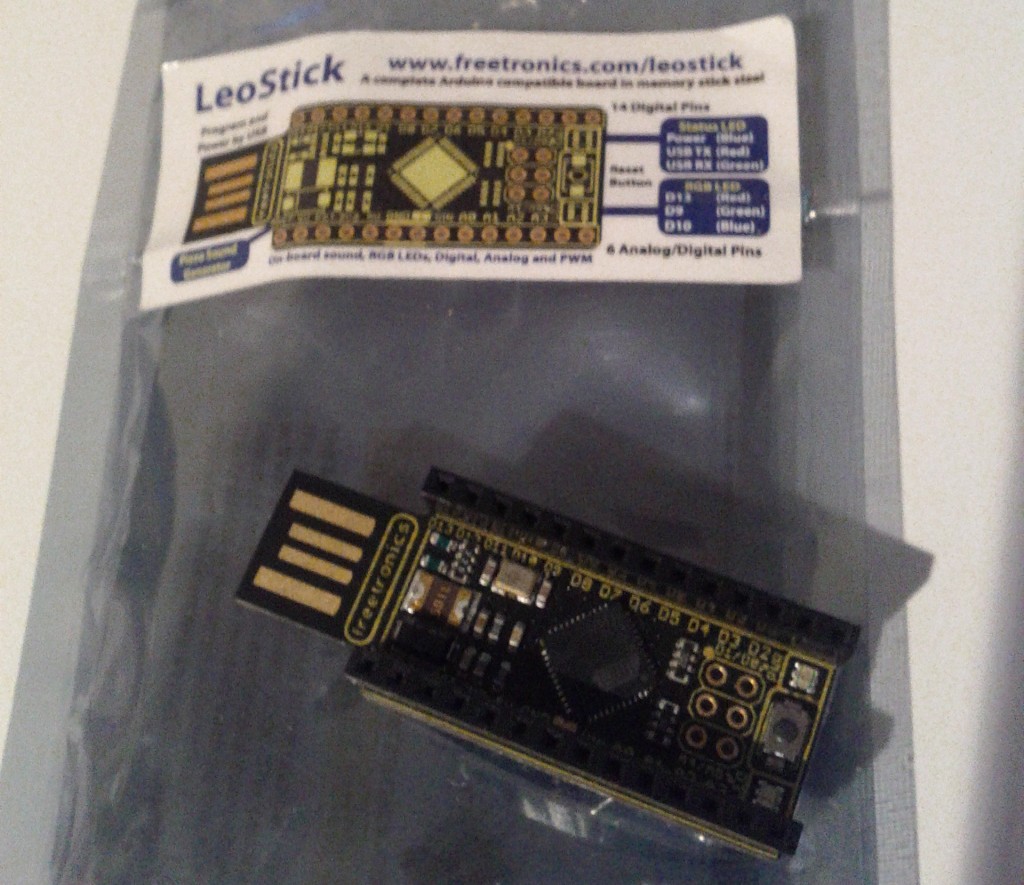
At linux.conf.au earlier this year, the guys behind Freetronics gave every attendee a free Leostick Arduino compatible board.

As I predicted at the time, this quickly became the gateway drug – having been given an awesome 8-bit processor that can run off the USB port and can provide any possibility of input/output with both digital and analogue hardware, it was inevitable that I would want to actually acquire some hardware to connect to it!

Beware kids, this is what crack looks like.

My background into actual electronics hasn’t been great, my parents kindly got me a Dick Smith starter kit when I was much younger (remember back in the day when DSE actually sold components! Now I feel old :-/) but I never quite managed to grasp all the concepts and a few attempts since then haven’t been that successful.

Part of the issue for me is I learn by doing and having good resources to refer to, back then it wasn’t so easy, however with internet connectivity and thousands of companies selling components to consumers offering tutorials and circuit design information, it’s never been easier.

Interestingly I found it hard to get a real good “you’re a complete novice with no clue about any of this” guide, but the Arduino learning resources are very good at detailing how their digital circuits work and with a bit of wikipediaing, got me on the right track so far.

Also not having the right tools and components for the job is an issue, so I made a decision to get a proper range of components, tools, hookup wire and some Arduino units to make a few fun projects to learn how to make this stuff work.

I settled on 3 main projects:

  1. Temperature monitoring inside my home server – this is a whitebox machine so doesn’t have too many sensors in good locations, I’d like to be able to monitor some of the major disk bays, fans, motherboard, etc.
  2. Out-of-band serial management and watchdog restart of my home server. This is more complex & ambitious, but all the components are there – with a RS232 to TTY conversion circuit I can read the server’s serial port from the Arduino and use the Arduno and a transistor to control the reset header on the motherboard to power-restart if my slightly flaky CPU crashes again.
  3. Android controlled projects. This is a great one, since I have an abundance of older model Android phones available and would like a project that allows me to improve my C coding (Arduino) and to learn Java/Dalvik (Android). This ticks both boxes. ATM considering adding an Android phone to the Arduino server monitoring solution, or maybe hooking it into my car and using the Android phone as the display.

These cover a few main areas – to learn how to talk with one wire sensor devices, to earn how to use transistors to act as switches, to learn different forms of serial communication and to learn some new programming languages.

Having next to no current electronic parts (soldering iron, breadboard and my general PC tools were about it) I went down the path of ordering a full set of different bits to make sure I had a good selection of tools and parts to make most circuits I want.

Ended up sourcing most of my electronic components (resister packs, prototyping boards, hookup wire, general capacitors & ICs) from Mindkits in NZ, who also import a lot of Sparkfun stuff giving them a pretty awesome range.

Whilst the Arduinos I ordered supply 5V and 3.3V, I grabbed a separate USB-powered supply kit for projects needing their own feed – much easier running off USB (of which I have an abundance of ports around) than adding yet-another-wallwart transformer. I haven’t tackled it yet, but I’m sure my soldering skills will be horrific and naturally worth blogging about in future to scare any competent electronics geek.

I also grabbed two Dallas 1-wire temperature sensors, which whilst expensive compared to the analog options are so damn simple to work with and can be daisy chained. Freetronics sell a breakout board model all pre-assembled, but they’re pricey and they’re so simple you can just wire the sensors straight back to your Arduino circuit anyway.

Next I decided to order some regular size Arduinos from Freetronics – if I start wanting to make my own shields (expansion boards for the Arduinos), I’d need a regular sized unit rather than the ultrasmall Leostick.

Ended up getting the classic Arduino Eleven/Uno and one of the Arduino USB Droids which provide a USB Host port so they can be used with Android phones to write software than can interface with hardware.

After a bit of time, all my bits have arrived from AU and the US and now I’m already to go – planning to blog my progress as I get on with my electronics discovery – hopefully before long I’ll have some neat circuit designs up on here. :-)

Once I actually have a clue what I’m doing, I’ll probably go and prepare a useful resource on learning from scratch, to cover all the gaps that I found hard to fill, since learning this stuff opens up so many exciting projects once you get past the initial barrier.

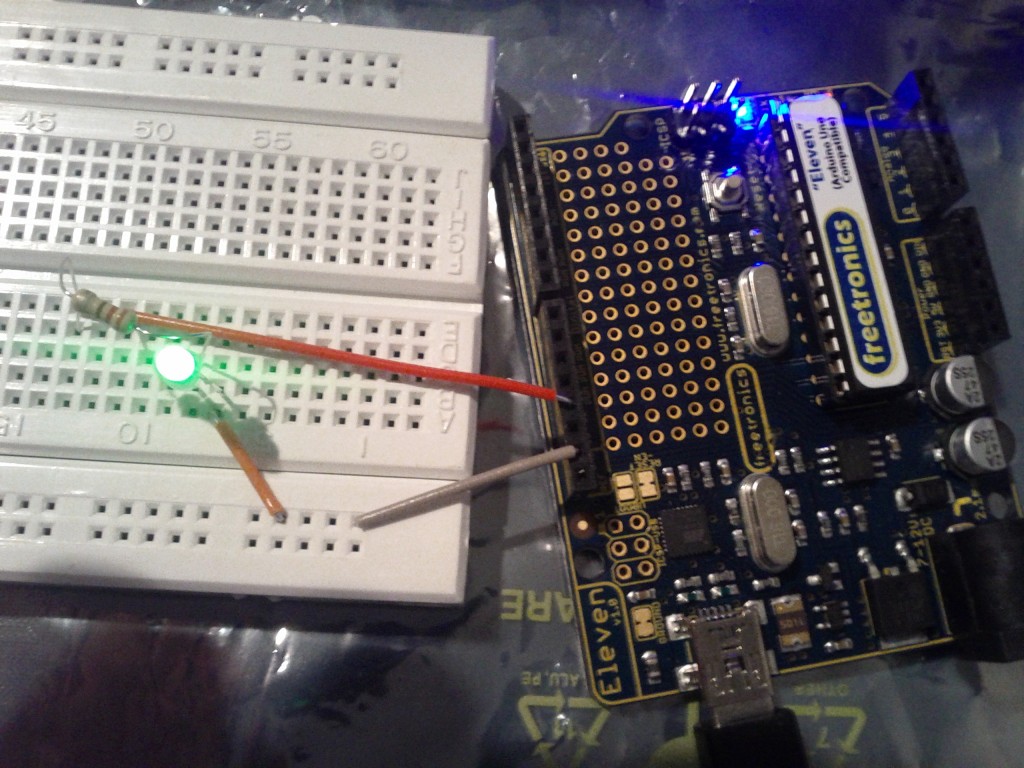
Arduino Uno/Eleven making an LED blink. HIGH TECH STUFF ;-)

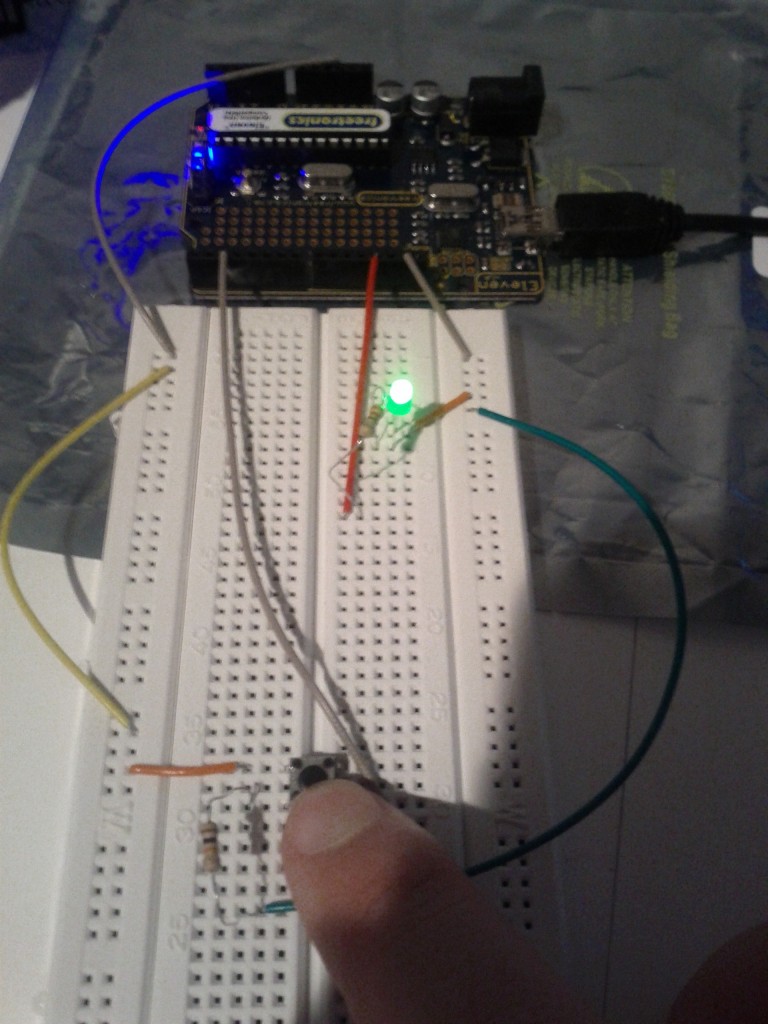
Push a button to make the LED blink! Sure you can do this with just a battery, switch and LED, but using a whole CPU to read the button state and switch on the LED is much geekier! ;-)

1-wire temperature sensors. Notably with a few more than one wire. ;-)

I’ll keep posting my adventures as I get further into the development of different designs, I expect this is going to become a fun new hobby that ties into my other two main interests – computers and things with blinky lights. :-)