This blog has been a little quiet lately, mostly thanks to Lisa and I being busy adjusting to the joys of home ownership with our new house we moved into in mid-September!

I’m a trust worthy reputable resident of Wadestown now!
It’s been pretty flat-out and a number of weeks have already passed us by very quickly – we had anticipated the increase in expenditure that comes with owning a properly, but the amount of time it consumes as well is quite incredible, and given that the property hasn’t had a whole lot of love for the past 5 years or so, there’s certainly a backlog of tasks that need doing.
There’s also the unexpected “joys” that come with ownership, like the burst waterpipe on our first day in the new house, or the one hob on the cooker that appears to like leaking gas when it’s used, or the front door lock that has broken after a few weeks of use. For the first time ever, I almost miss having a landlord to complain to – however the enjoyment of putting a power drill through your first wall without requiring permission cannot be understated either.
Amusingly despite becoming home owners, it’s actually been the outdoors that’s been occupying most of my time, with large masses of plant life that has crept over the sheds, the paths and into roof gutters. I cleared 8 wheelbarrows of soil and plant material off the upper path the other day and it’s barely made a dent.

Rediscovering the lower pathway slowly…
So far I’ve been mostly concerned about the low level plants, I haven’t even begun to look at the wall of trees and ferns around us – a lot of them are great and we will keep them, but a few certainly need some pruning back to make them a bit tamer and let a bit more light into the property.

Ferns in the mist. Pretty kiwi as bru.
I’ve been discovering the awesome range of power tools that exist these days – seems tools have come a long way from the days of my fathers wired drill, I’ve now got drills, sanders and even a weedeater/line cutter which all share the same cordless battery pack!
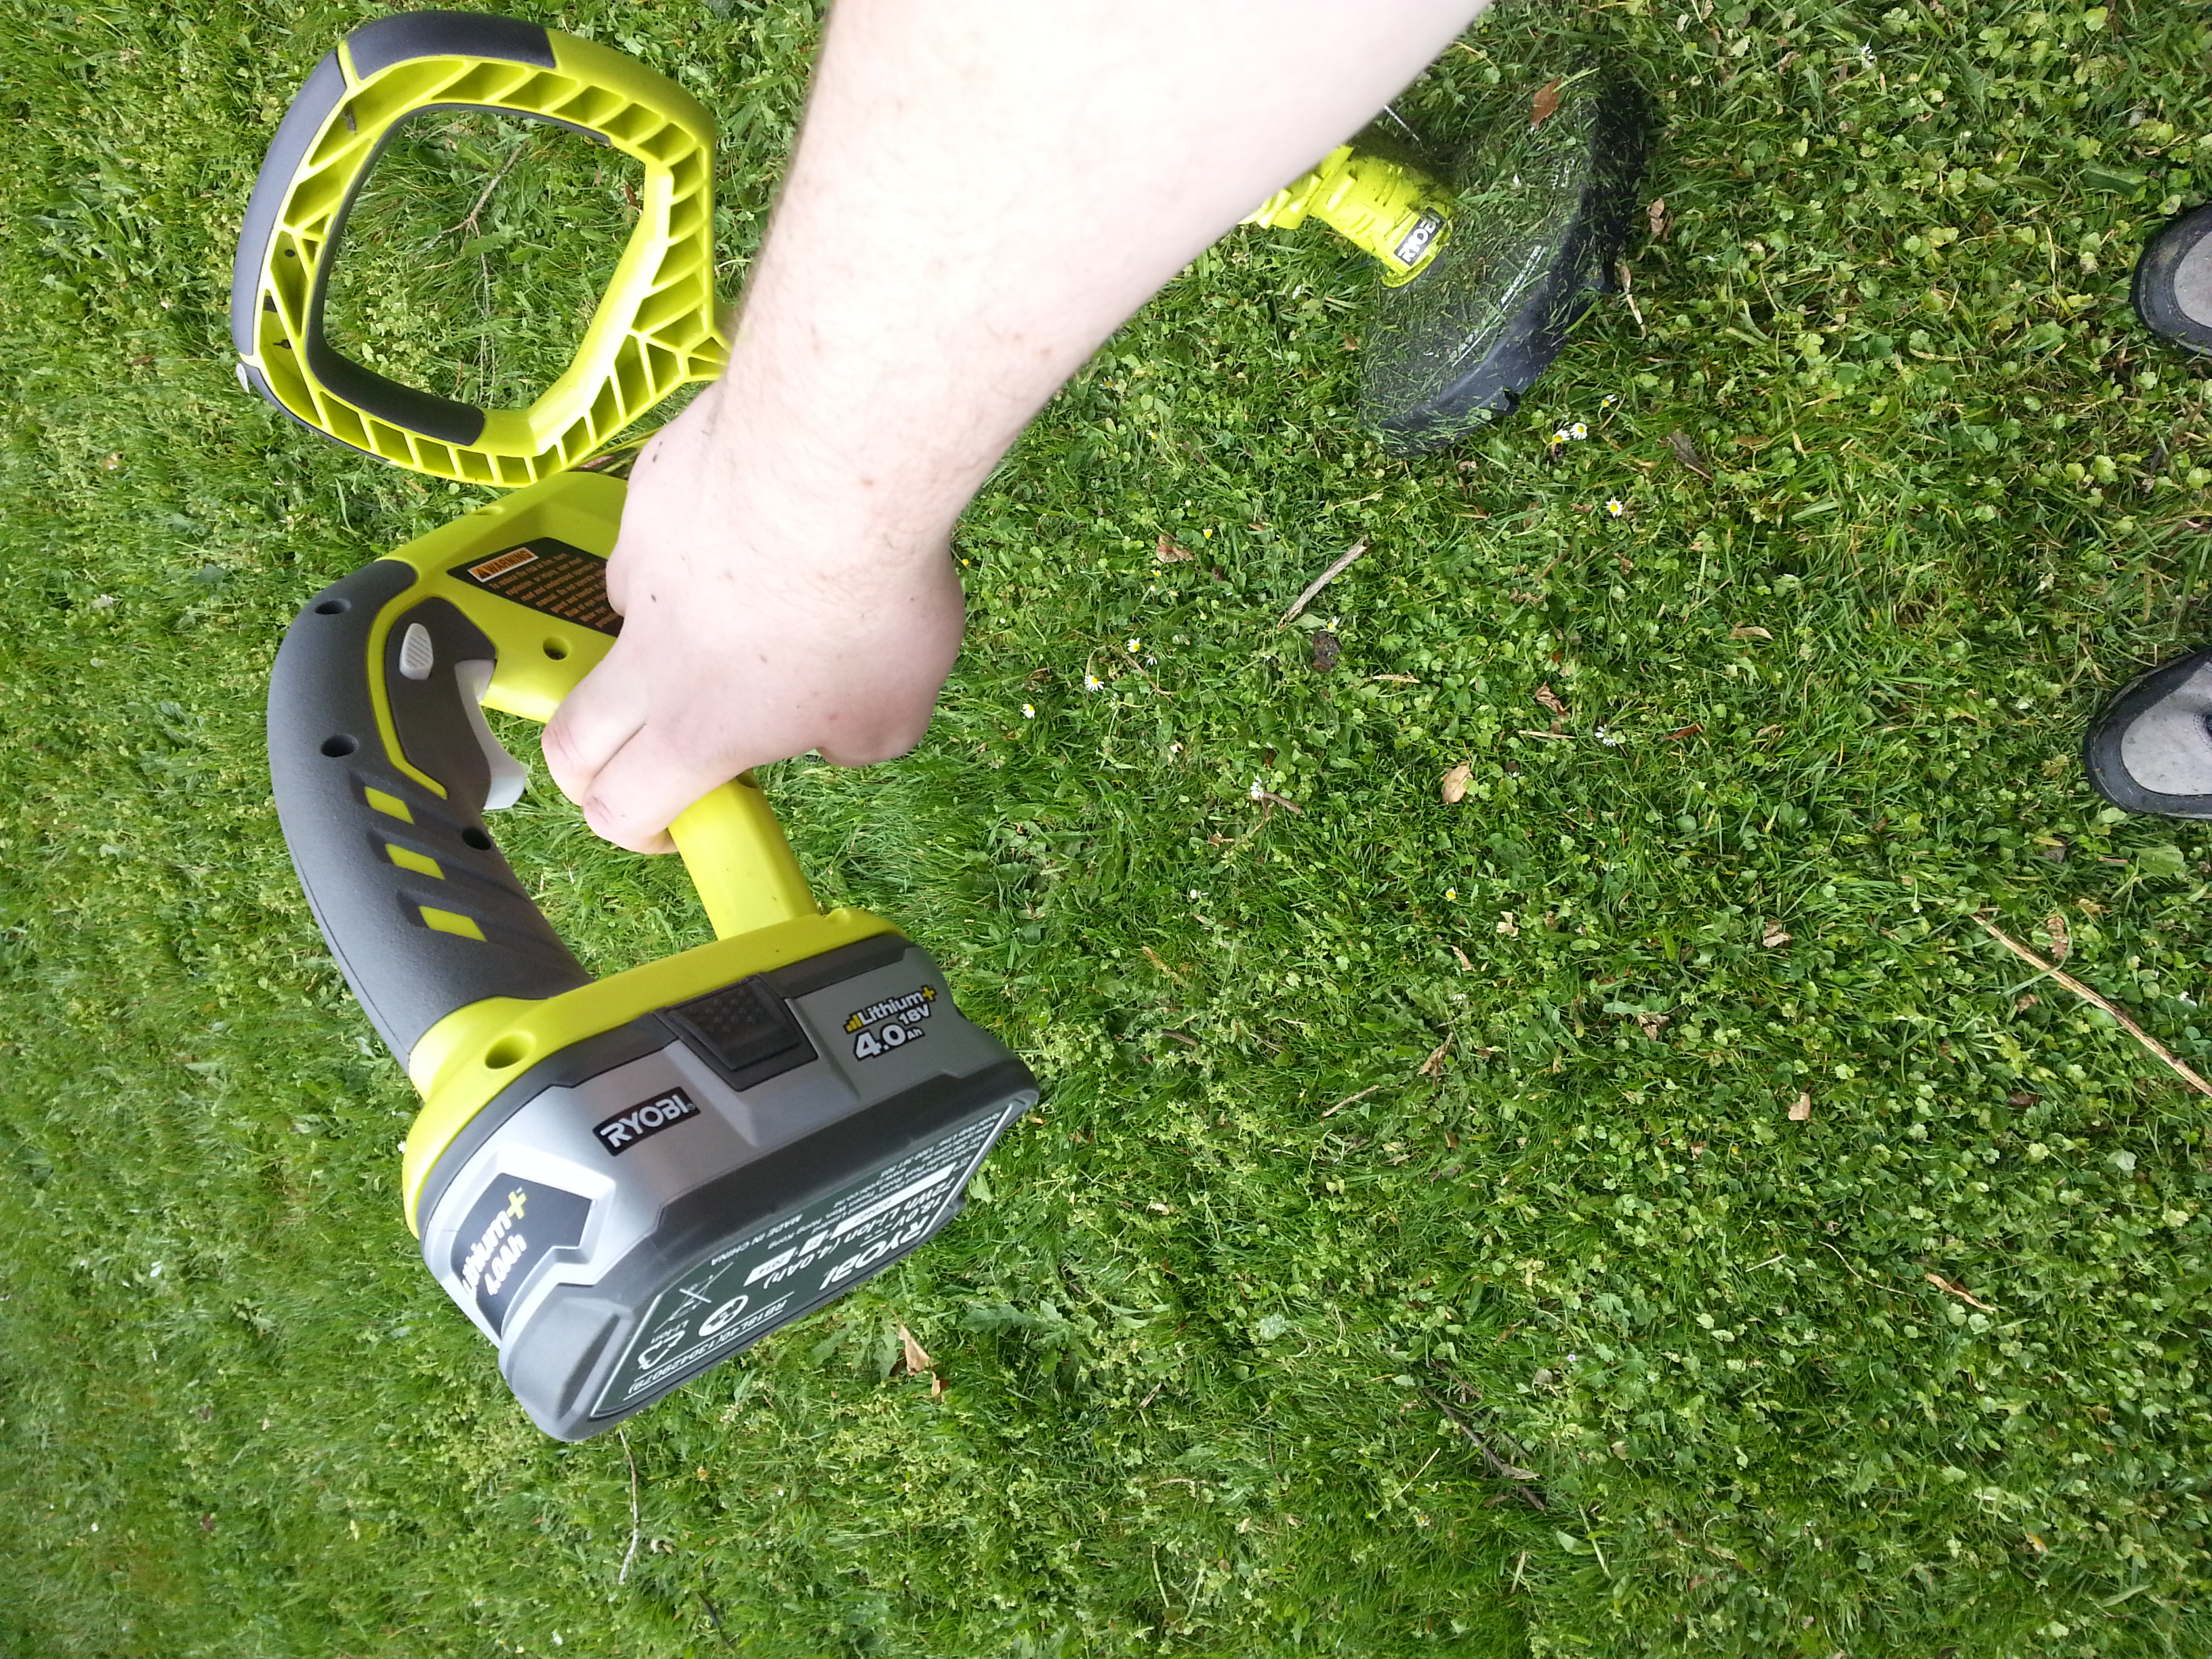
Got 99 problems but wires ain’t one. Cordless freedom baby!
I’ve had to learn some new skills like how to use a saw or how to set a post in the ground. Of course I cheated a bit by using ready-to-pour fastcrete, but hey, I’m lazy Gen Y-er who wants the fastest easiest way to make something work. ;-)
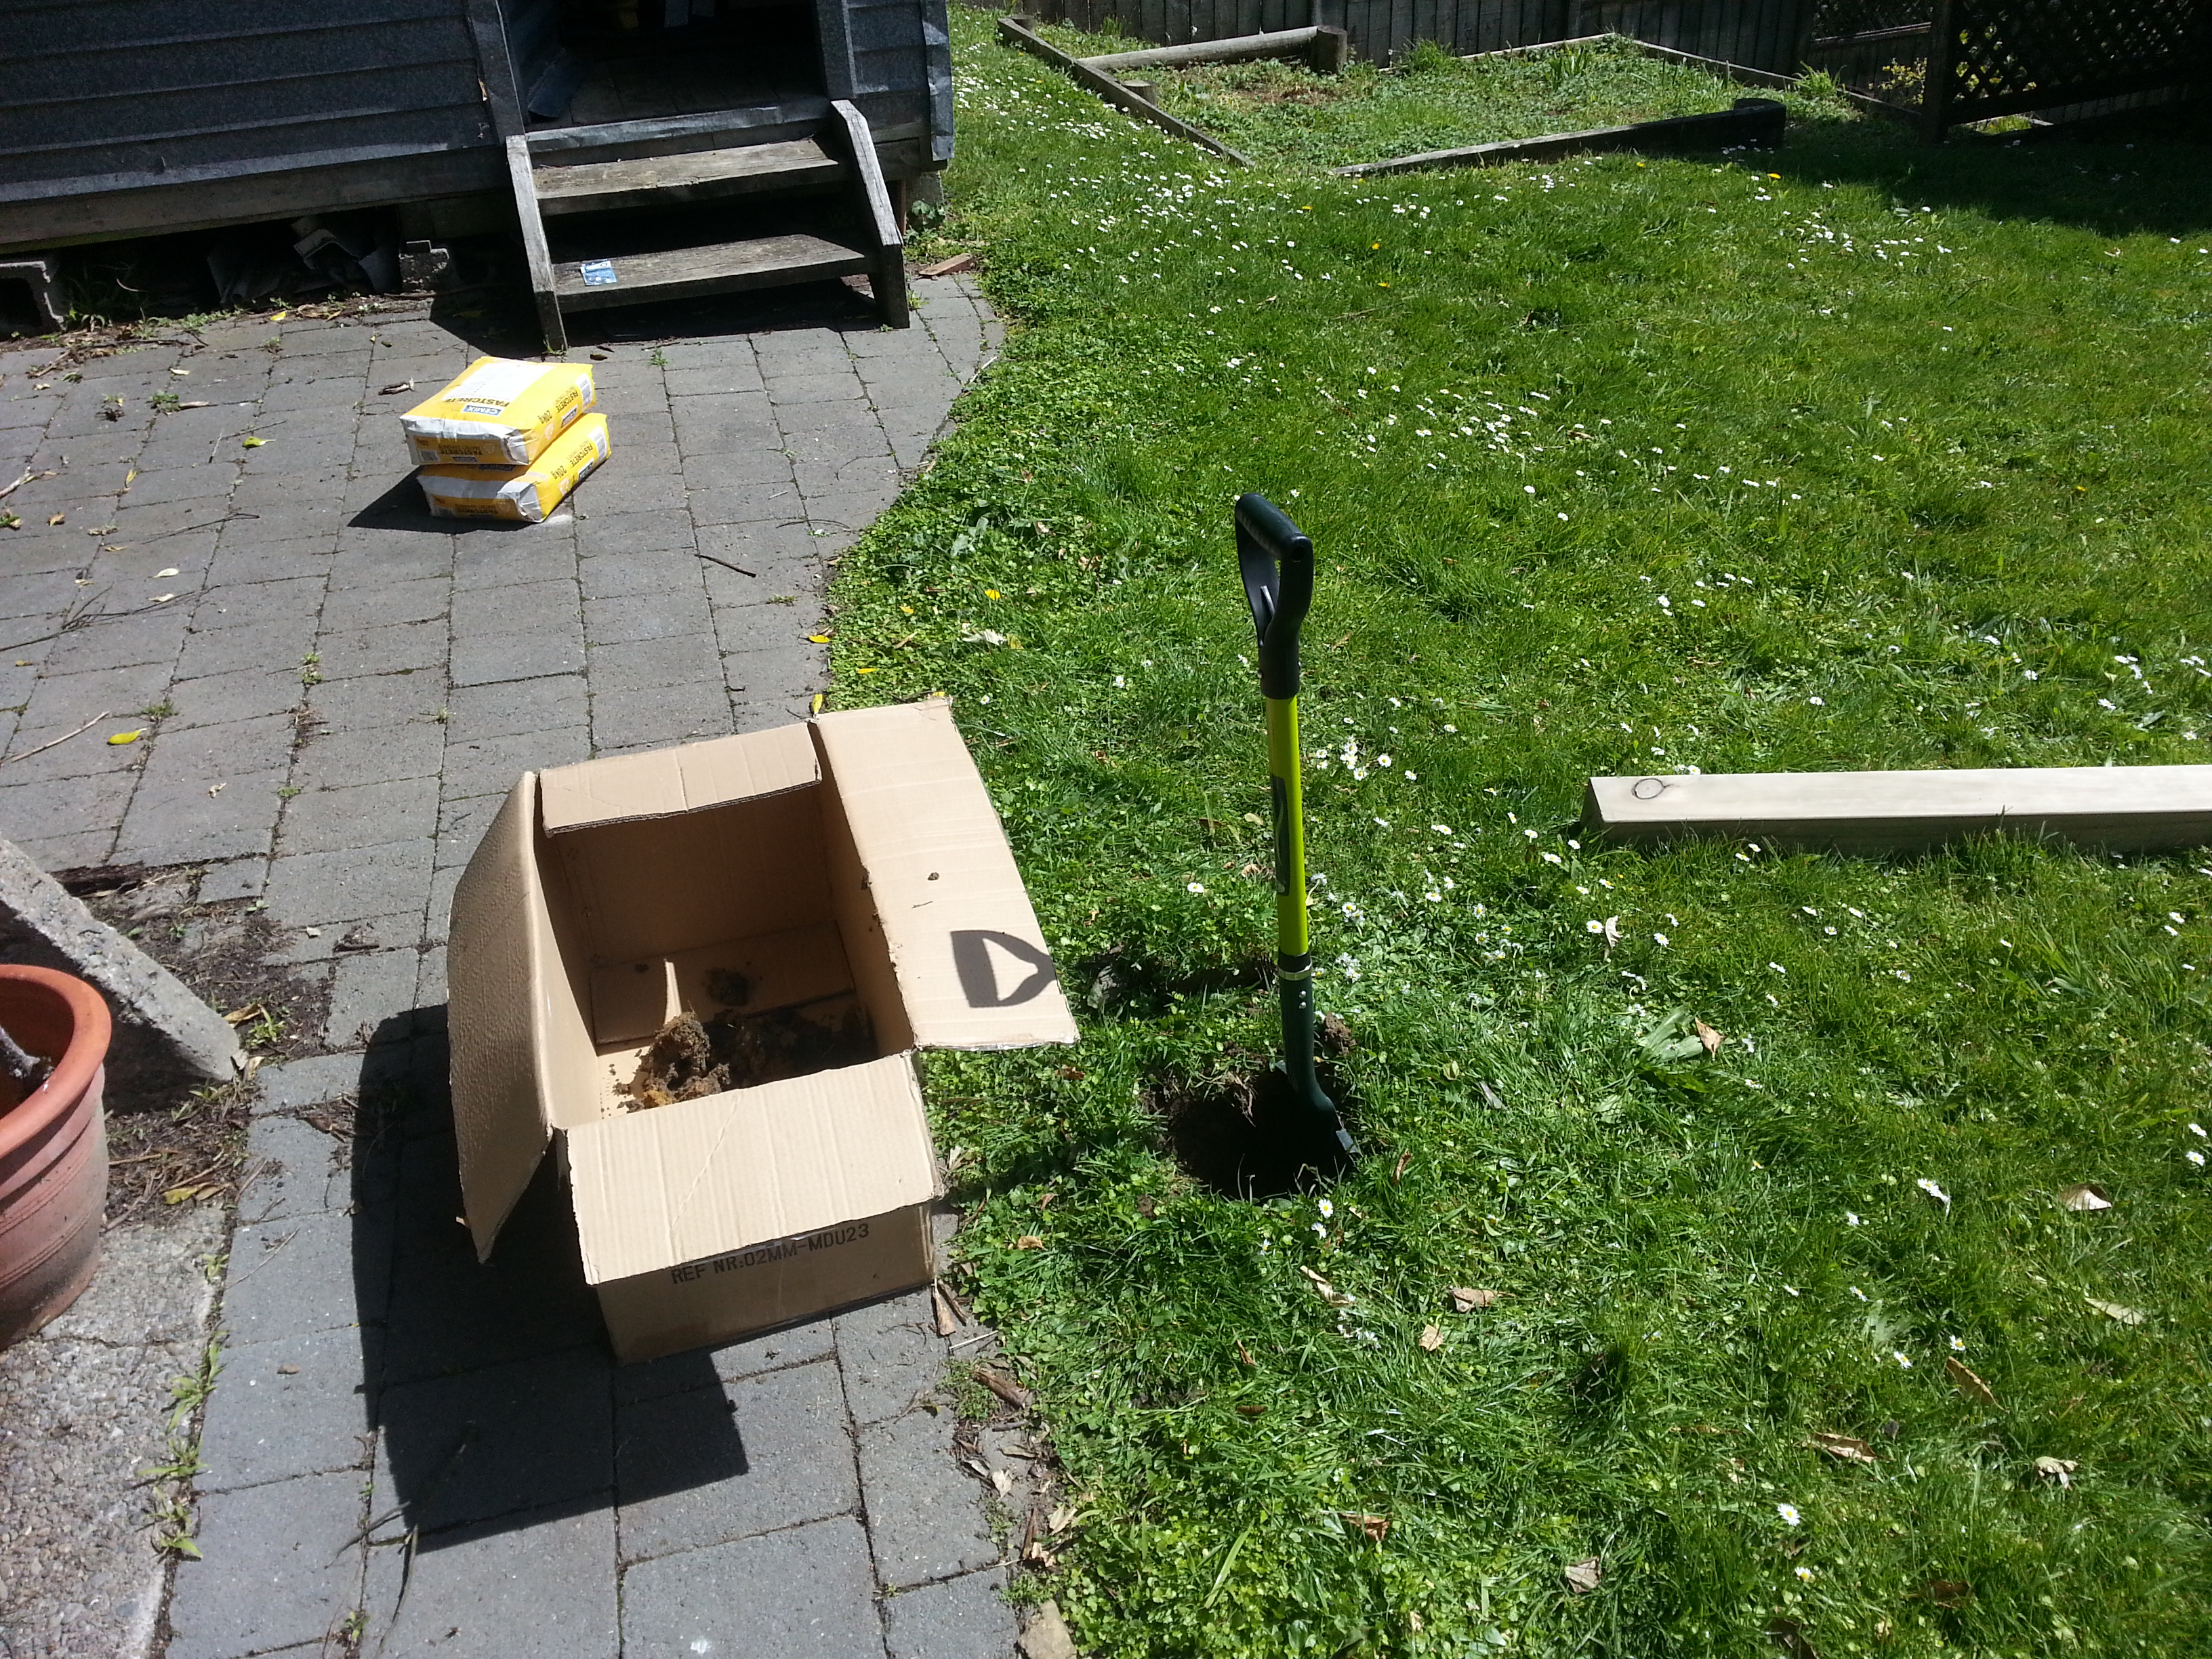
Harder than it looks. Stupid solid clay ground :-(
I also have two sheds that I need to do up – the first is in pretty good shape and just needs some minor fixes and paint job. It’s even got power already wired up so you can plug in your tools and go :-)
The second shed is in a far worse state and pretty much needs complete stripping down and repairing including a whole new floor and getting rid of almost a meter high pile of detritus that has collected around the back of it over the past 100 years. Helpfully some trees also decided to then plant themselves and grow right next to it as well.
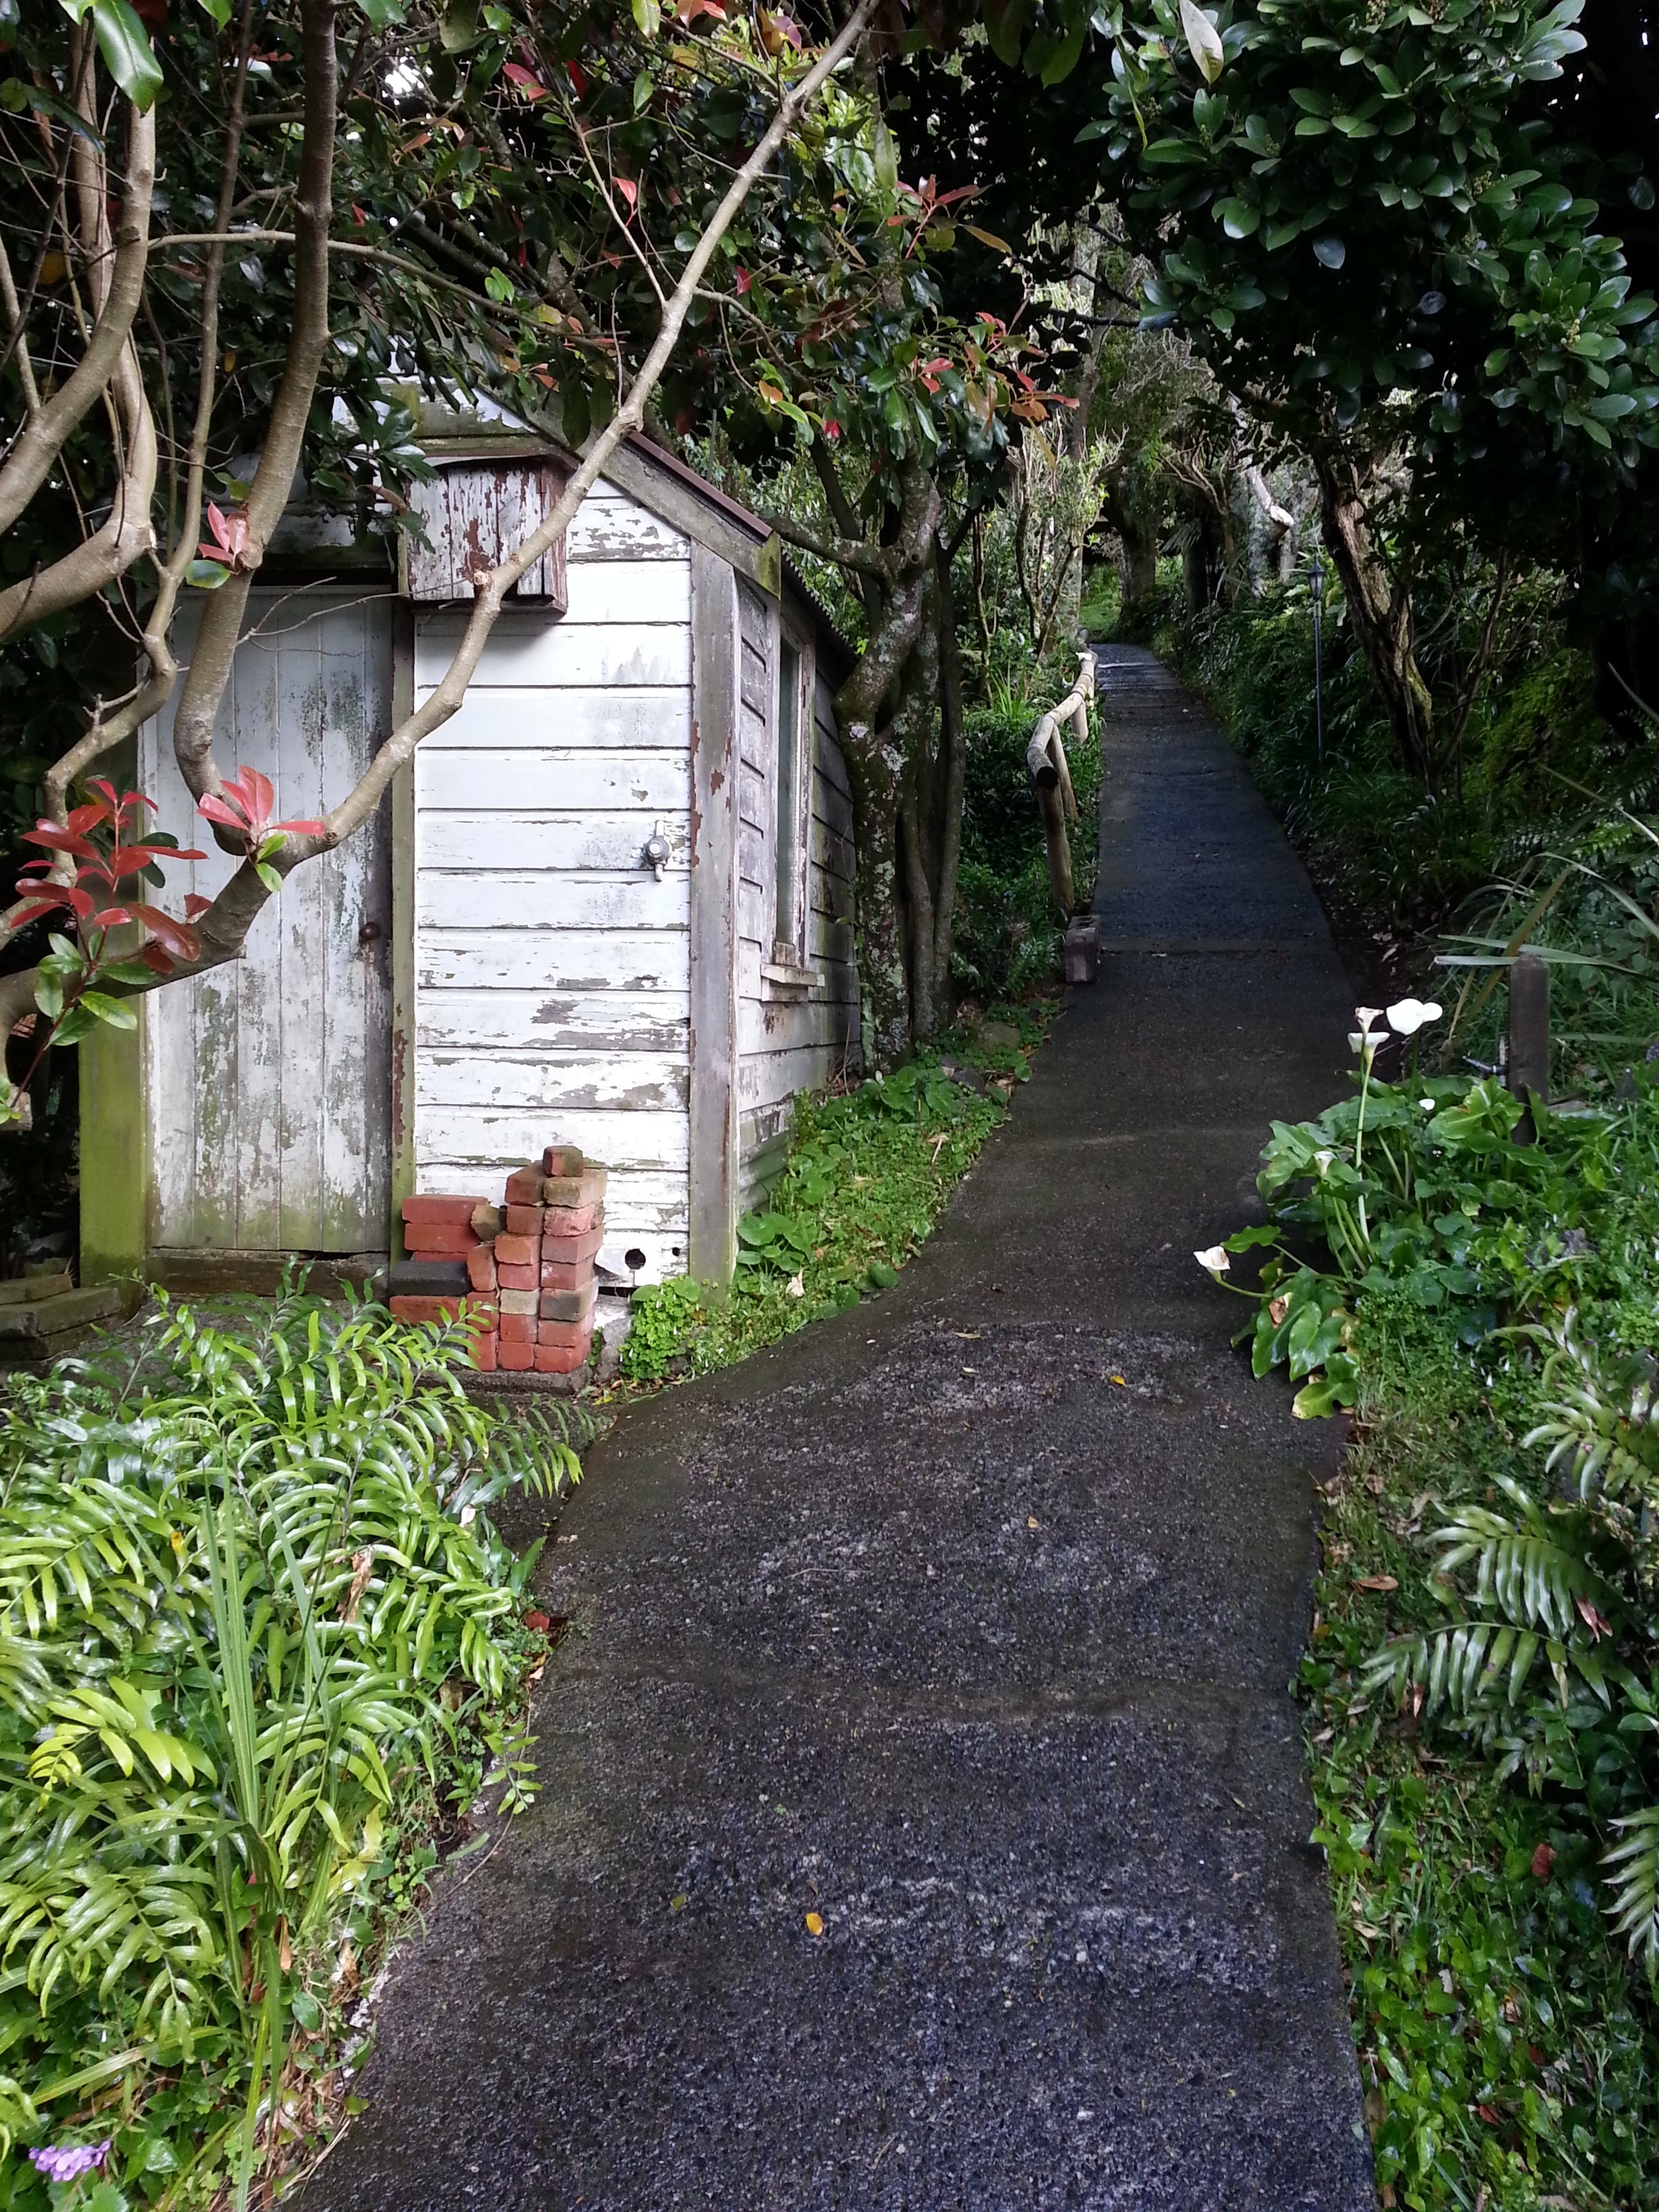
The older shed and upper pathway after tidying up the over growth.
The house is thankfully in a better state than the garden and sheds, although there is certainly a lot of work needed in the form of overdue maintenance and improvements. The house was built in 1914 (100 years birthday this year!), but thankfully despite the age of the property, the hardest and most essential modernisation has been done for us already.
There’s been a complete replacement of electrical systems with modern cabling and both the structure and interior is in good shape with the original Totara piles having been replaced and whatever scrim wall linings that previous existed having been replaced with plasterboard.
Most of the interior decor is playing it safe with neutral coloured walls, carpet and curtains and the native timber exposed on the doors and skirting. However there are a few garish items remaining from an earlier era where style wasn’t as important, like the lovely maroon tiled fireplace or the cork flooring in the kitchen :-/
The Lounge: Where 2014 meets with 1970 head on.
Generally the property is nice and everyone who comes over describes it as lovely – but of course nobody tells you if your baby is ugly, so it’s entirely possible everyone is questioning our tastes behind our backs… But give it time, we have a lot of plans for this place that are yet to be actioned!
Our primary task right now is dragging our 20th century house into the 21st century with a few modern requirements like data cabling, heating and decent lighting.
Oddly enough I’ve already started on the data side of things, getting Cat6 ethernet cable run through the house to all the living spaces and roof mounting a WiFi AP and installing a proper comms cabinet. Priorities!
The next major issue is heating, the house has an old wood fire and old unflued gas heater, both of which look pretty dubious. We’ve left them alone and have been using a few recently installed panel heaters, but we need to consider a more powerful whole-house solution like a modern gas fireplace to handle the cold Wellington winters.
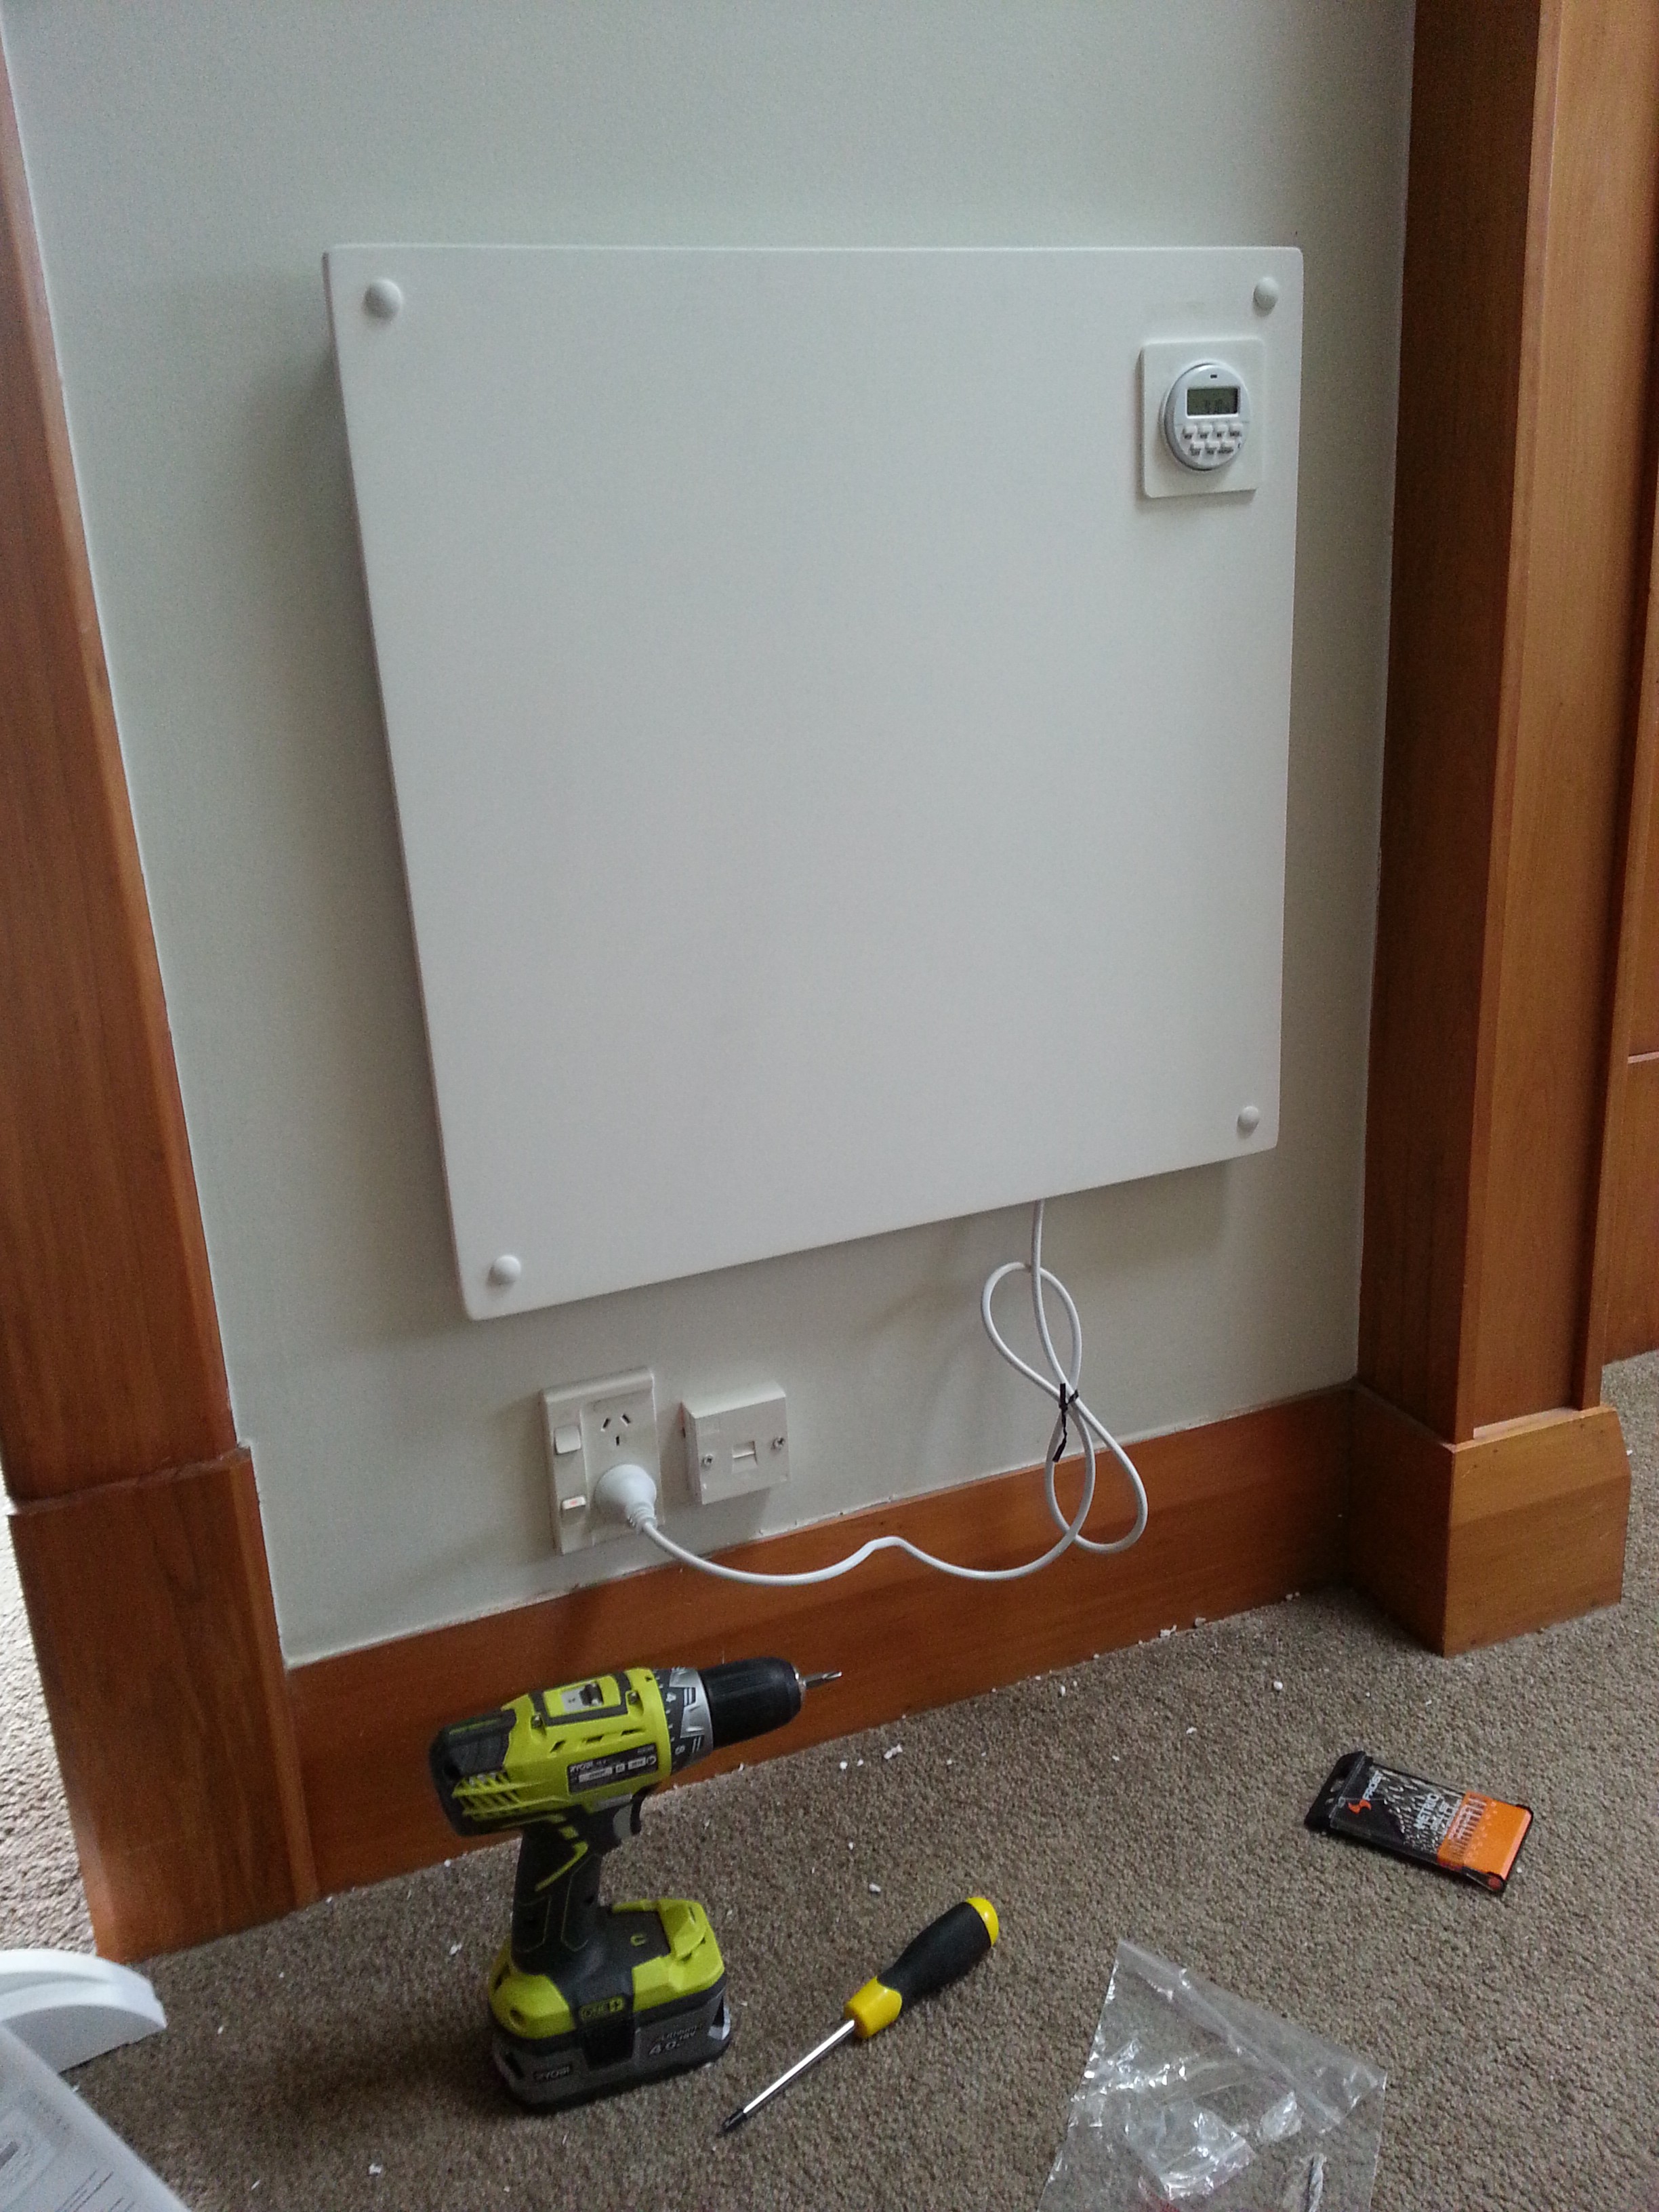
Power drills! Holes in walls! This is what home ownership is all about.
In addition to heaters, we also need to fix up the shocking lack of insulation that is common with New Zealand properties. Whilst we have roof insulation already, the floor needs insulating and at some point there is going to be a very expensive retro-fit double glazing cost we need to investigate as well.
Aside from these immediate priorities, there’s the question of changes to the layout. The biggest annoyance for us right now is that the kitchen/dining space and the lounge are two separate rooms with a bedroom in-between, which doesn’t really suit modern open plan living so we are pondering the cost of knocking out a wall and re-arranging things to create a single open plan living area.
Additionally we have a really small bathroom yet we have a massive laundry that’s about twice the size just through the wall. Considering the the laundry has almost nothing but a single lonely washing machine in it, it’s a prime candidate for being annexed for a new role as a massive new bathroom.

The tiny “wooden cabin” bathroom. If it wasn’t for the skylight and our character 12 foot ceilings, it would be really dark and tiny in there. :-/
We are also thinking about how we can improve the outdoor area which is a bit weirdly organised with a large patio area detached from the house and the back deck being a tiny strip that can’t really fit much. We’re already pondering extending the deck out further, then along the full length of the house, so we can join up with the lower patio and make it a nore usable space.

World’s tiniest deck, not exactly that useful…
Of course all these improvements require a fair bit of capital, which is one thing we don’t have much of right now thanks to the home loan, so its going to take some careful budgeting and time to get to where we want to be. For now, we are just enjoying having the place and plotting…..
Aside from the garden and sorting out house improvements, the other major time sink has been unpacking. We didn’t exactly have heaps of stuff given that we just had limited bits stored at each other’s parent’s houses, so it’s pretty scary at how much has emerged and arrived at our new house. I think everyone was kind of glad to get our junk out of their houses at long last, although I’m sure my parents will miss the file server buzzing away 24×7.
It’s been a bit of a discovery of lots of stuff we didn’t realise we had, I have literally a small data center worth of tech gear including rackmount PDUs, routers, switches and other items.
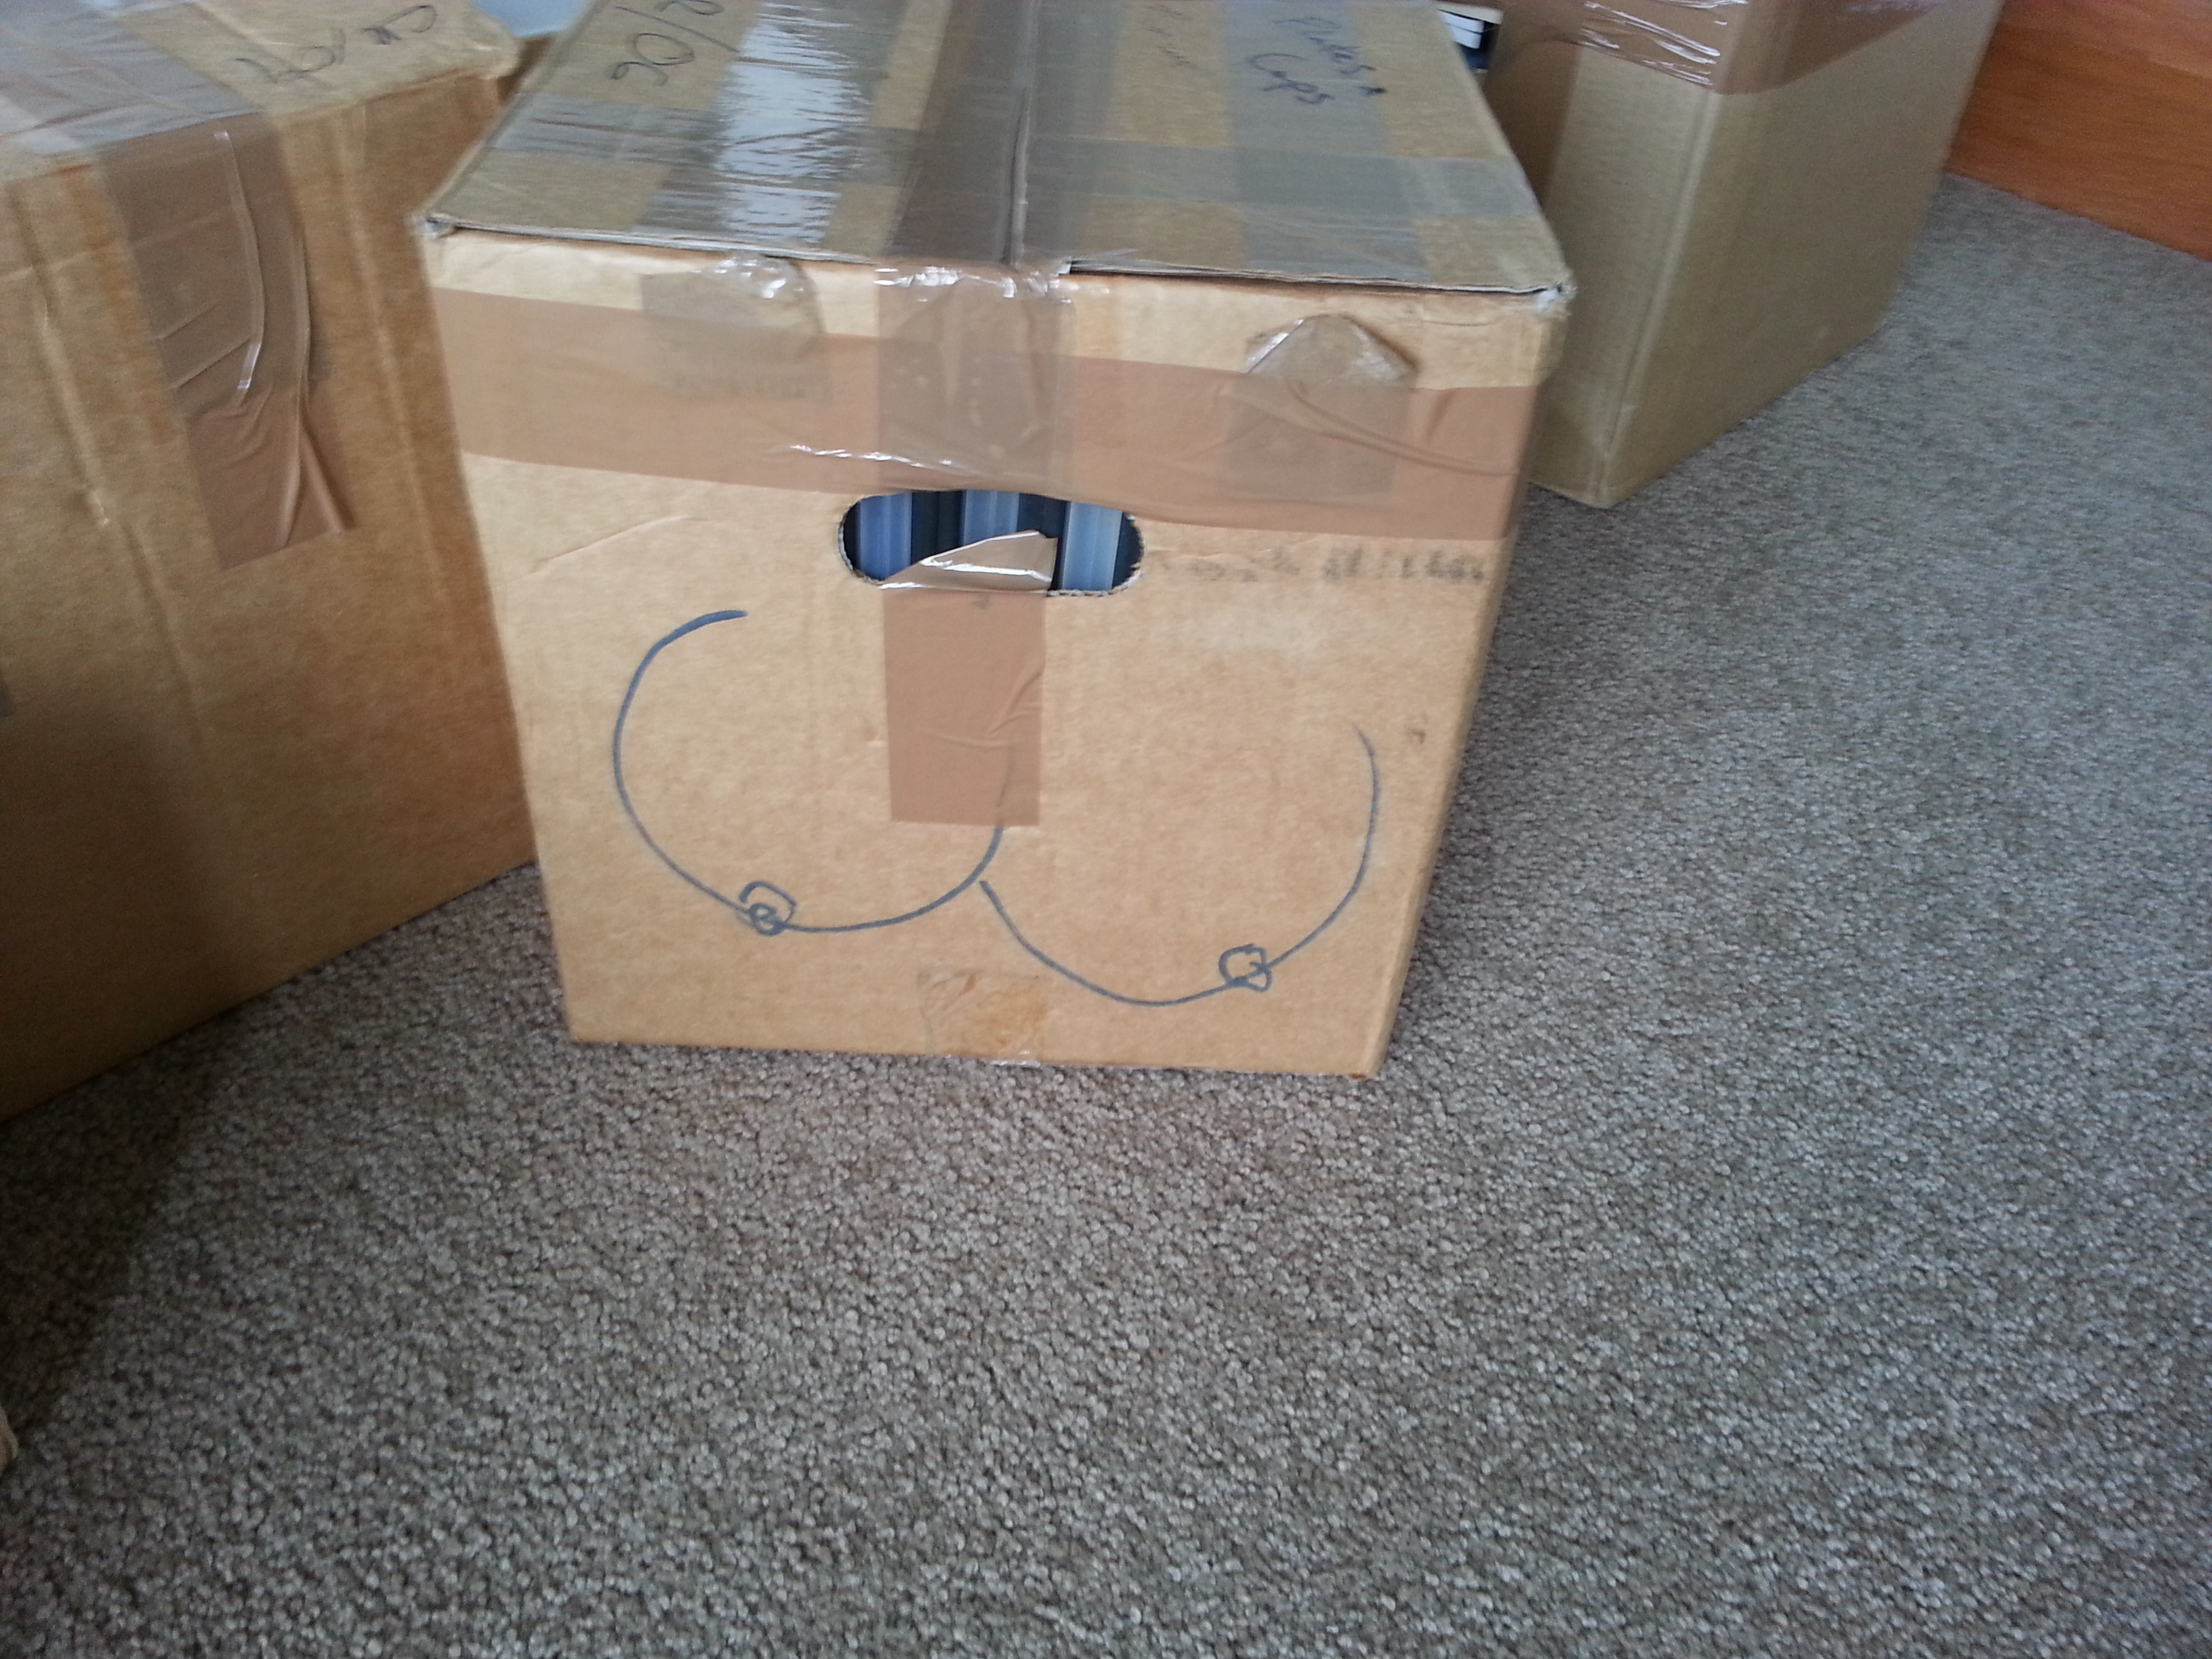
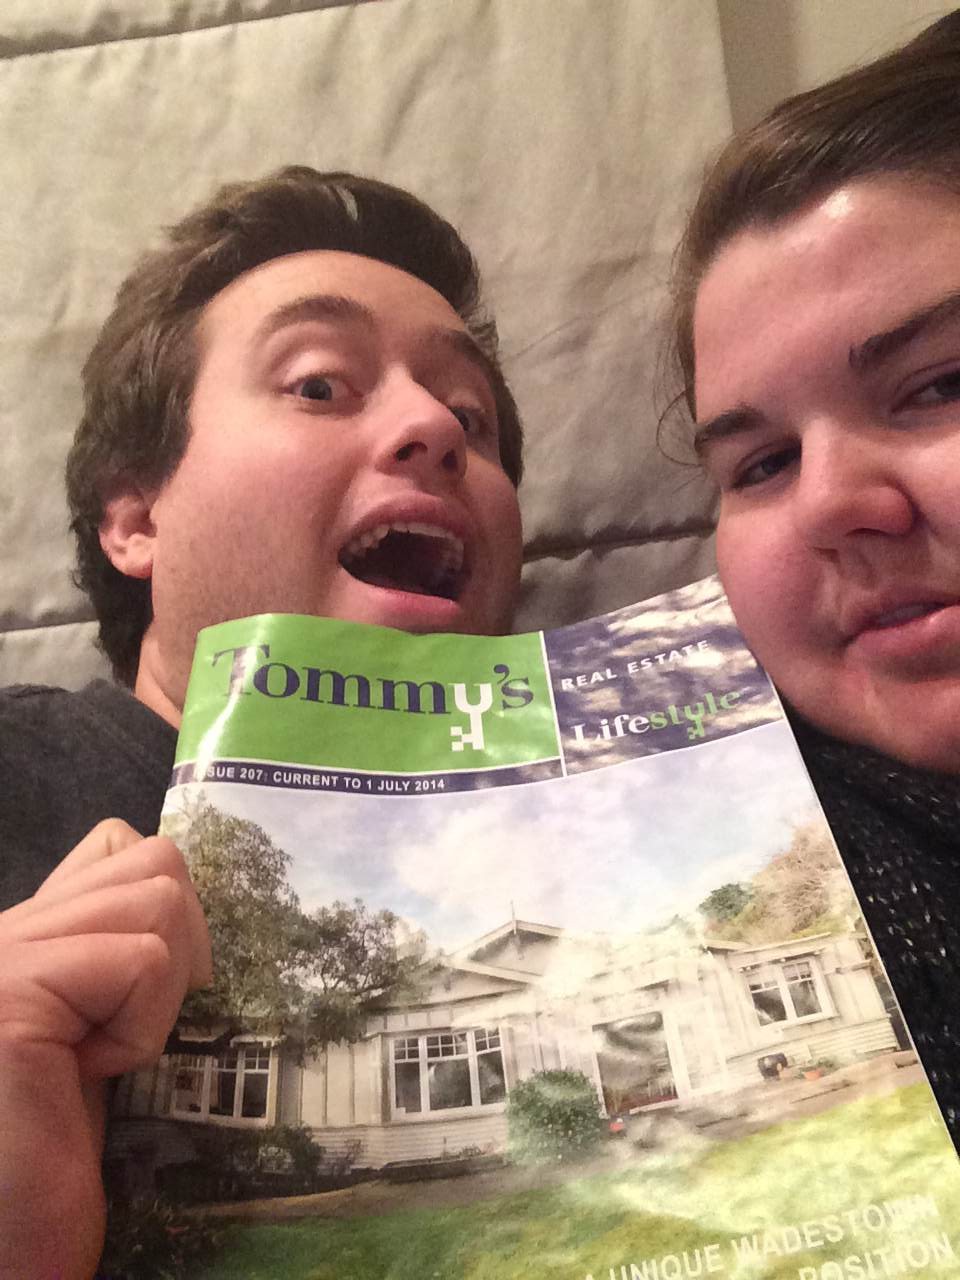
I know what you’re thinking “Oh how typical of Jethro, boobs on a box” – but this one ISN’T MINE, it came out of Lisa’s parents house which kind of disturbs me deeply.
This is probably the biggest negative of home ownership for me – I hate owning stuff. And owning a house is a sure way to accumulate stuff very, very quickly.
Owning a house means you have space to just “store that in the cupboard for now”. Being a couple in a large 4 bedroom home means there’s a lot of space and little pressure to use it, so it’s very easy for us to end up with piles of junk that actually doesn’t serve a purpose and not feel forced to clean it out.
I came back from AU with two suitcases and I could probably have culled that down to as little as one suitcase given the chance. There’s a huge amount of tech gear I’m considering offloading and Lisa has a massive pile of childhood stuff to make some hard decisions about, because as hard as it is to get rid of things, I think both of us are keen to avoid ending up in the same hording situation like our parents.
Of course some stuff can’t be avoided. I’ve spent a small fortune at Bunnings recently obtaining tools and materials to do repairs and other DIY for the house, so there’s a lot of additions to the “stuff I have to own but hate having to own” pile.
We also needed to purchase all new furniture since we had essentially nothing after returning from Sydney. I don’t mind buying a few quality pieces, but sadly it seems impossible to buy a house load of furniture without also obtaining an entire shed worth of cardboard and polystyrene packaging that we need to dispose of. Sorry environment! :-(

Trapped by packaging.
We’ve gotten through most of the unpacking, but there’s still a lot of sorting and finding homes for things left to do.
I’m looking forwards to getting to the point where I can just enjoy the house and the space we have. It should be fantastic during summer especially for entertaining guests with its large backyard, patio and sunny afternoons and I’m really looking forwards to having a proper home office setup again for my geeking needs
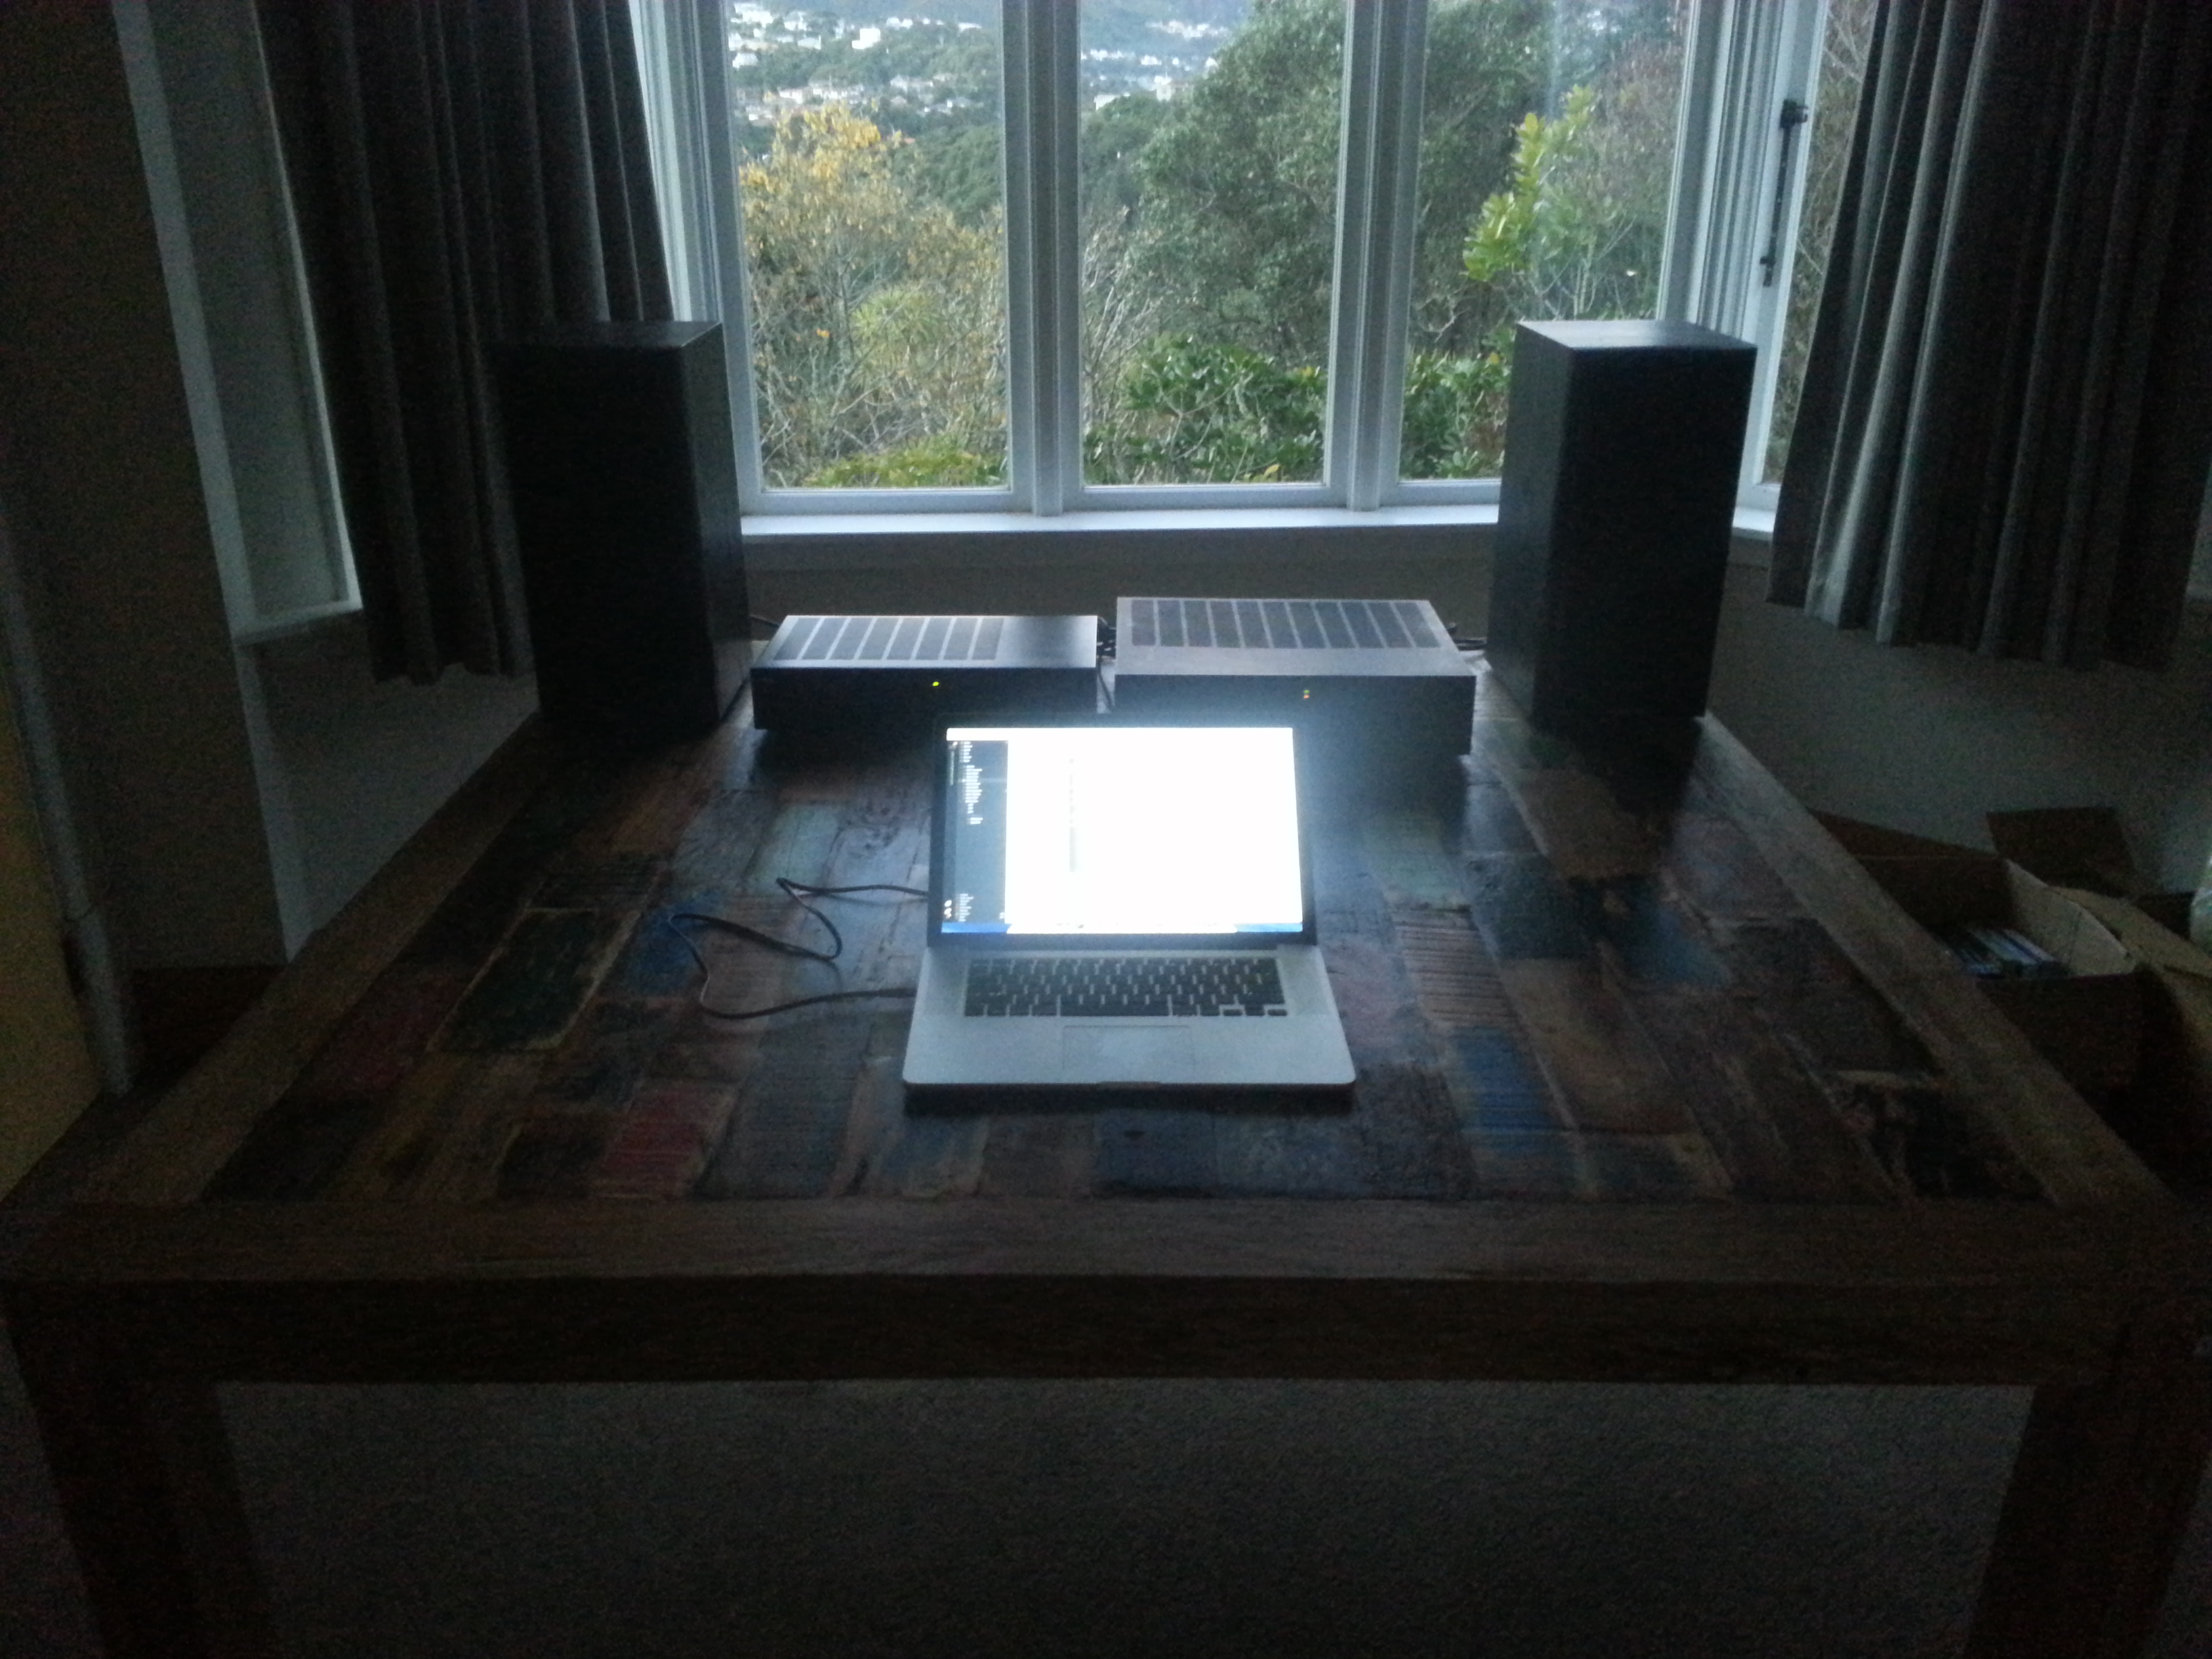
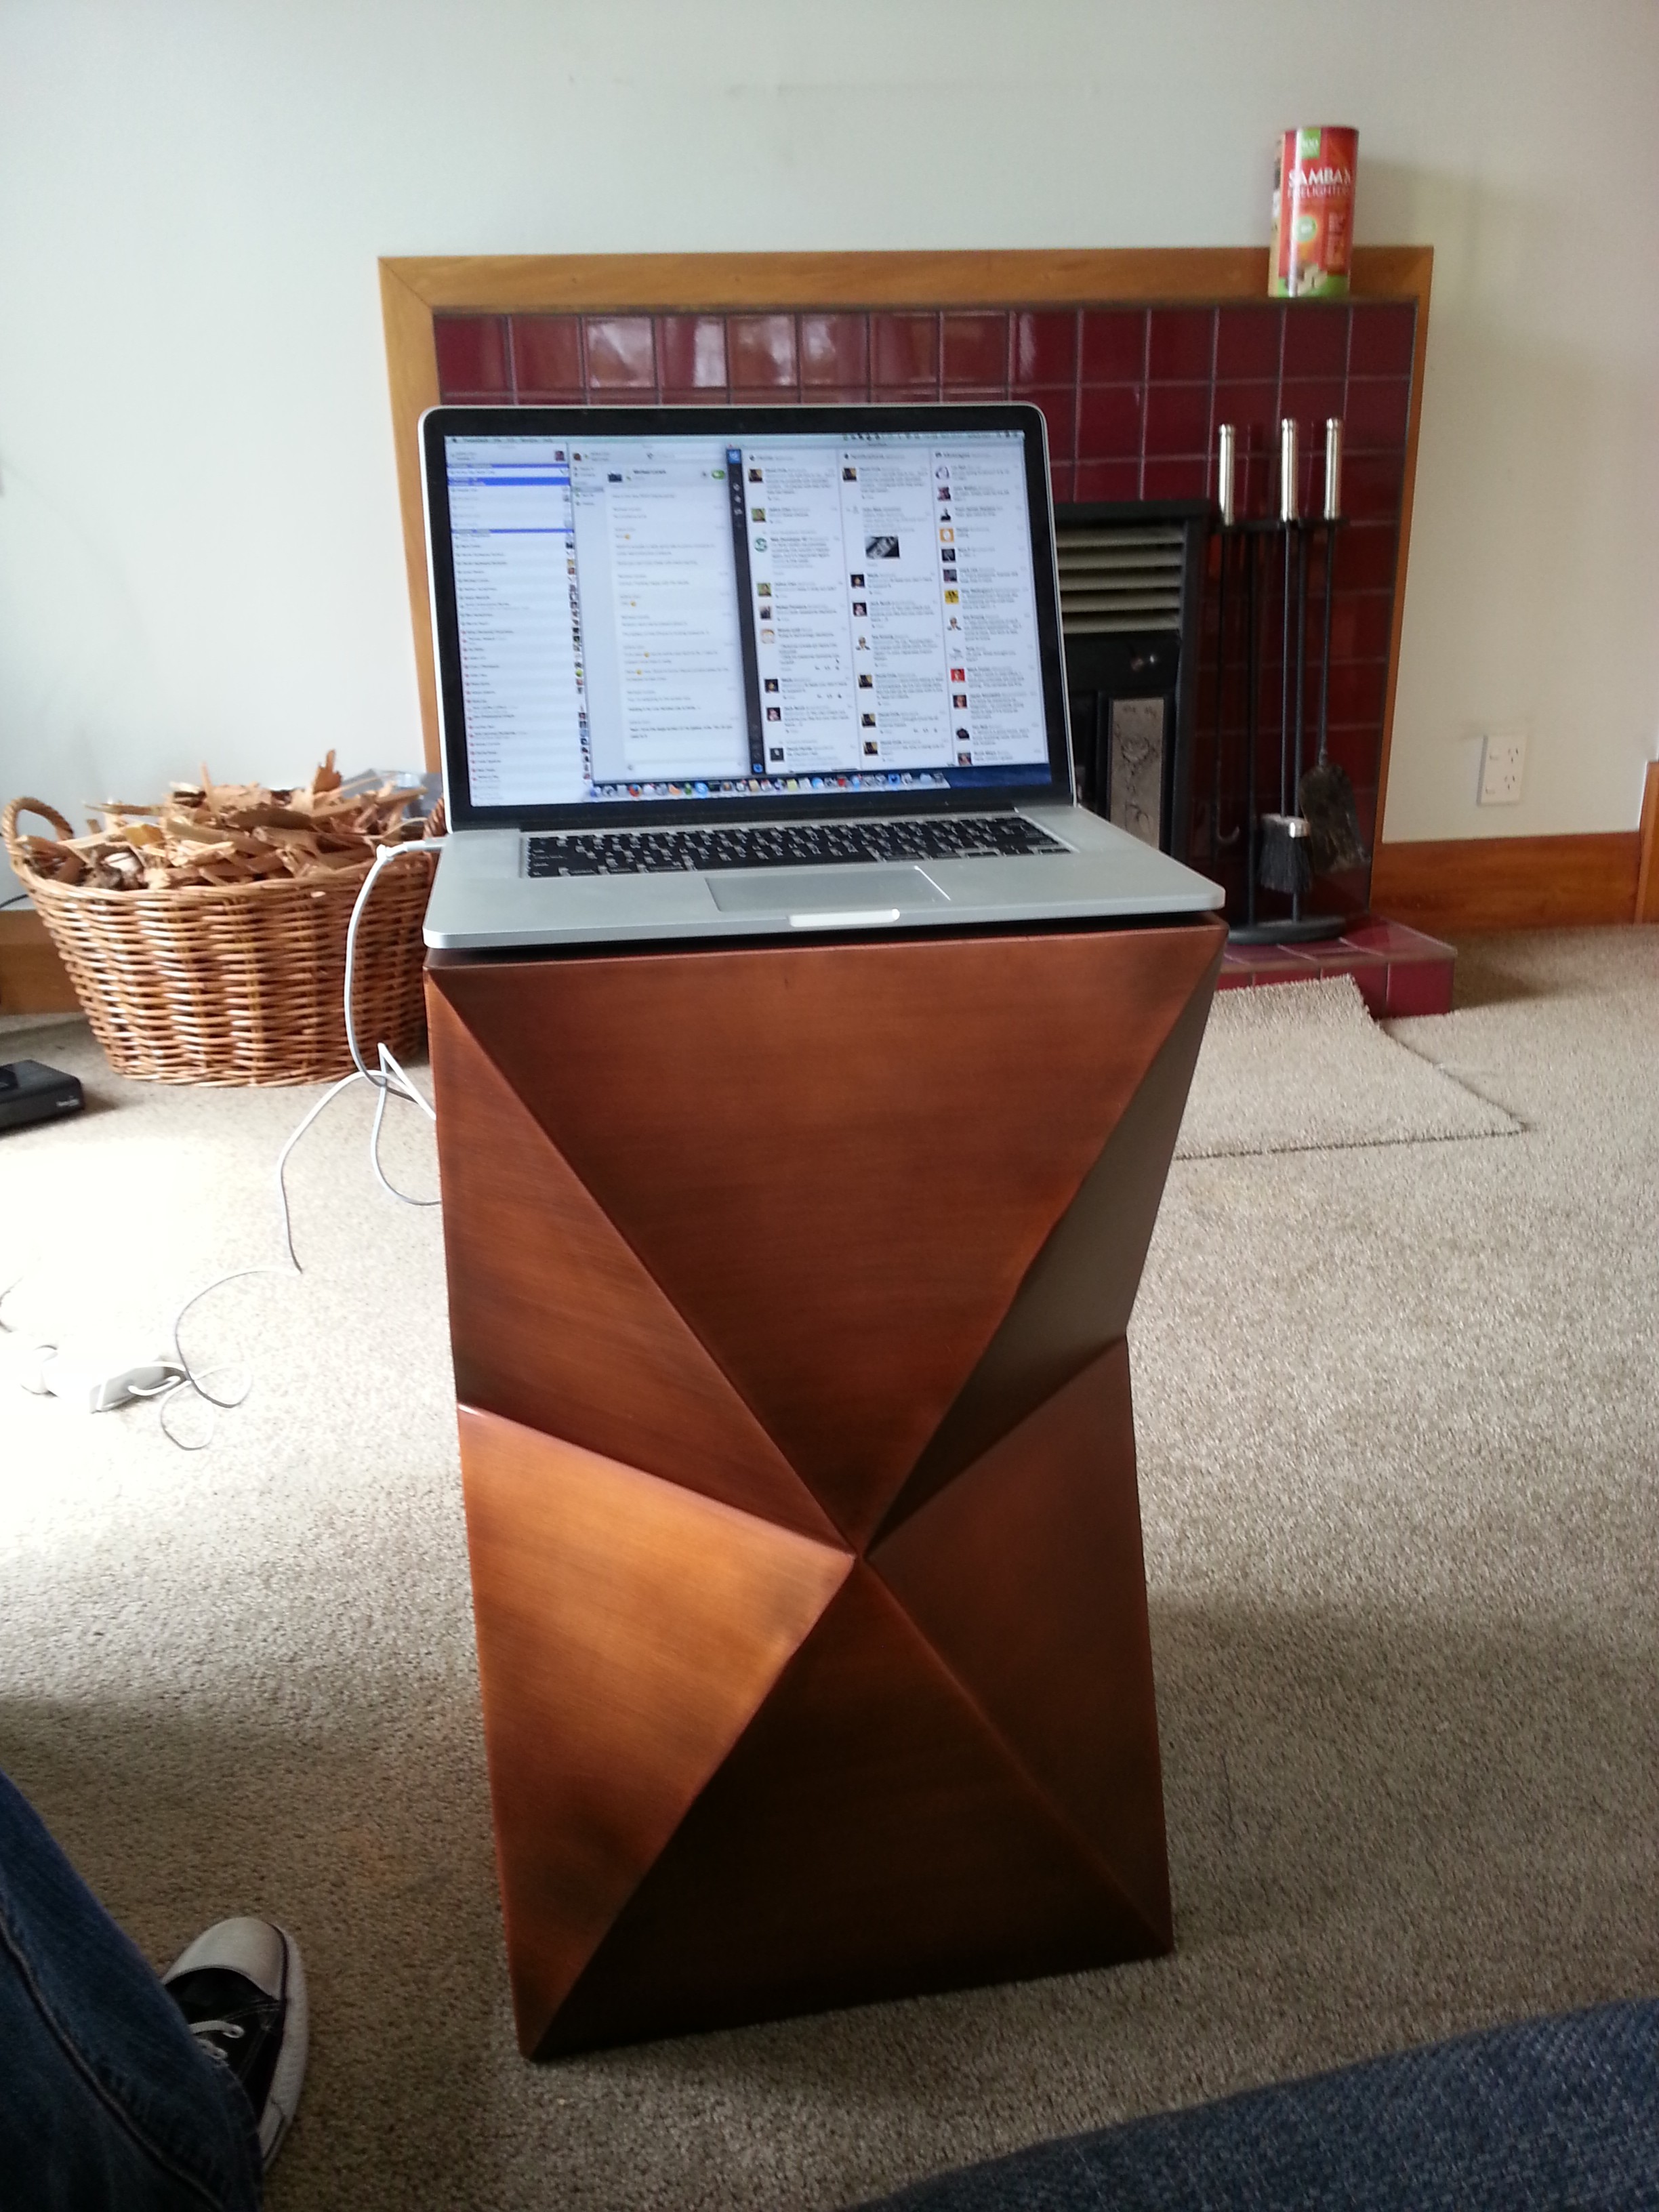
Got my home office! If only I had money for computer upgrades left :-(
So that’s an update on where we are at for now. It’s going to be a busy year I think with a lot of time spent doing up the place, and I’ll have plenty more blog posts to come on the various adventures along the way. I suspect many of them are going to be quite low-tech compared to the usual content of this blog, but maybe I’ll wake up and suddenly decide that home automation is an immediate vital task I need to complete. ;-)
If you want some more pictures of the house, there’s a copy of all the real estate agent listing photos on my Pinterest account taken by an actual competent photographer, the plan is to try and take pictures along the way as we progress with our improvements to the property to see the progress we’ve been making.